
Look after one user from the console
Find a person in Users, read their page, tag them, edit their attributes, write to them, block them, sign in as them or delete them, one screen at a time.
When one of your app's users needs help, everything about them is on their page in the console: who they are, how they sign in, what they were sent and did, and the actions your support team needs. This guide walks through it with one person, Priya Shah, who signed up to the app Acme Analytics.
Before you start
A console role that can read and update Users, and an app with at least one person signed up. Blocking and deleting need update and delete on users; see roles.
1. Open Users
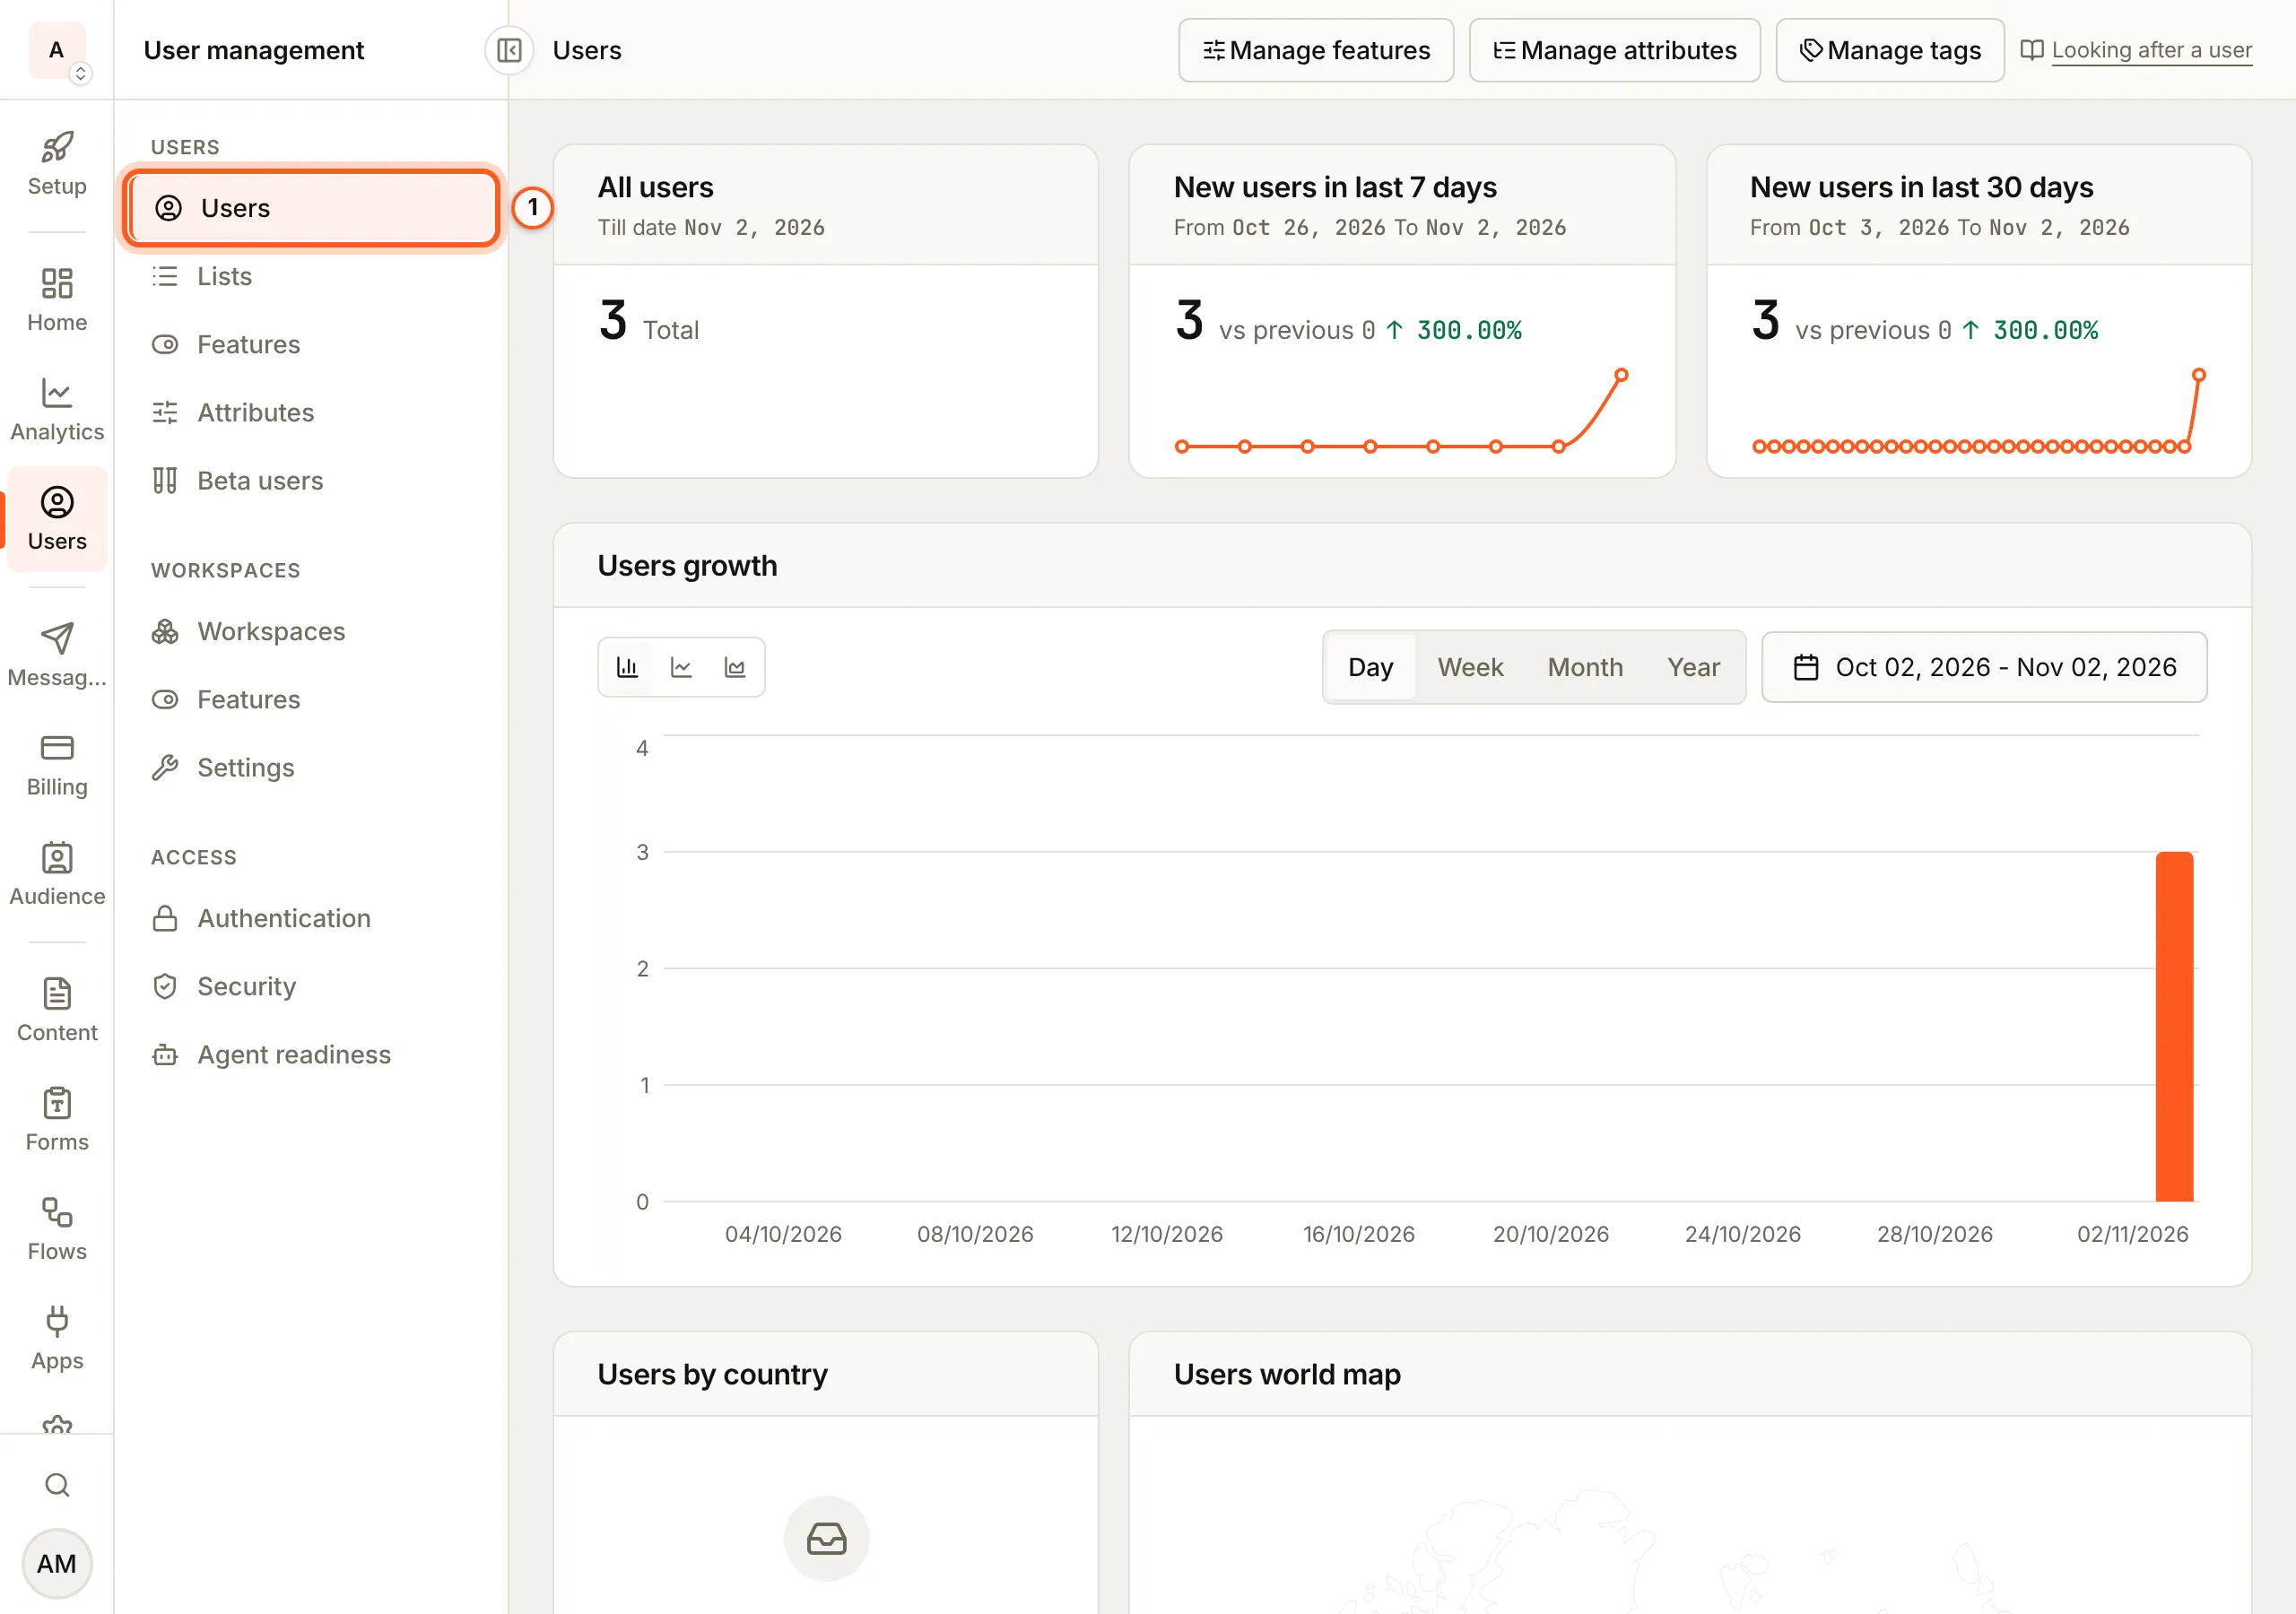
Open Users in the console (opens the console in a new tab)In the left rail choose Users, then Users under Users. The list is everyone with an account in your apps.
2. Read the counts
All users is everyone with an account; New users in last 7 days and New users in last 30 days compare each period with the one before. Your plan sets how many people your apps may have.

3. Find the person and open their page
Below the charts, the table lists each person with their Name, Email, Role, Type and whether they have Two-step sign-in on. The ? beside Type and Two-step says what each value means. Filter by email, tag or any attribute you defined to find one person, then press View on their row.

4. Read their page
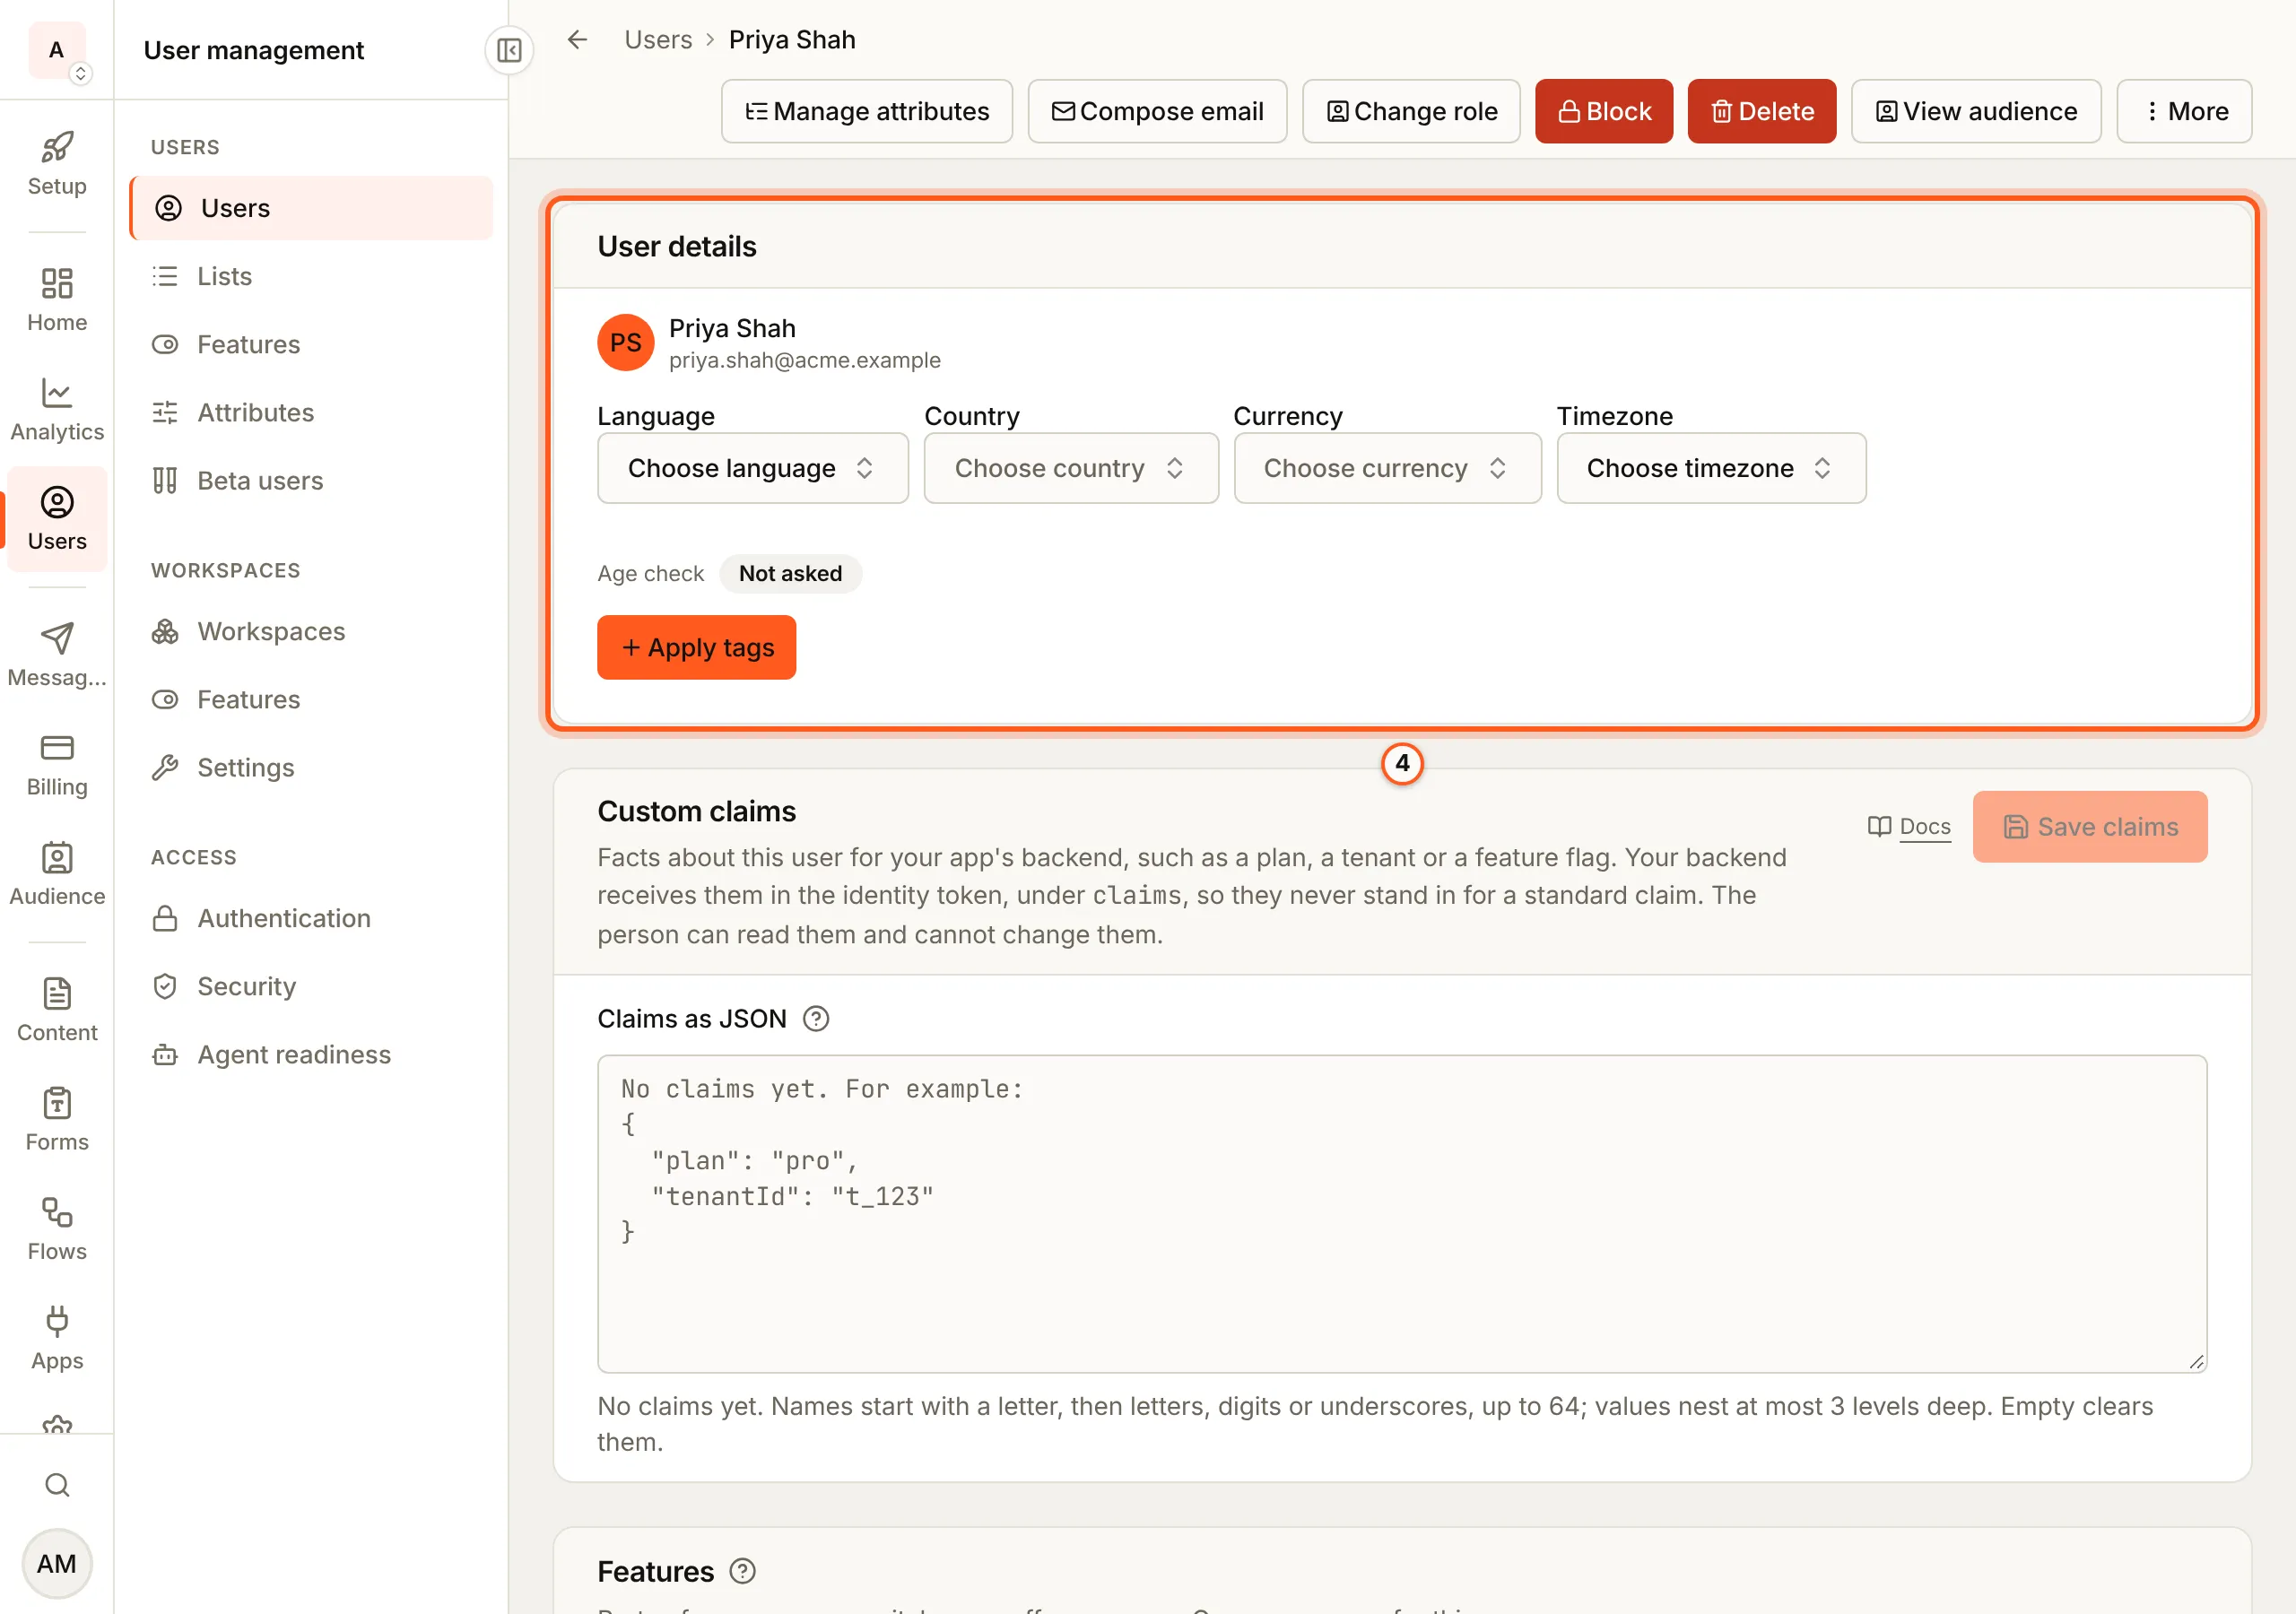
User details shows their name and email, their language, country, currency and timezone, their Age check answer and their tags. Below it are their custom claims, their features, and tabs for Emails, Notifications, Activity, Devices, Workflow runs and Billing. The buttons at the top are the actions in the steps below.
5. Make a tag
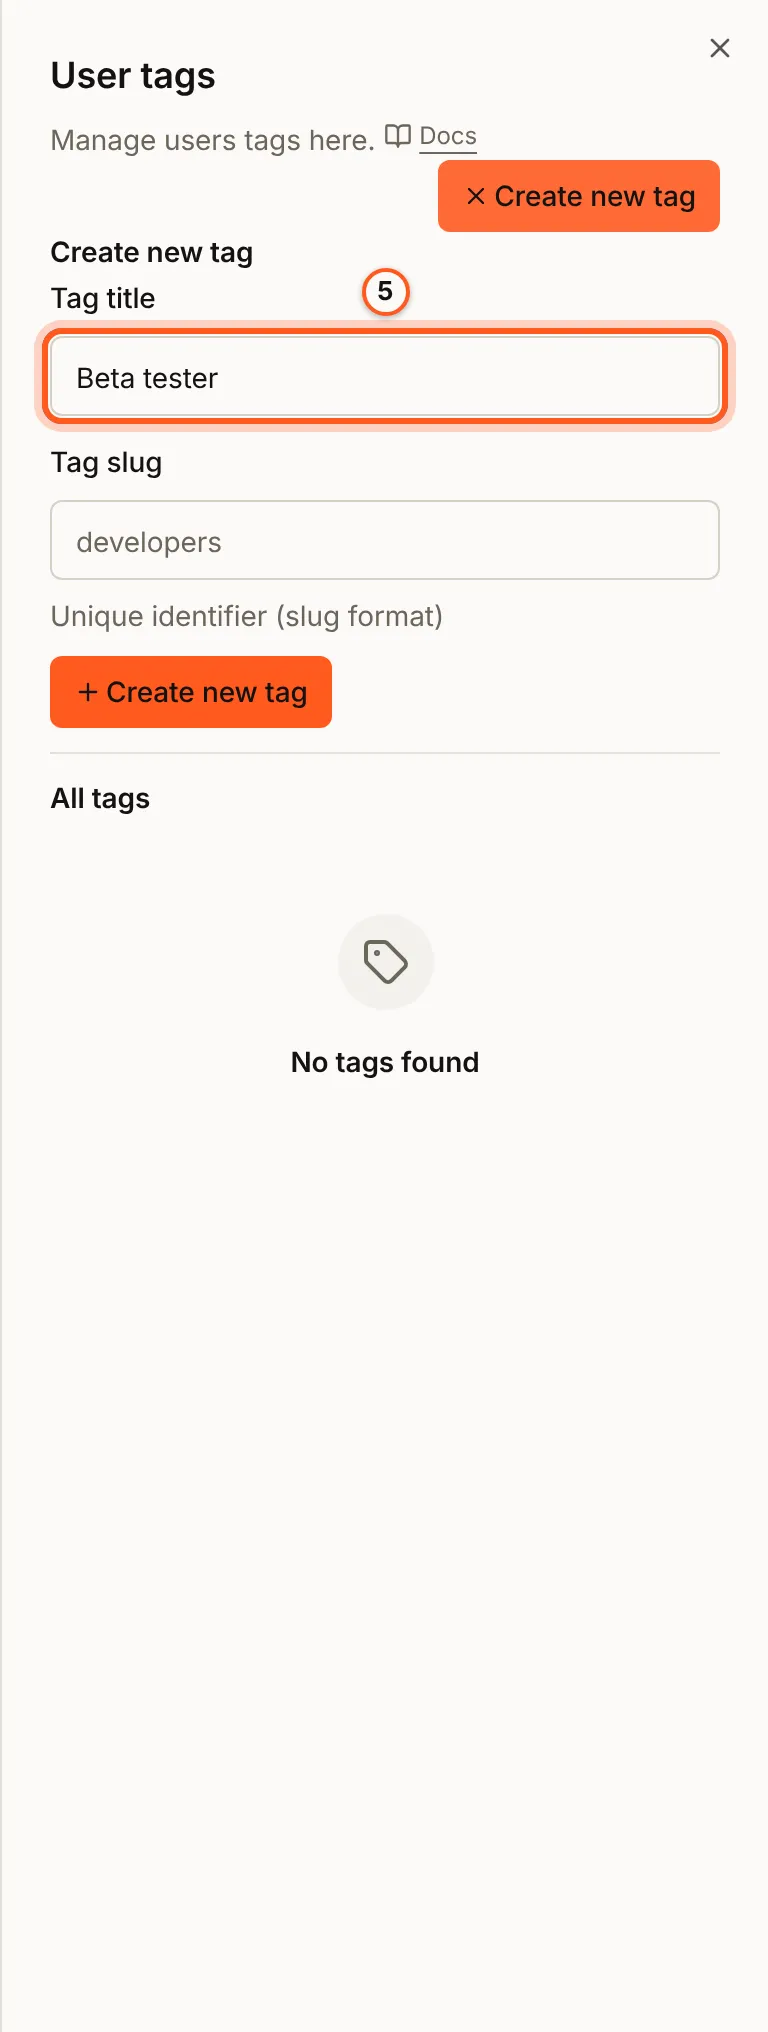
Tags group people, for a filter, a campaign or a workflow. On the Users page press Manage tags. In User tags, press Create new tag, fill Tag title and Tag slug, and press Create new tag again to save it.
6. Tag the person
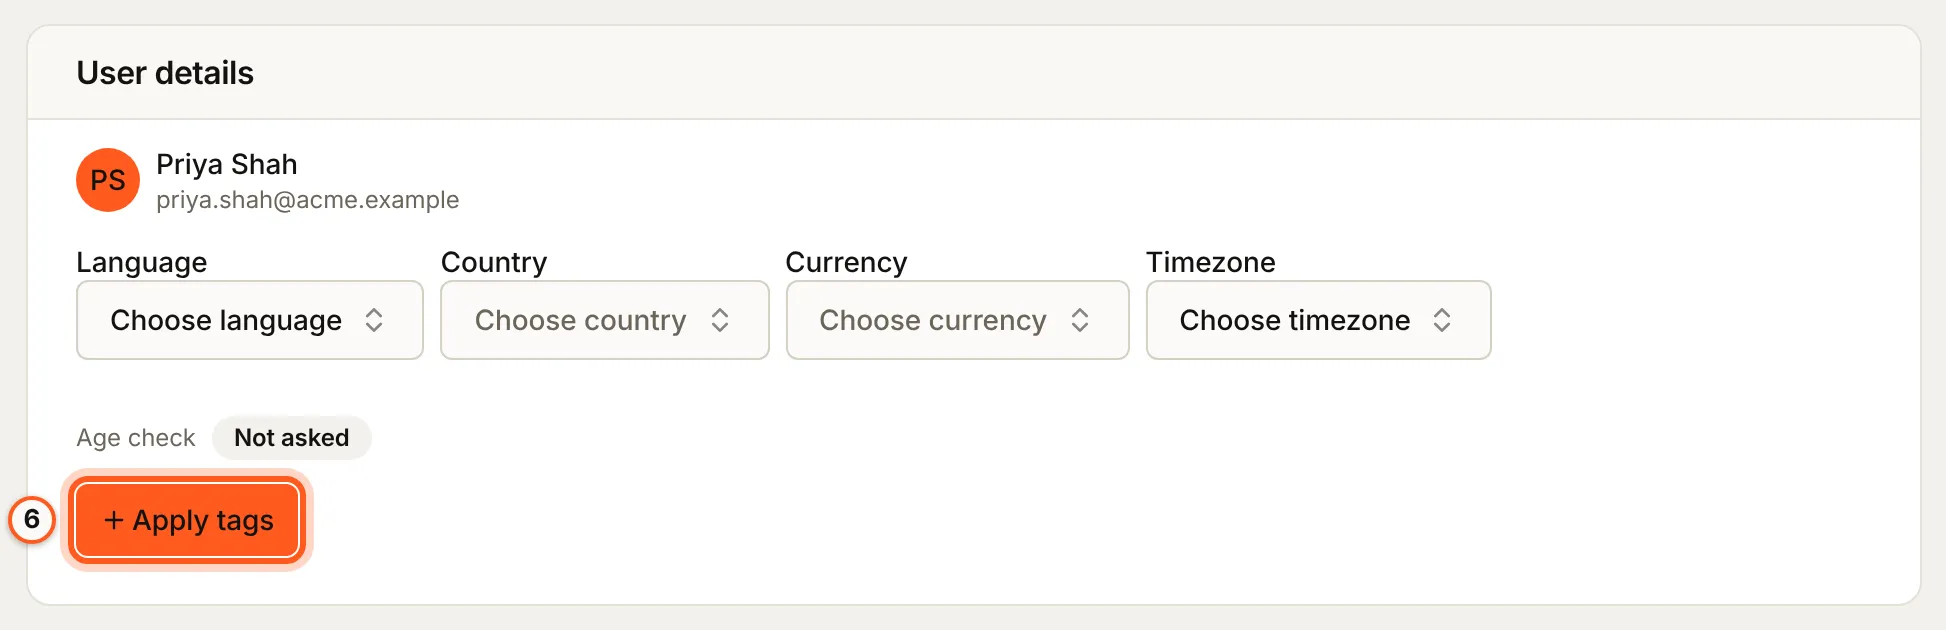
On their page, press Apply tags in User details and pick the tags.
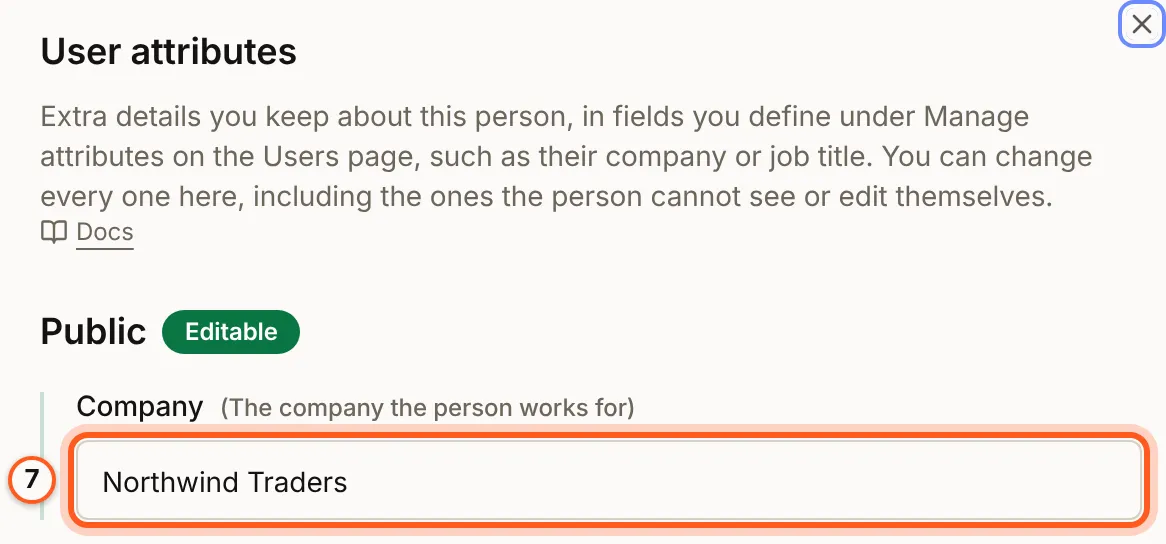
7. Edit their attributes
Press Manage attributes. User attributes lists every attribute you defined, grouped by whether the person can see and edit it, with their value. Change one and save. You can change every one here, including those the person cannot see or edit themselves.
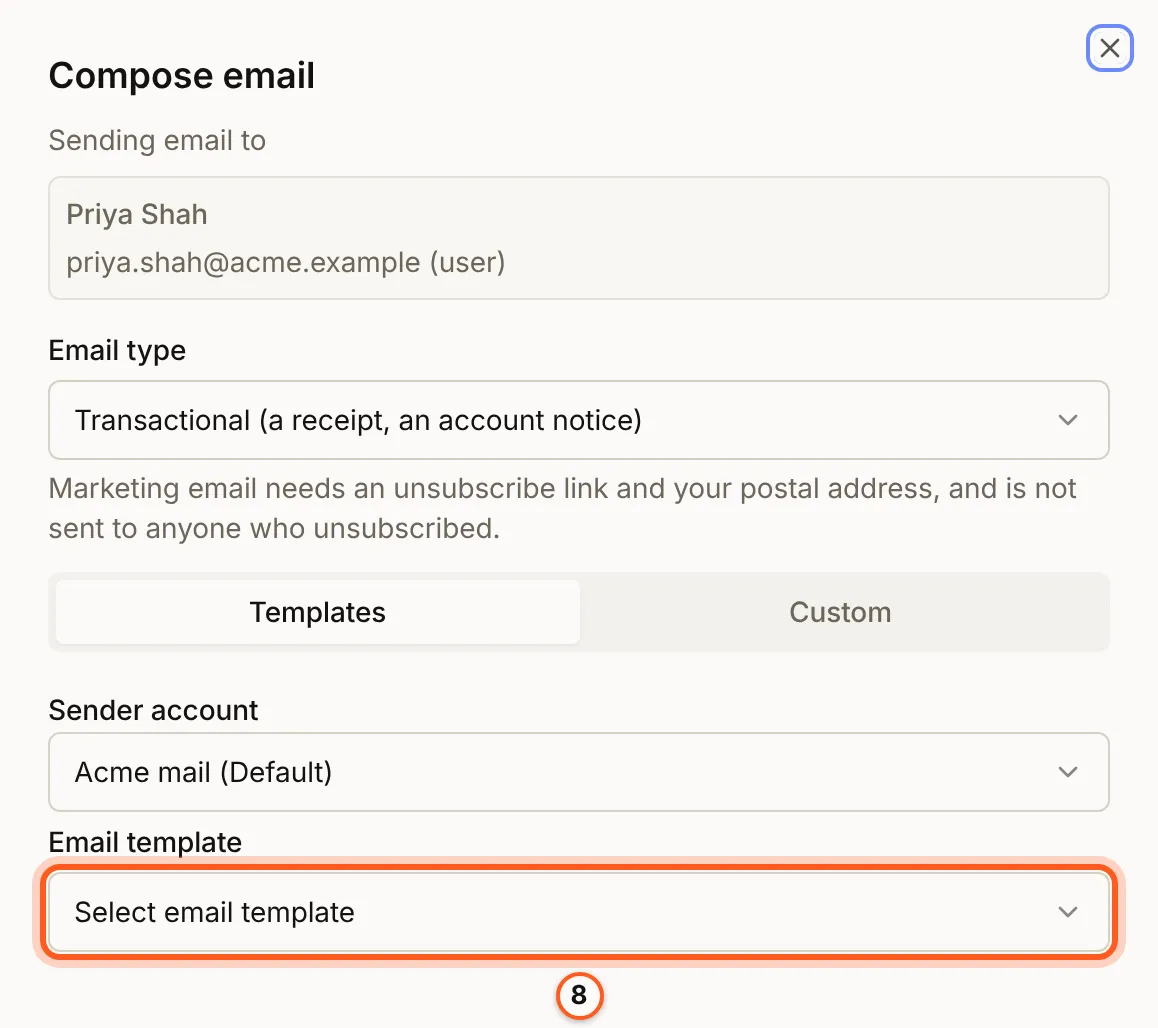
8. Write to them
Press Compose email. Choose the Email type (transactional, such as a receipt or an account notice, or marketing, which needs an unsubscribe link and your postal address), then Templates or Custom, the Sender account and the Email template, and send it. What they were sent is on the Emails tab.
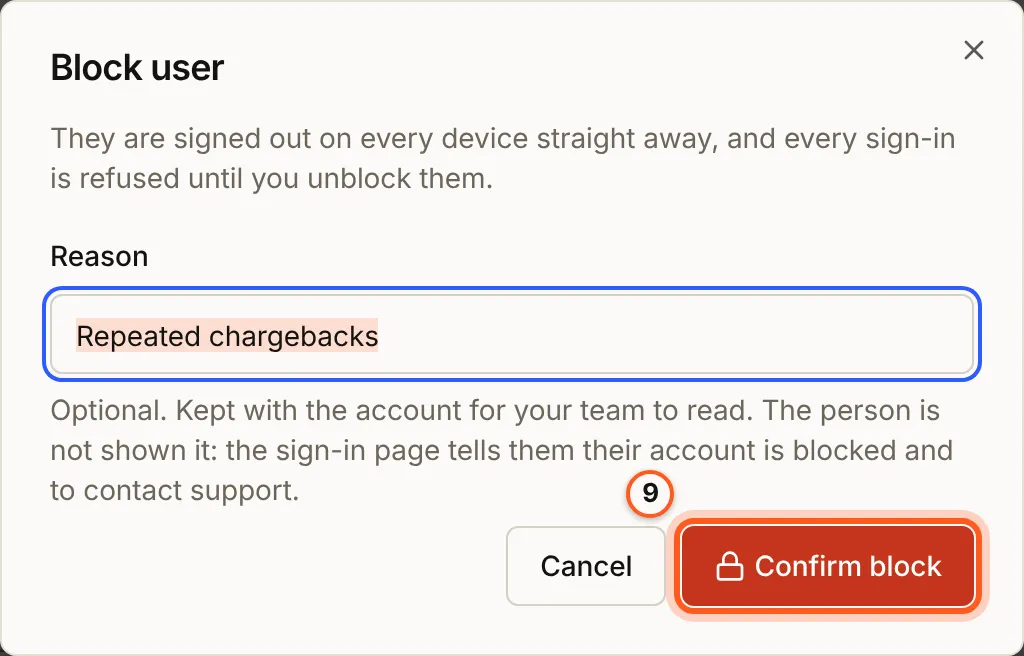
9. Stop them signing in
Press Block, give a Reason if you like, and press Confirm block. They are signed out on every device at once, and every sign-in is refused until you unblock them. The reason is for your team: the sign-in page only tells them their account is blocked and to contact support. Unblock on their page undoes it, and they keep everything.
To sign them out without blocking, use their Devices tab: see sessions and devices.
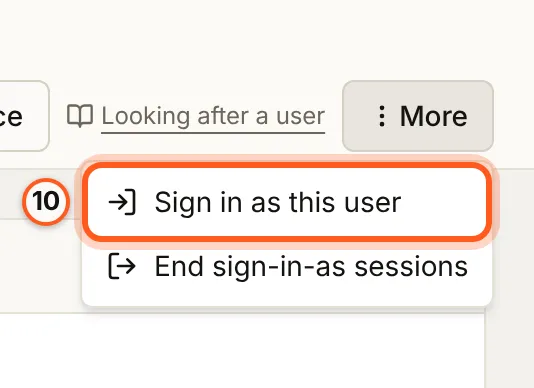
10. See what they see
More holds the rarer actions:
- Sign in as this user opens your app as them, read-only by default, and End sign-in-as sessions ends those sessions early. See signing in as a user.
- Reset two-step sign-in, for someone who has it on and lost their phone. See two-step sign-in.
- Clear age answer, for someone refused by the age check by mistake.
The last two show only when they apply to the person.
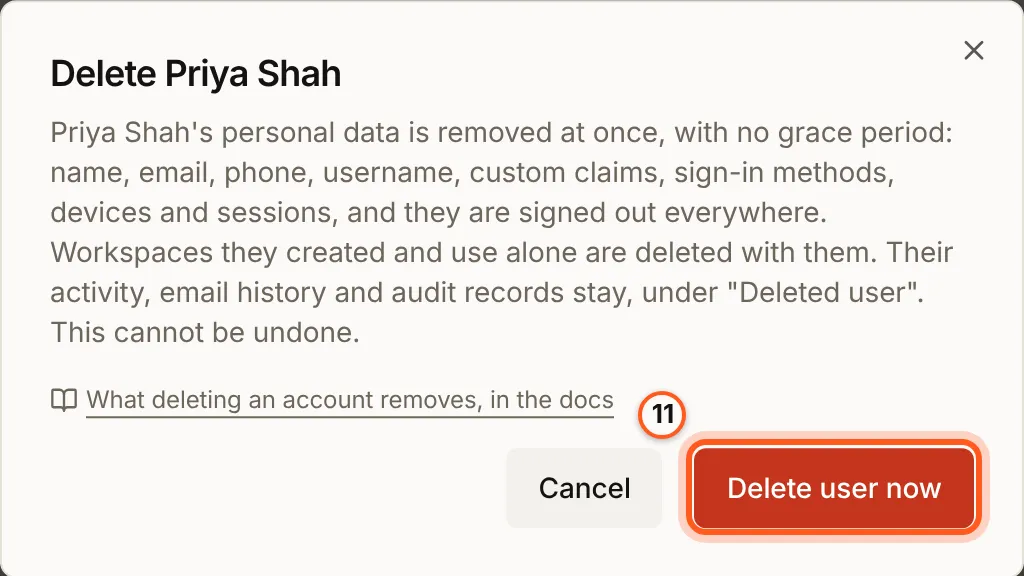
11. Delete them
Press Delete. The dialog says what goes and what stays: their personal data goes at once, with no grace period, and they are signed out everywhere; workspaces they created and use alone go with them; their activity, email history and audit records stay, under "Deleted user". Press Delete user now to confirm. It cannot be undone. See deleting accounts.
Check it works
Block a test user and try to sign in as them in your app: the sign-in page says their account is blocked. Unblock them and the same sign-in works.
Things to watch out for
- Blocking is reversible, deleting is not. For abuse or a dispute, block first.
- A tag is made on the Users page and applied on a person's page. Apply tags lists only tags that exist.
- Deleting a person deletes the workspaces only they used. A workspace with other members stays.
- Everything here is also an API. The routes are in Users, for a support tool of your own.
Next steps
- User attributes - define the fields you keep about people.
- Sessions and devices - sign one device or session out.
- Users overview - users, workspace members and audience contacts.