
Your pricing group
Put your published plan versions in a pricing group, publish it, and render it in your app by its slug, so your customers can see the plans and check out.
A pricing group is the set of plans your pricing page shows, side by side. Your app asks for it by its slug, and checkout takes a plan version that a pricing group sells. Like a plan, a group has versions: you add plan versions to a draft, put them in order and publish it.
Before you start
- At least one published plan version (Your first plan).
- A console role that can create pricing groups and their versions.
1. Create the group
Open pricing groups in the console
(opens the console in a new tab)In the Billing menu choose Pricing groups, then press Create group. Fill Name and Slug, here Main pricing and main-pricing: the slug is what your pricing page asks for. Leave Who pays on A workspace for plans a workspace buys. Press Create.
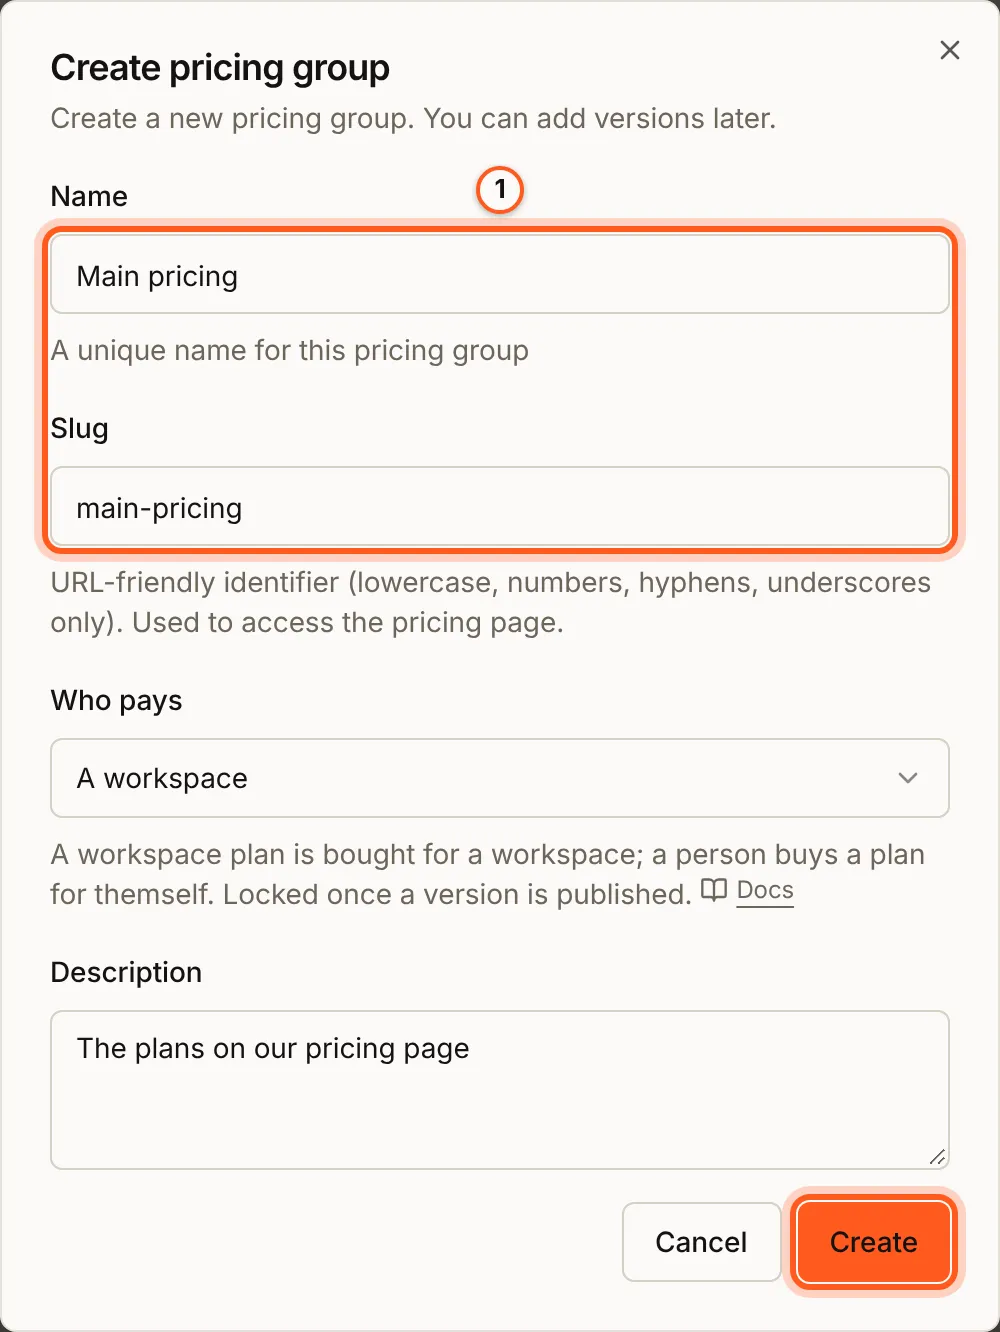
Who pays is locked once a version of the group is published: "A workspace plan is bought for a workspace; a person buys a plan for themself."
2. Manage versions
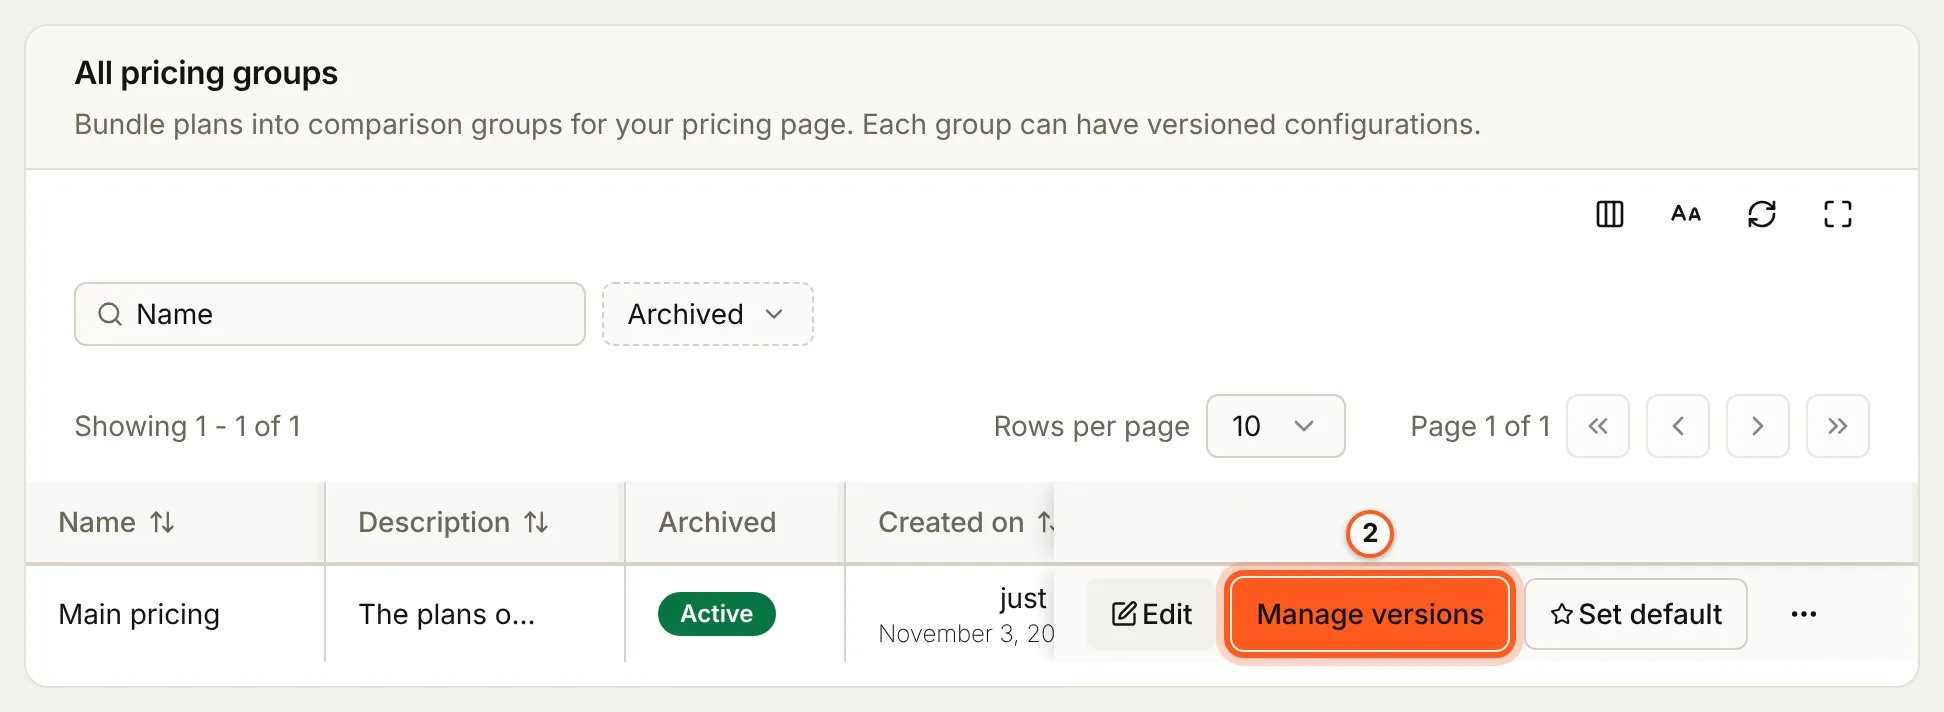
On the group's row, press Manage versions.
3. Create the first version
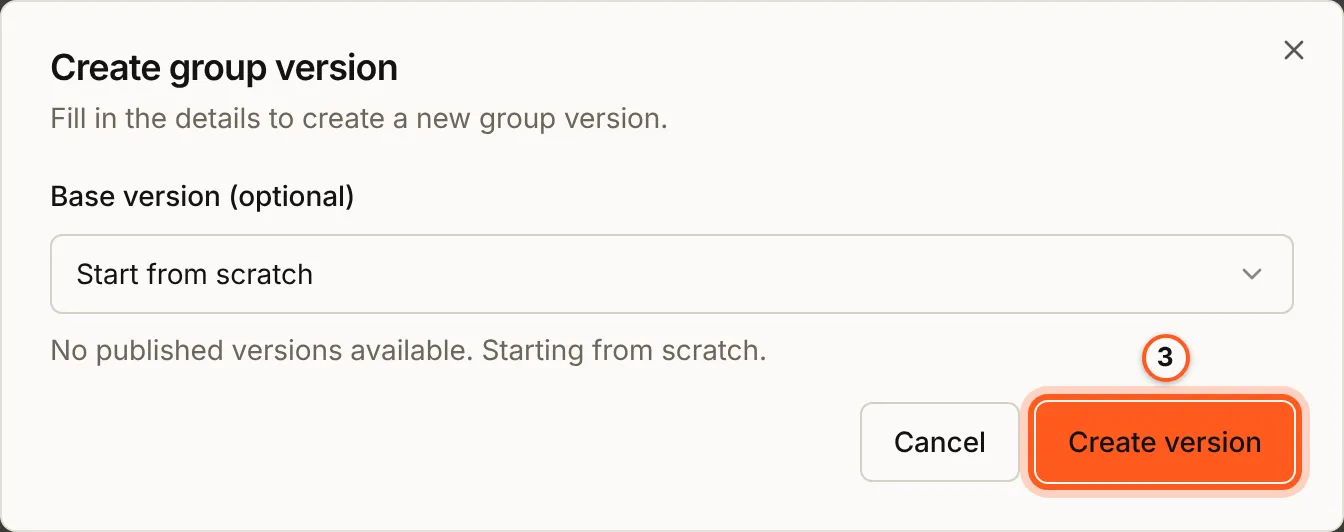
Press Create version. With no published version to copy yet, the dialog starts from scratch. Press Create version in it.
4. Open the draft
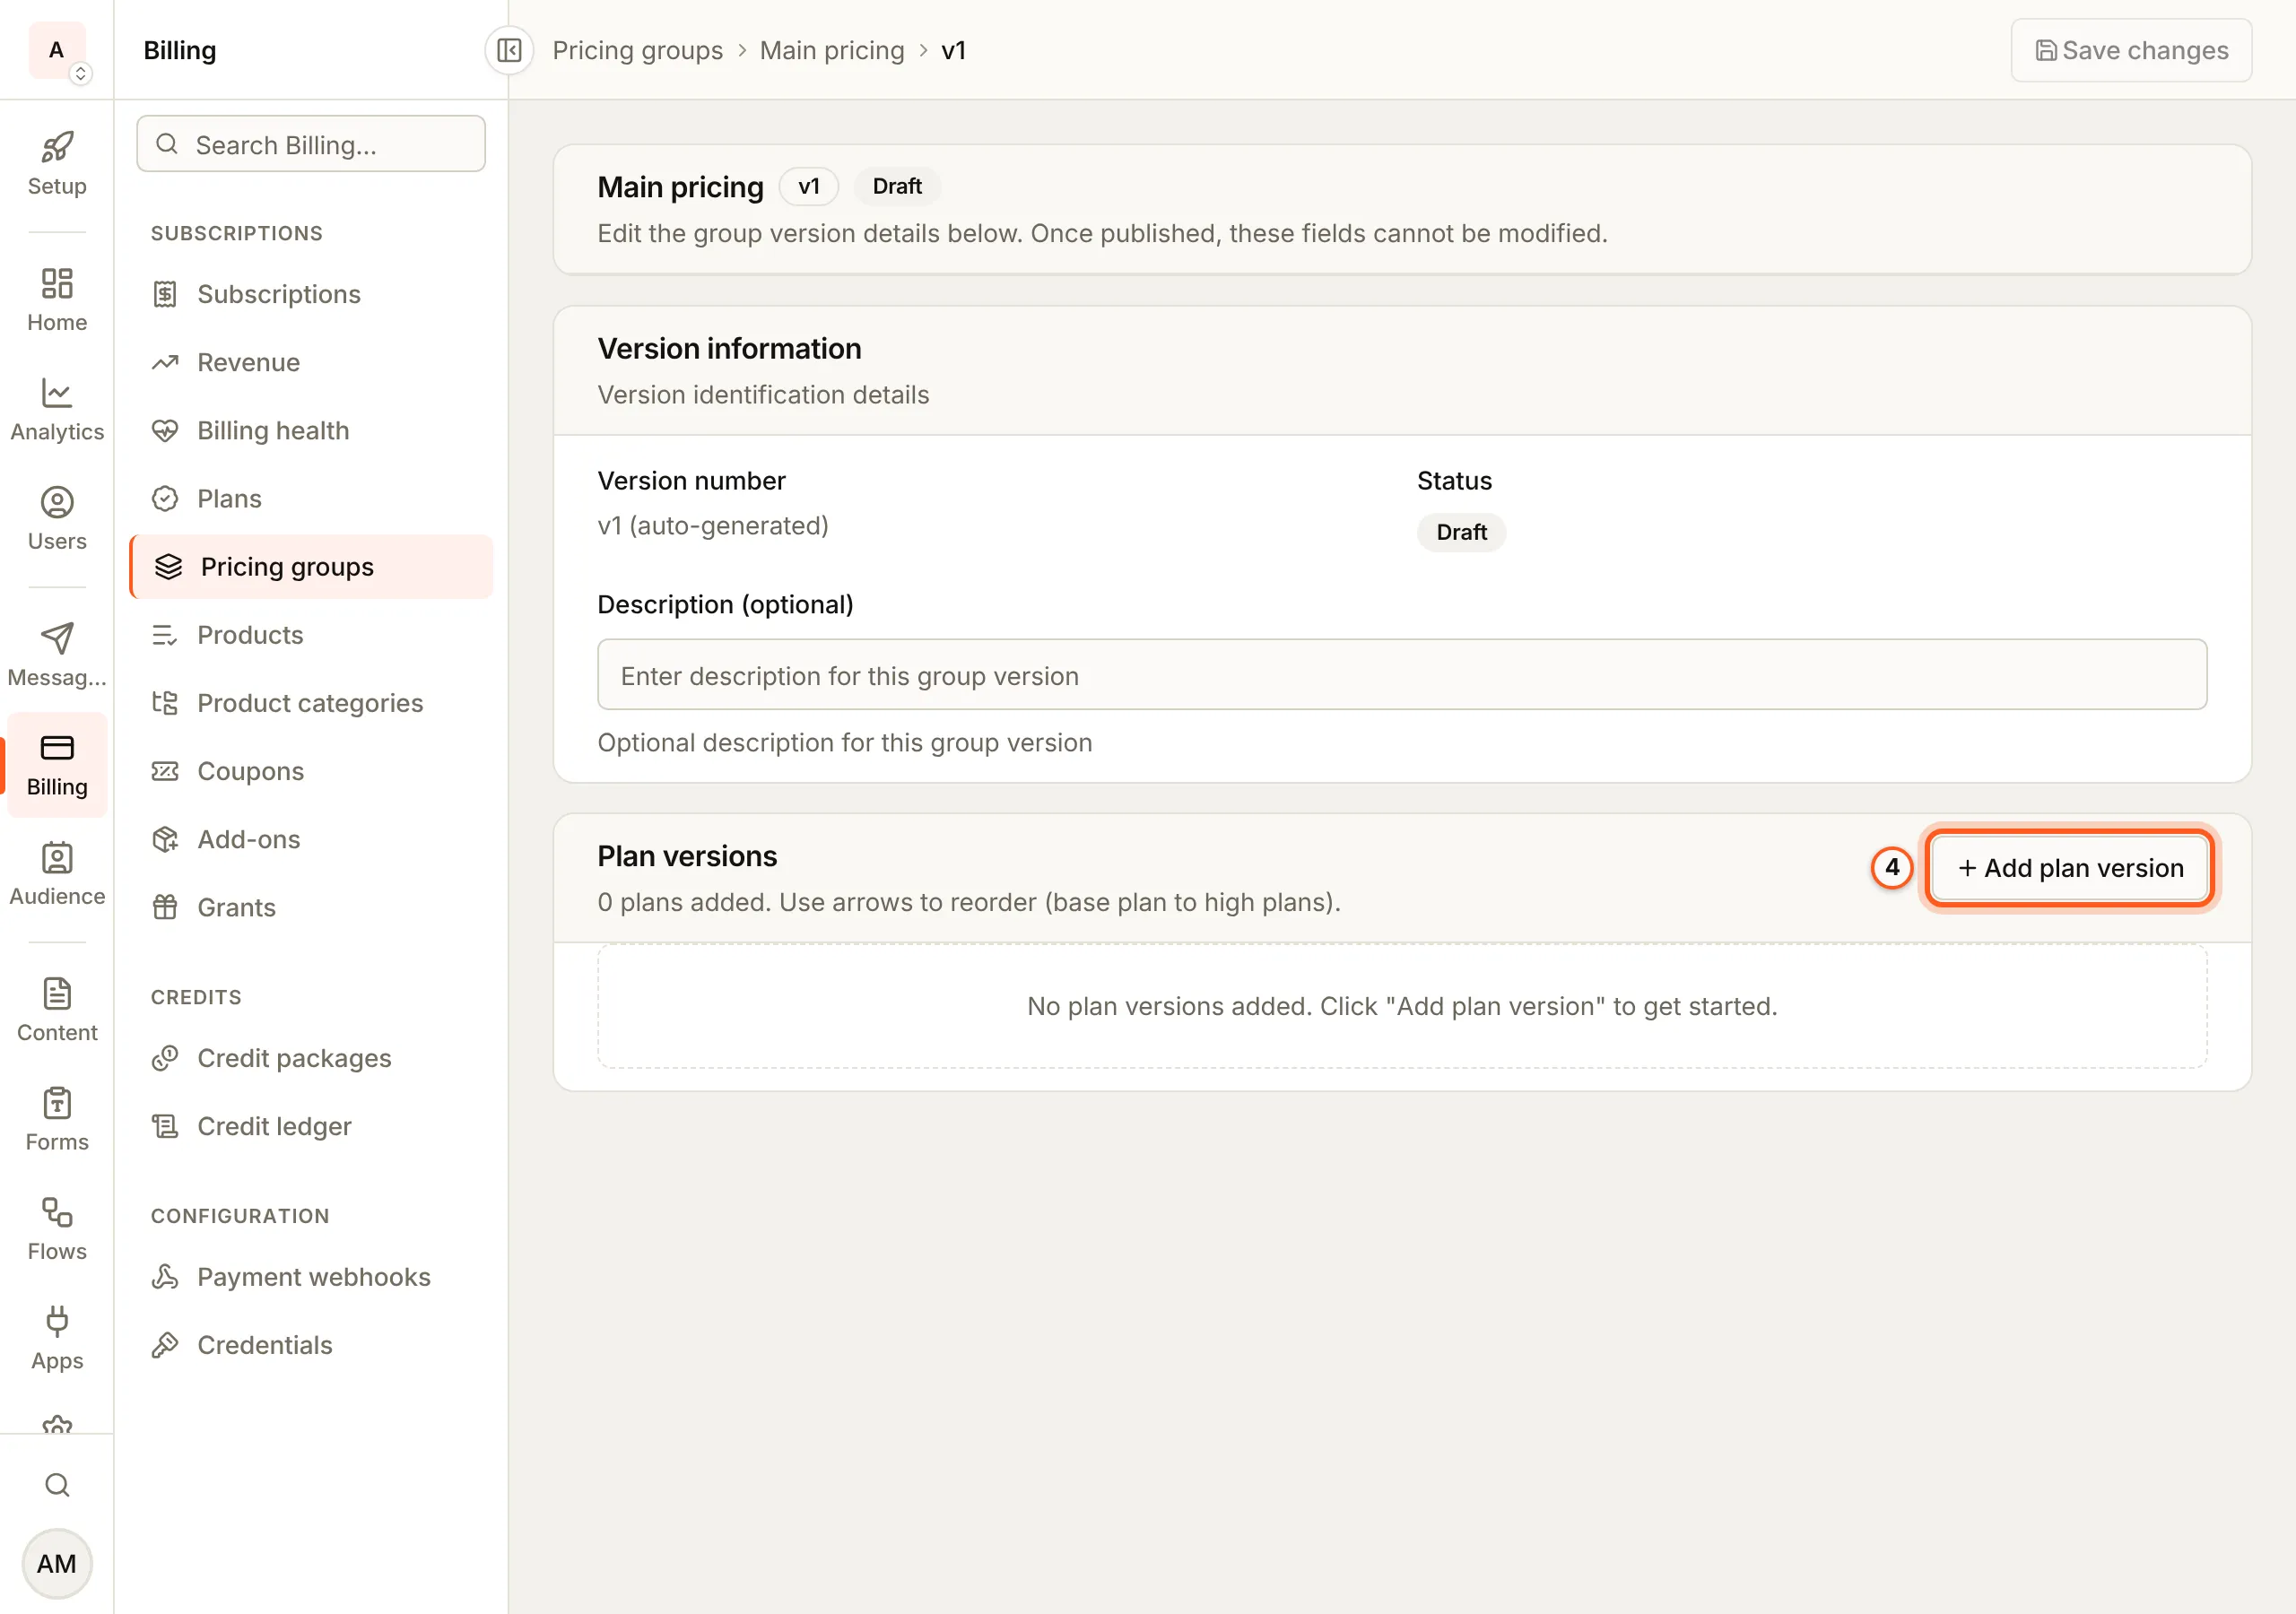
Press Edit on v1. Under Plan versions, press Add plan version.
5. Add your plan versions
Add plan versions lists your published plan versions. Tick each one the page should show, here Pro - v1, and press Select.
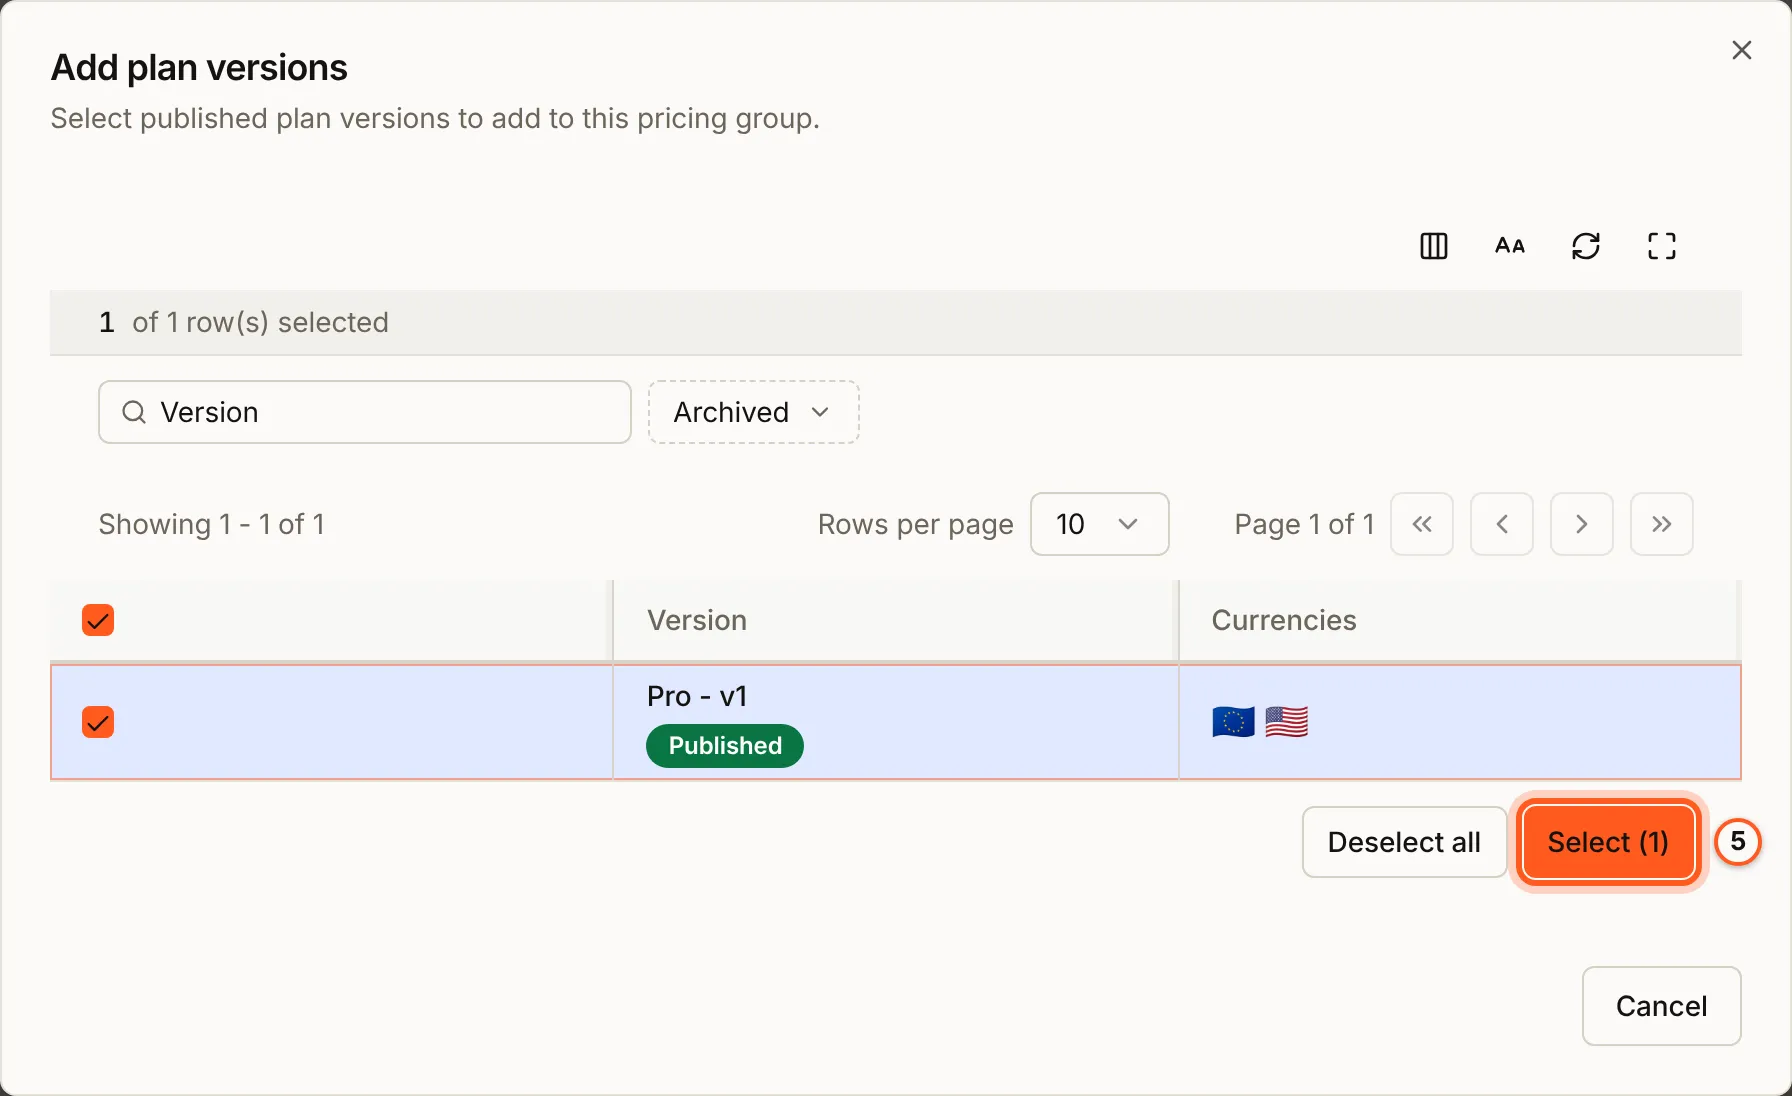
With more than one plan, use the arrows beside each to put them in order, from the base plan up.
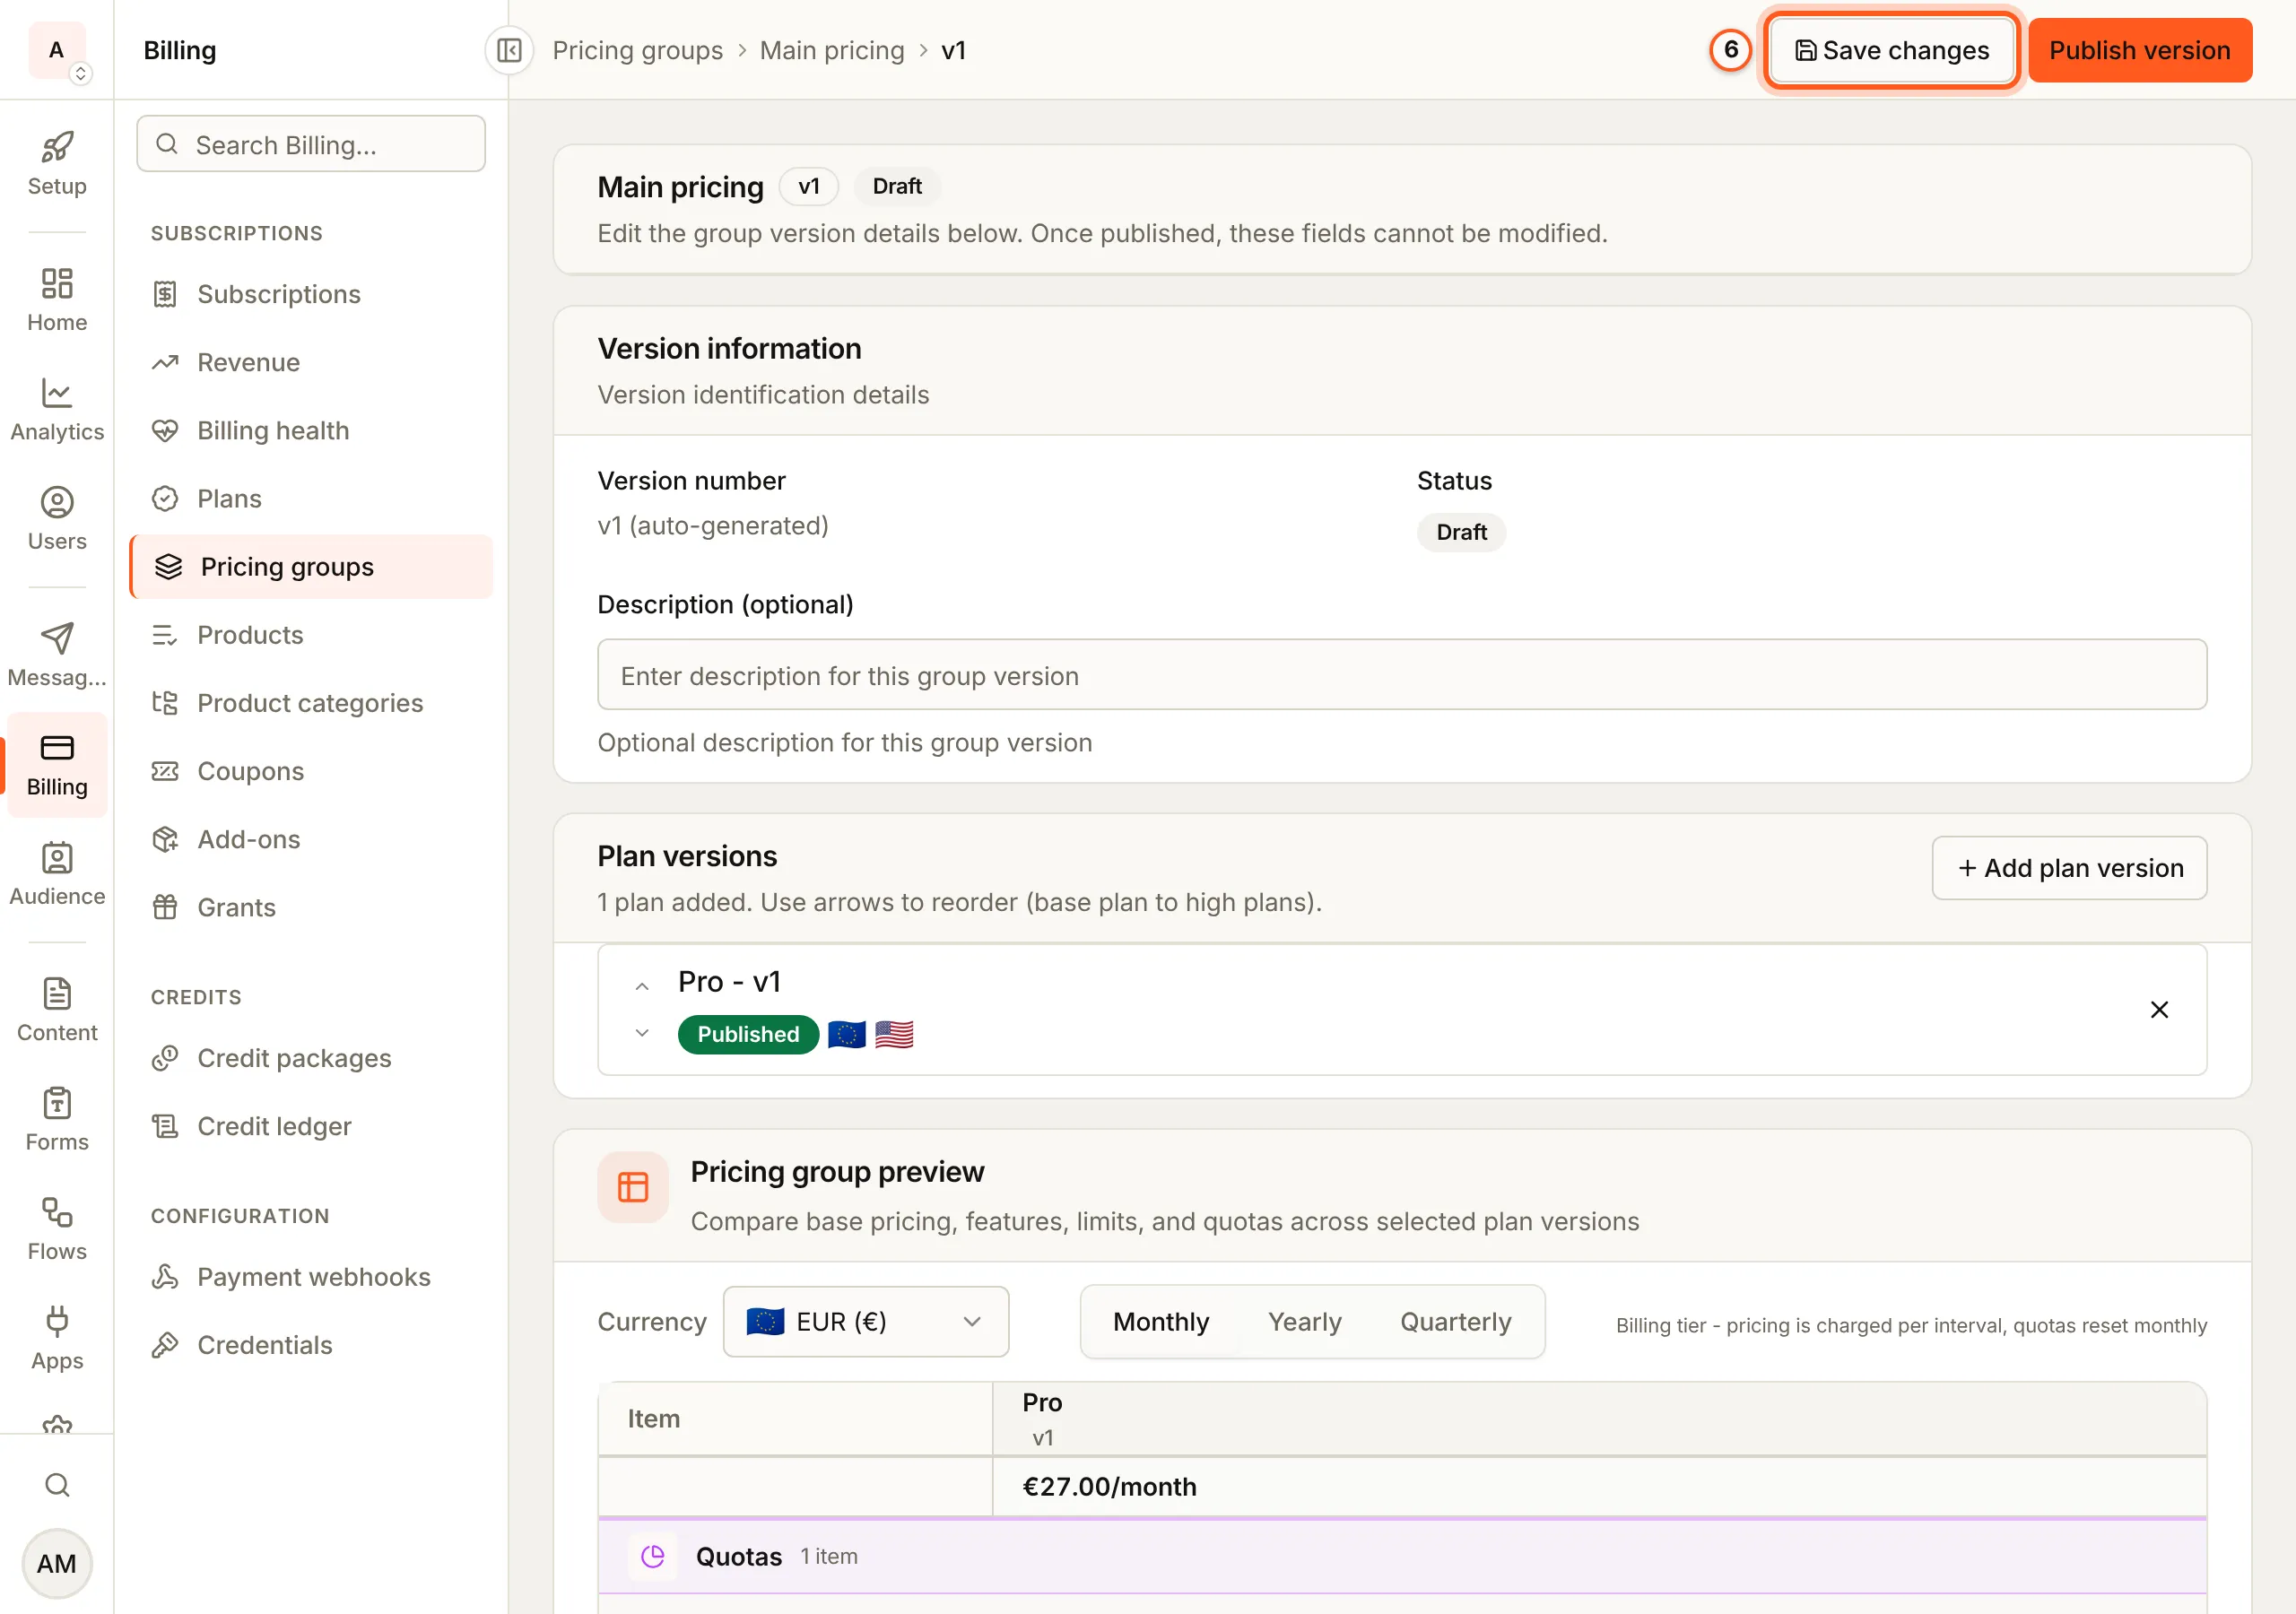
6. Save the draft
Press Save changes. Pricing group preview, below the plans, compares their prices, features, limits and quotas in each currency and interval.
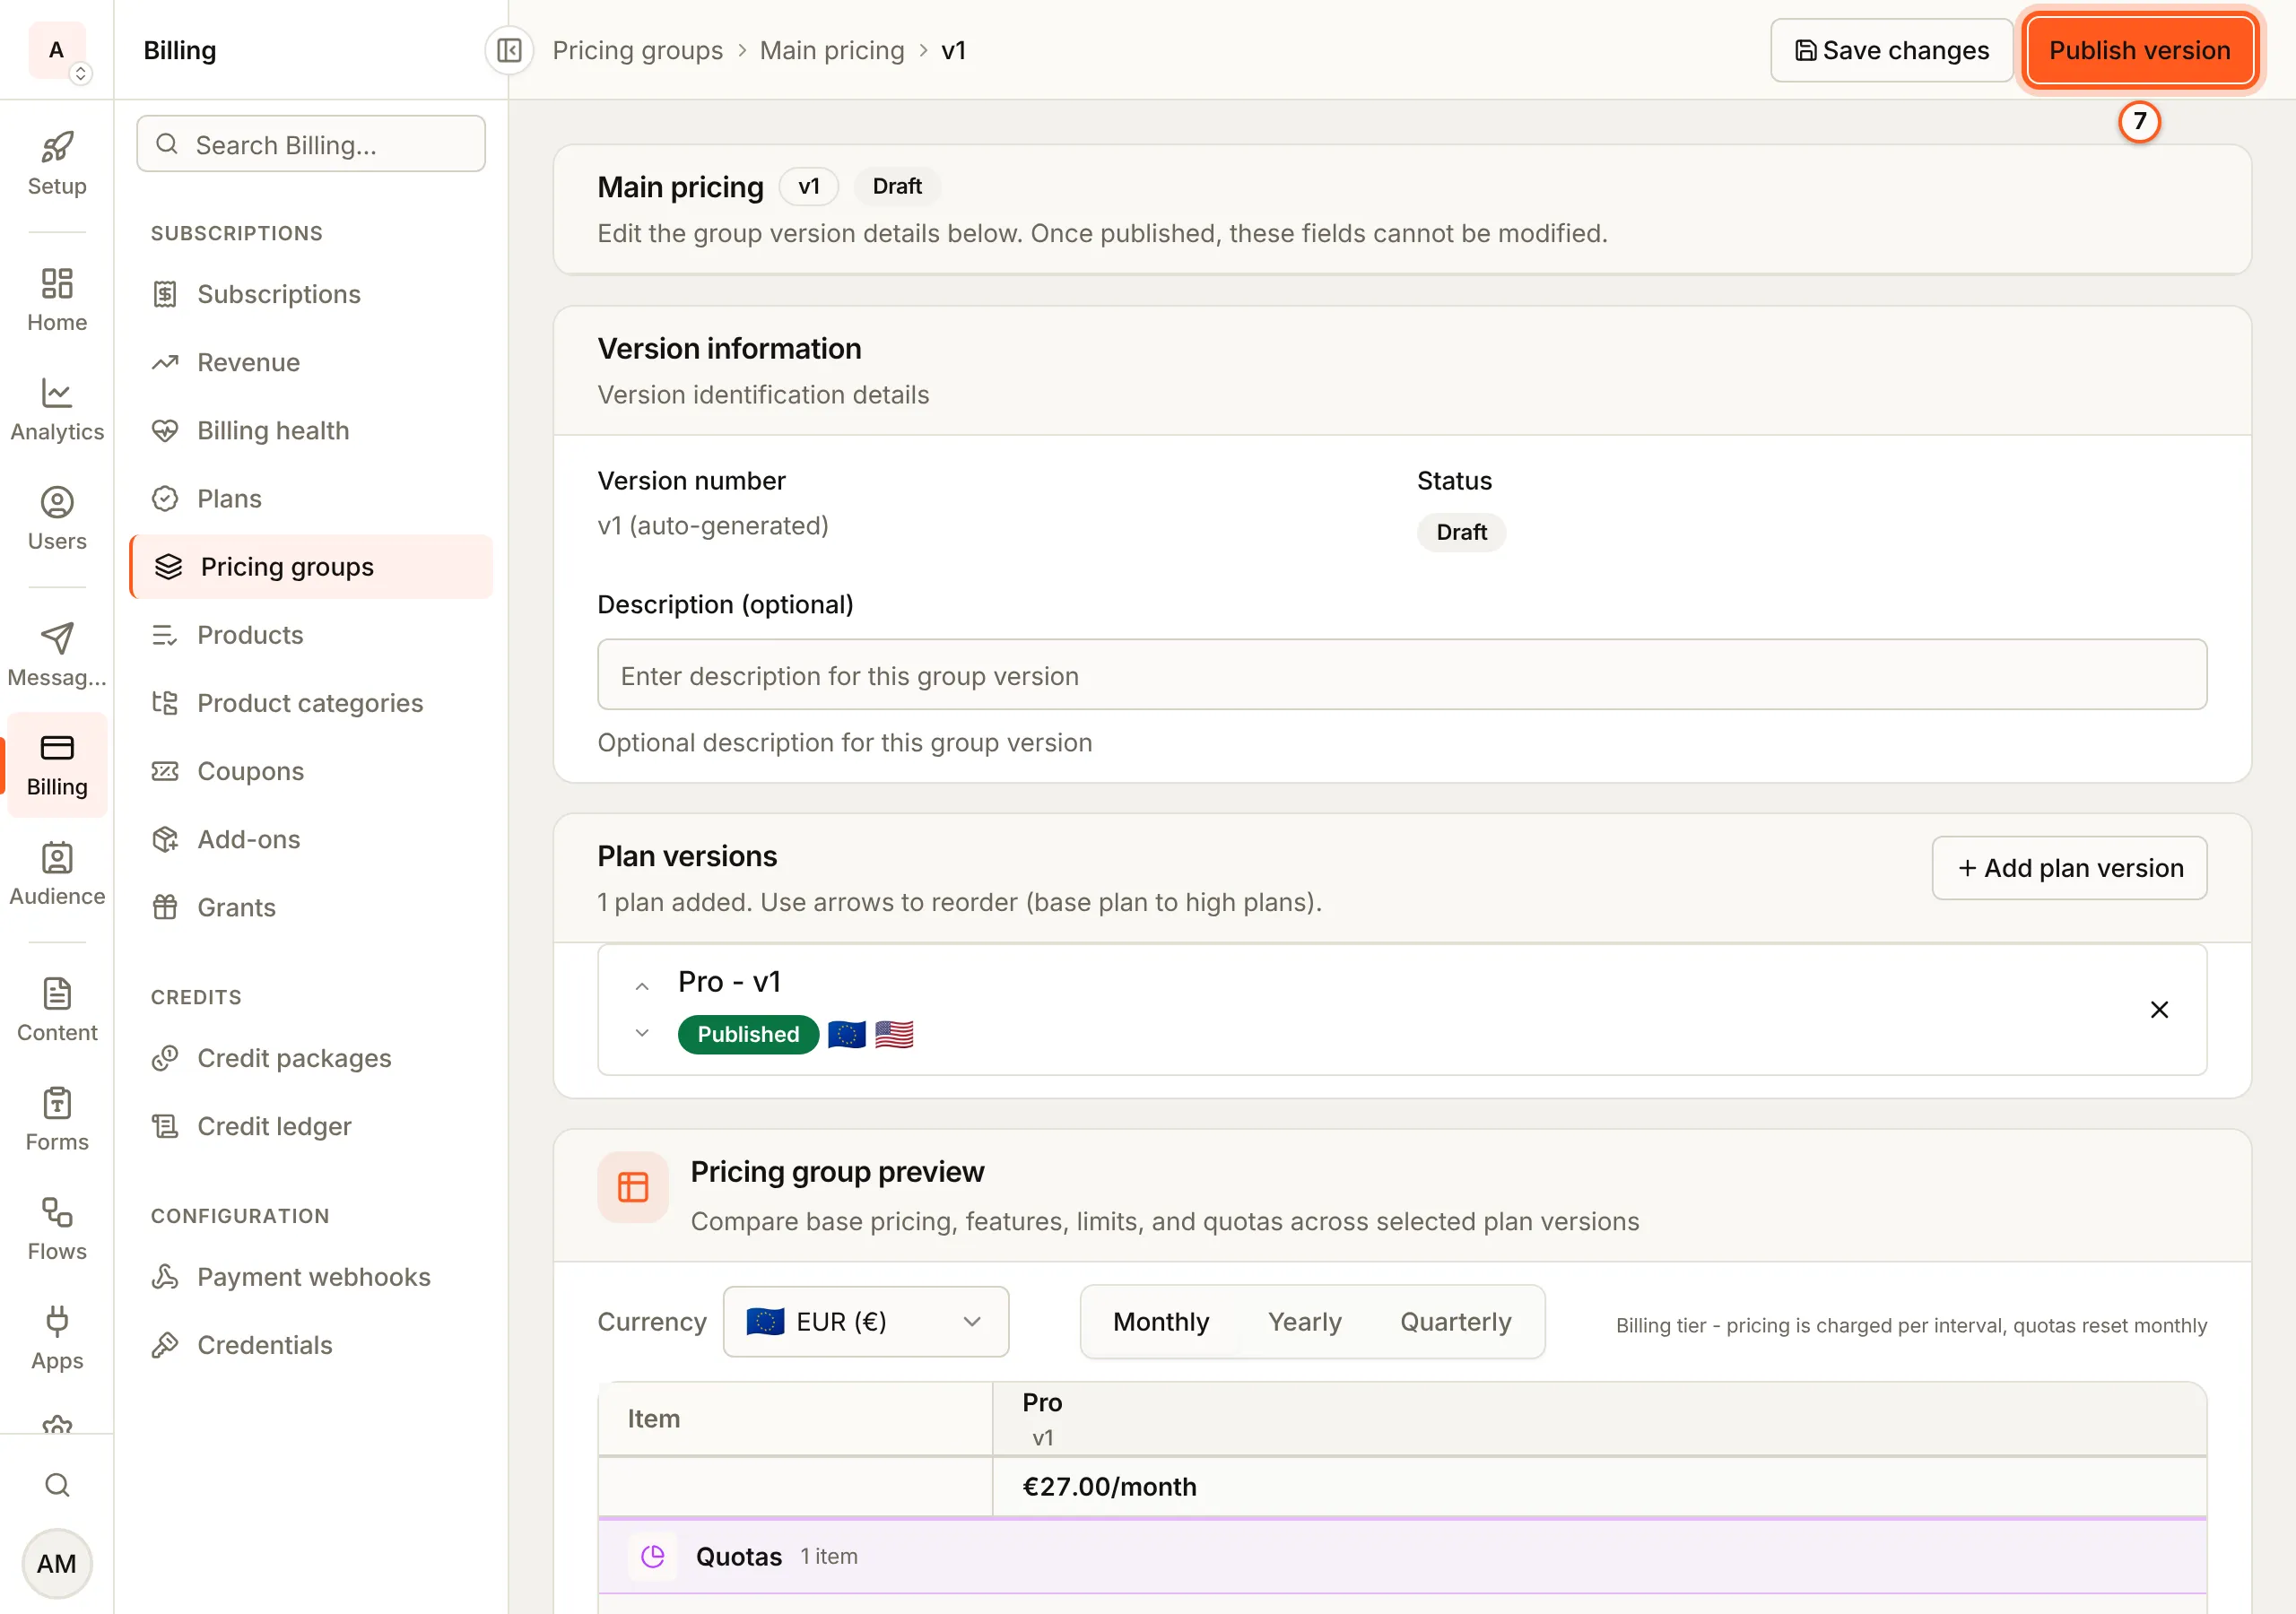
7. Publish it
Press Publish version. Once published, the group version cannot be changed; a later change is a new version.
8. Show it in your app
Render the group by its slug with PricingPage, from @buildbase/sdk/react:
import { PricingPage } from '@buildbase/sdk/react';

function Pricing() {
  return (
    <PricingPage slug="main-pricing">
      {({ loading, error, plans, selectPlan }) => {
        if (loading) return <p>Loading plans...</p>;
        if (error) return <p>{error}</p>;
        return plans.map((plan) => (
          <button
            key={plan._id}
            onClick={() => selectPlan(plan._id, 'monthly', 'usd')}
          >
            Choose {plan.name}
          </button>
        ));
      }}
    </PricingPage>
  );
}
Pricing page covers the rest: the comparison table, highlighted items and metered allowances.
Check that it worked
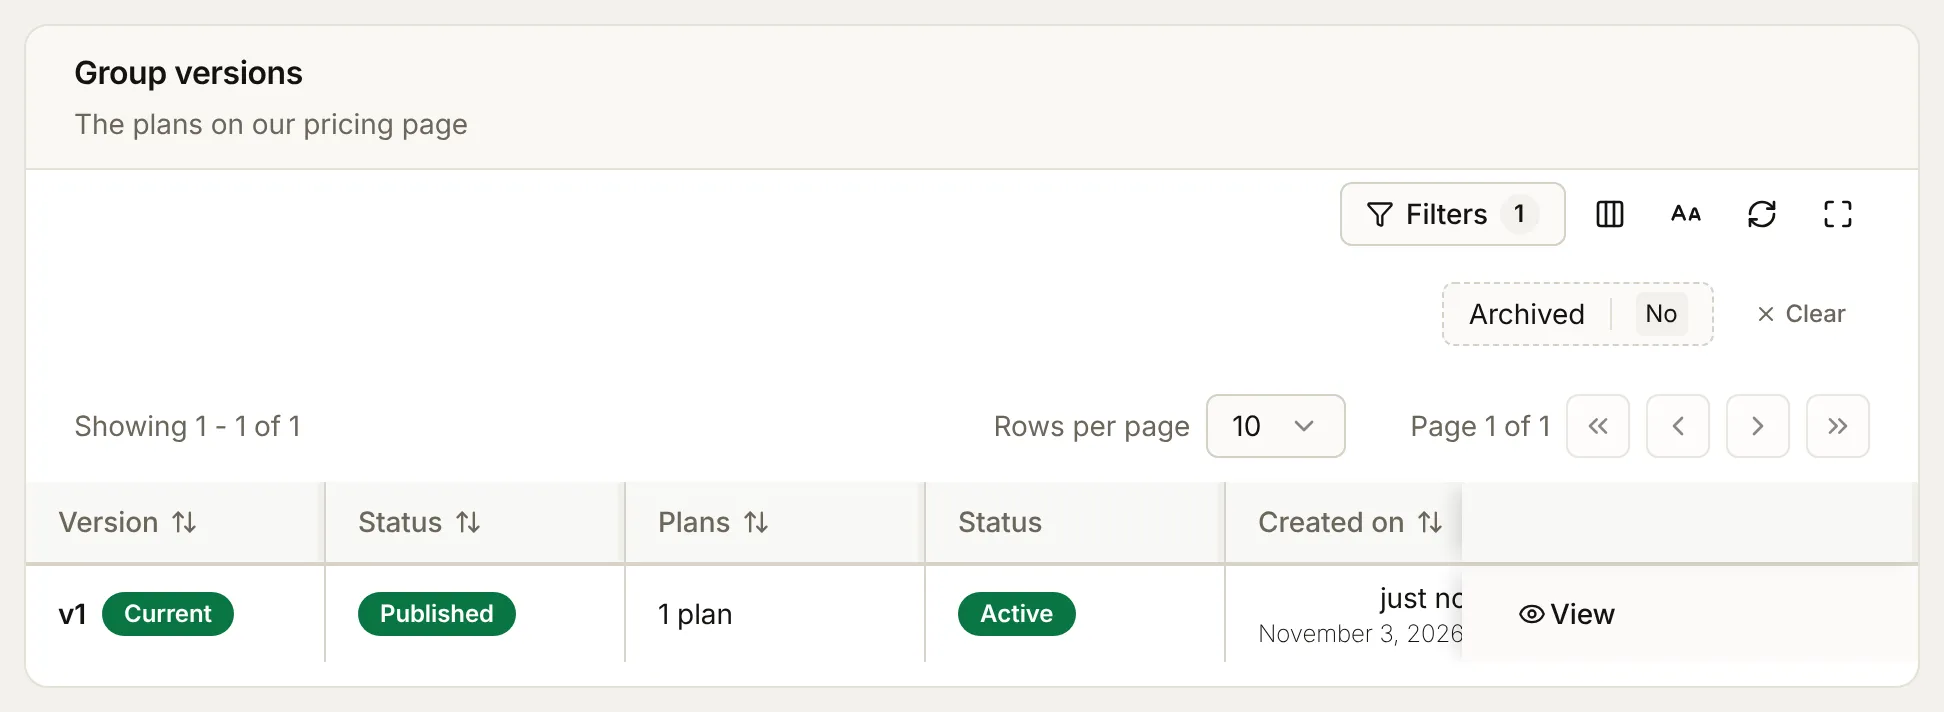
Billing > Pricing groups > Manage versions lists v1 as Current and Published, with its plans.
On the plan version page, Sold to now reads Workspaces, the payer of the group it sits in, in place of Not in a pricing group yet.
Things to watch out for
- Only published plan versions can be added. Publish the plan version first.
- A plan version in no group cannot be checked out from your app. It answers "Plan version not found"; for a one-off deal, create a checkout session with the org API instead (billing overview).
- A group version that lists an archived plan cannot be published.
Next steps
- Your first test subscription - subscribe from your app with Stripe's test card
- Pricing page - render the group, its comparison table and metered allowances
- Billing overview - checkout, plan changes, trials and cancellations
- Entitlements - read what a workspace's plan includes