
Turn a beta on for chosen users
Make a user flag in the console, switch it on, give it to chosen people, a tag, a list or everyone, and show the feature only to them in your app.
A user flag turns one part of your app on for chosen people: a beta for your most engaged users, a new screen for your own team first. You make it in the console, choose who gets it, and your app shows the part only to them. This guide gives Acme Analytics' new report editor to Priya Shah first.
Before you start
A console role that can create user Features, and room in your plan for one more live flag. Giving a flag to people, tags or lists needs a plan with advanced targeting.
1. Open Features
Open User features in the console
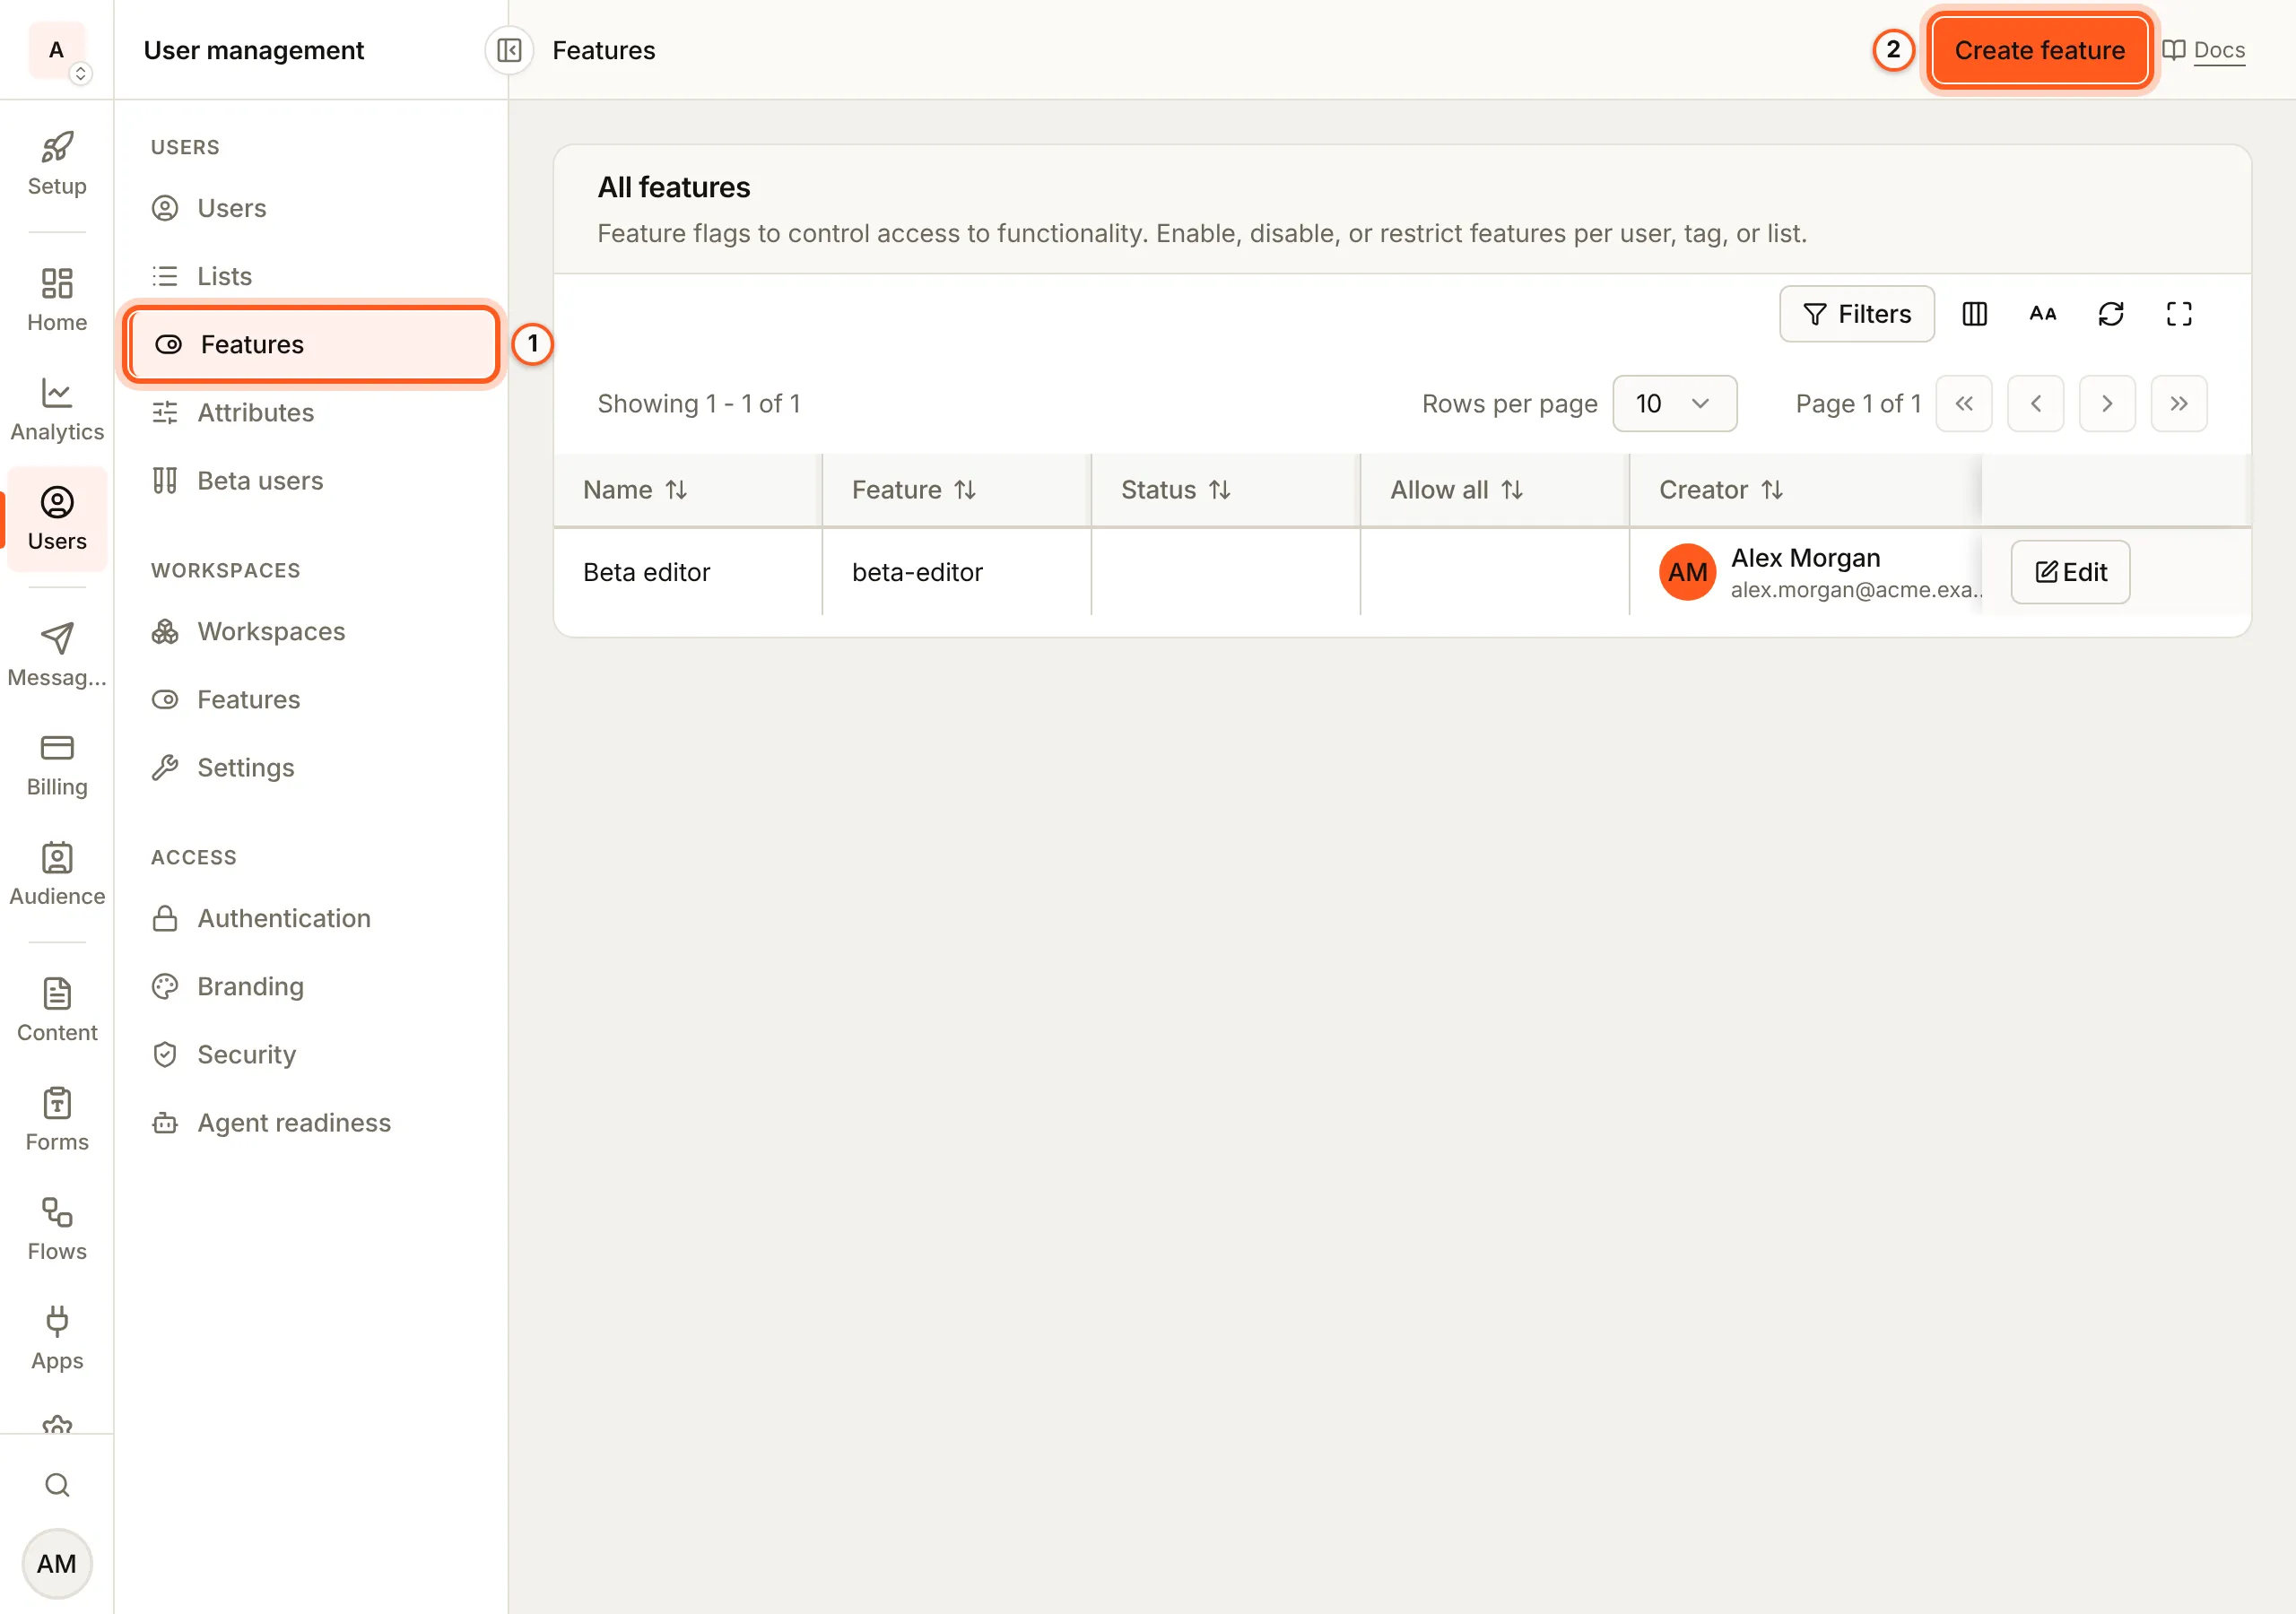
(opens the console in a new tab)In the left rail choose Users, then Features under Users. User features lists each flag with its Status and whether it is on for everyone (Allow all).
2. Make the flag
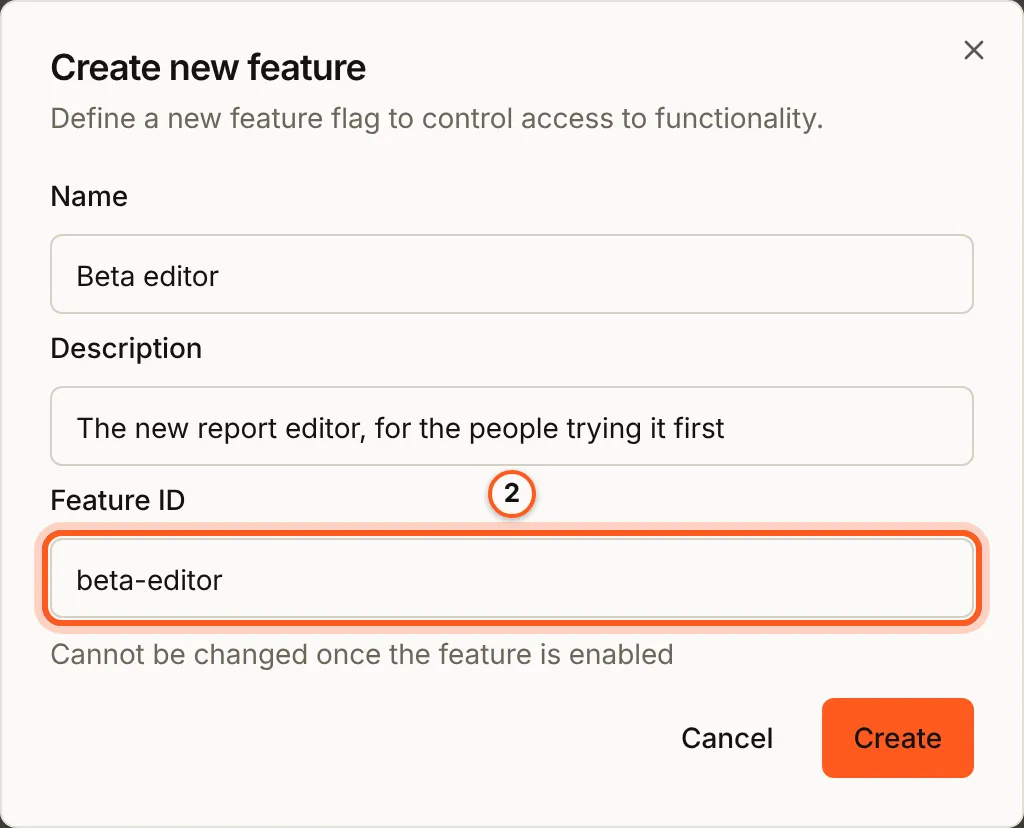
Press Create feature. Fill Name (what your team reads), Description,
and Feature ID, the name your code checks, such as beta-editor. Press
Create.
3. Switch it on
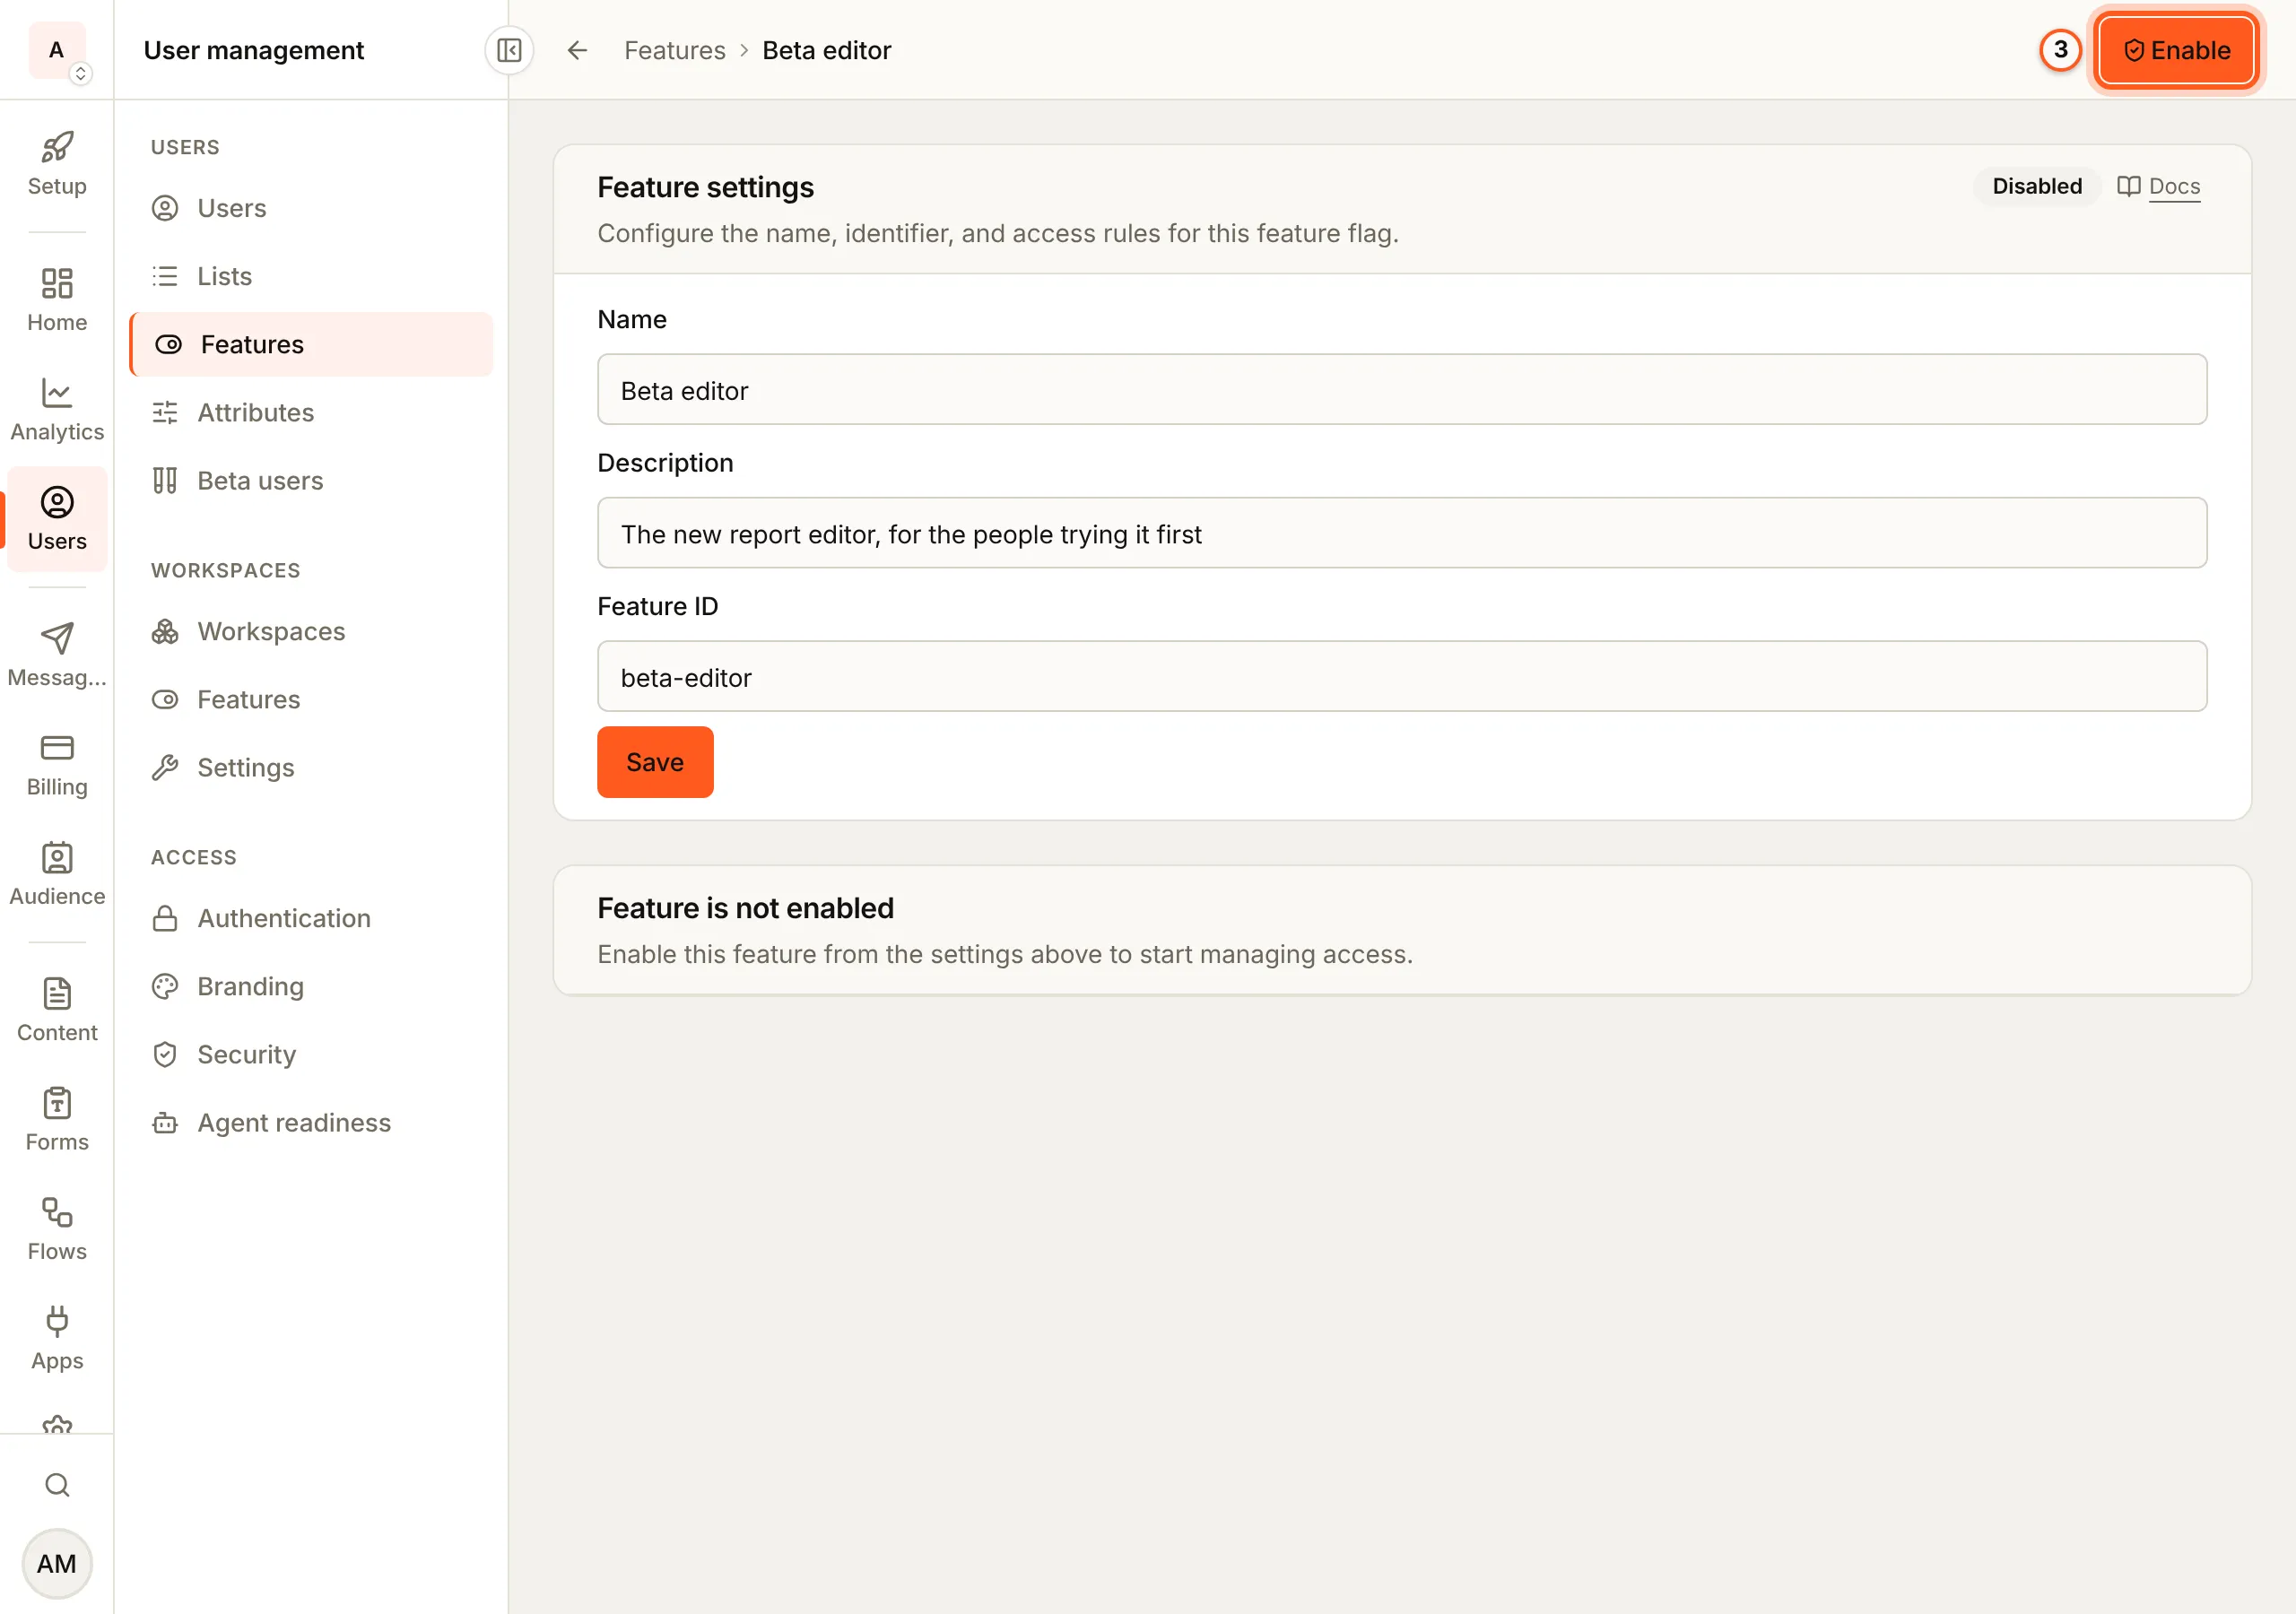
Open the flag. A new flag is off, and Feature is not enabled says so: press Enable at the top. While it is off, it is off for everyone, whoever it targets.
4. Choose who gets it
Once it is on, four cards choose who gets it. Use any mix:
- Tagged users, with Add user tags: everyone with one of the tags.
- Tagged audience, with Add audience tags: every user whose linked audience member has one of the tags.
- Users by list, with Add user lists: every member of a user list.
- Individual users, with Add users: the people you pick.
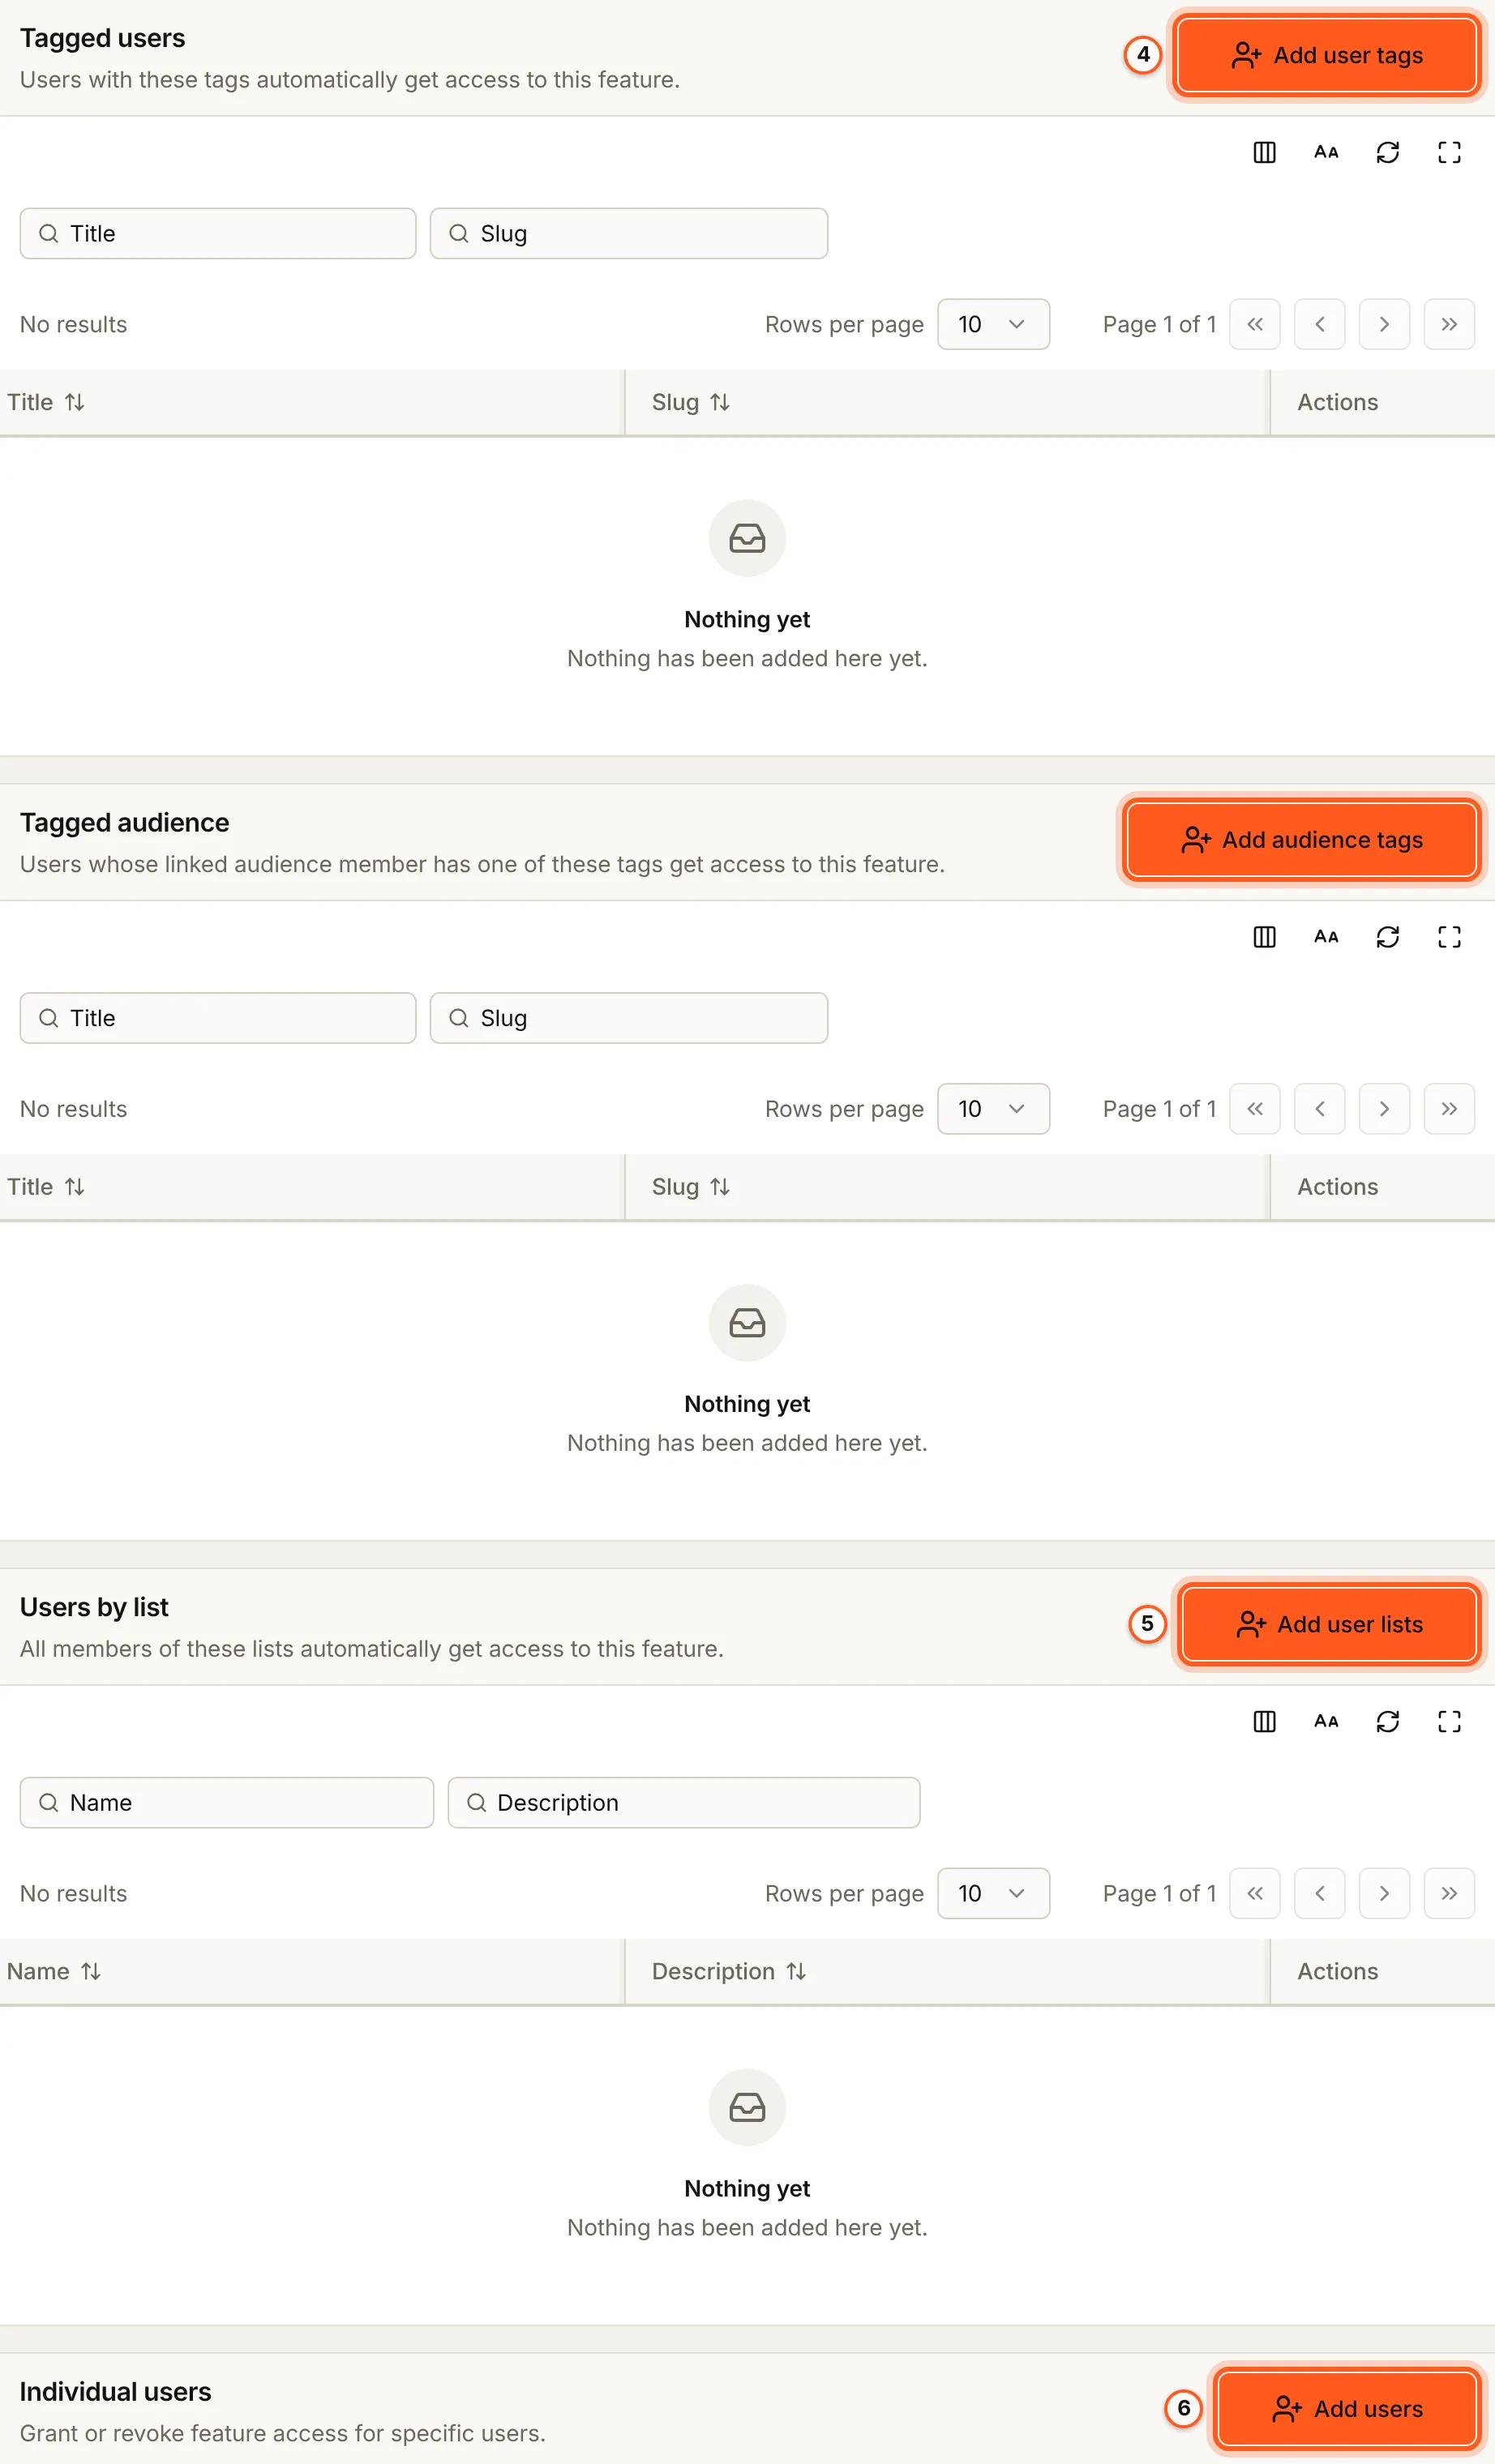
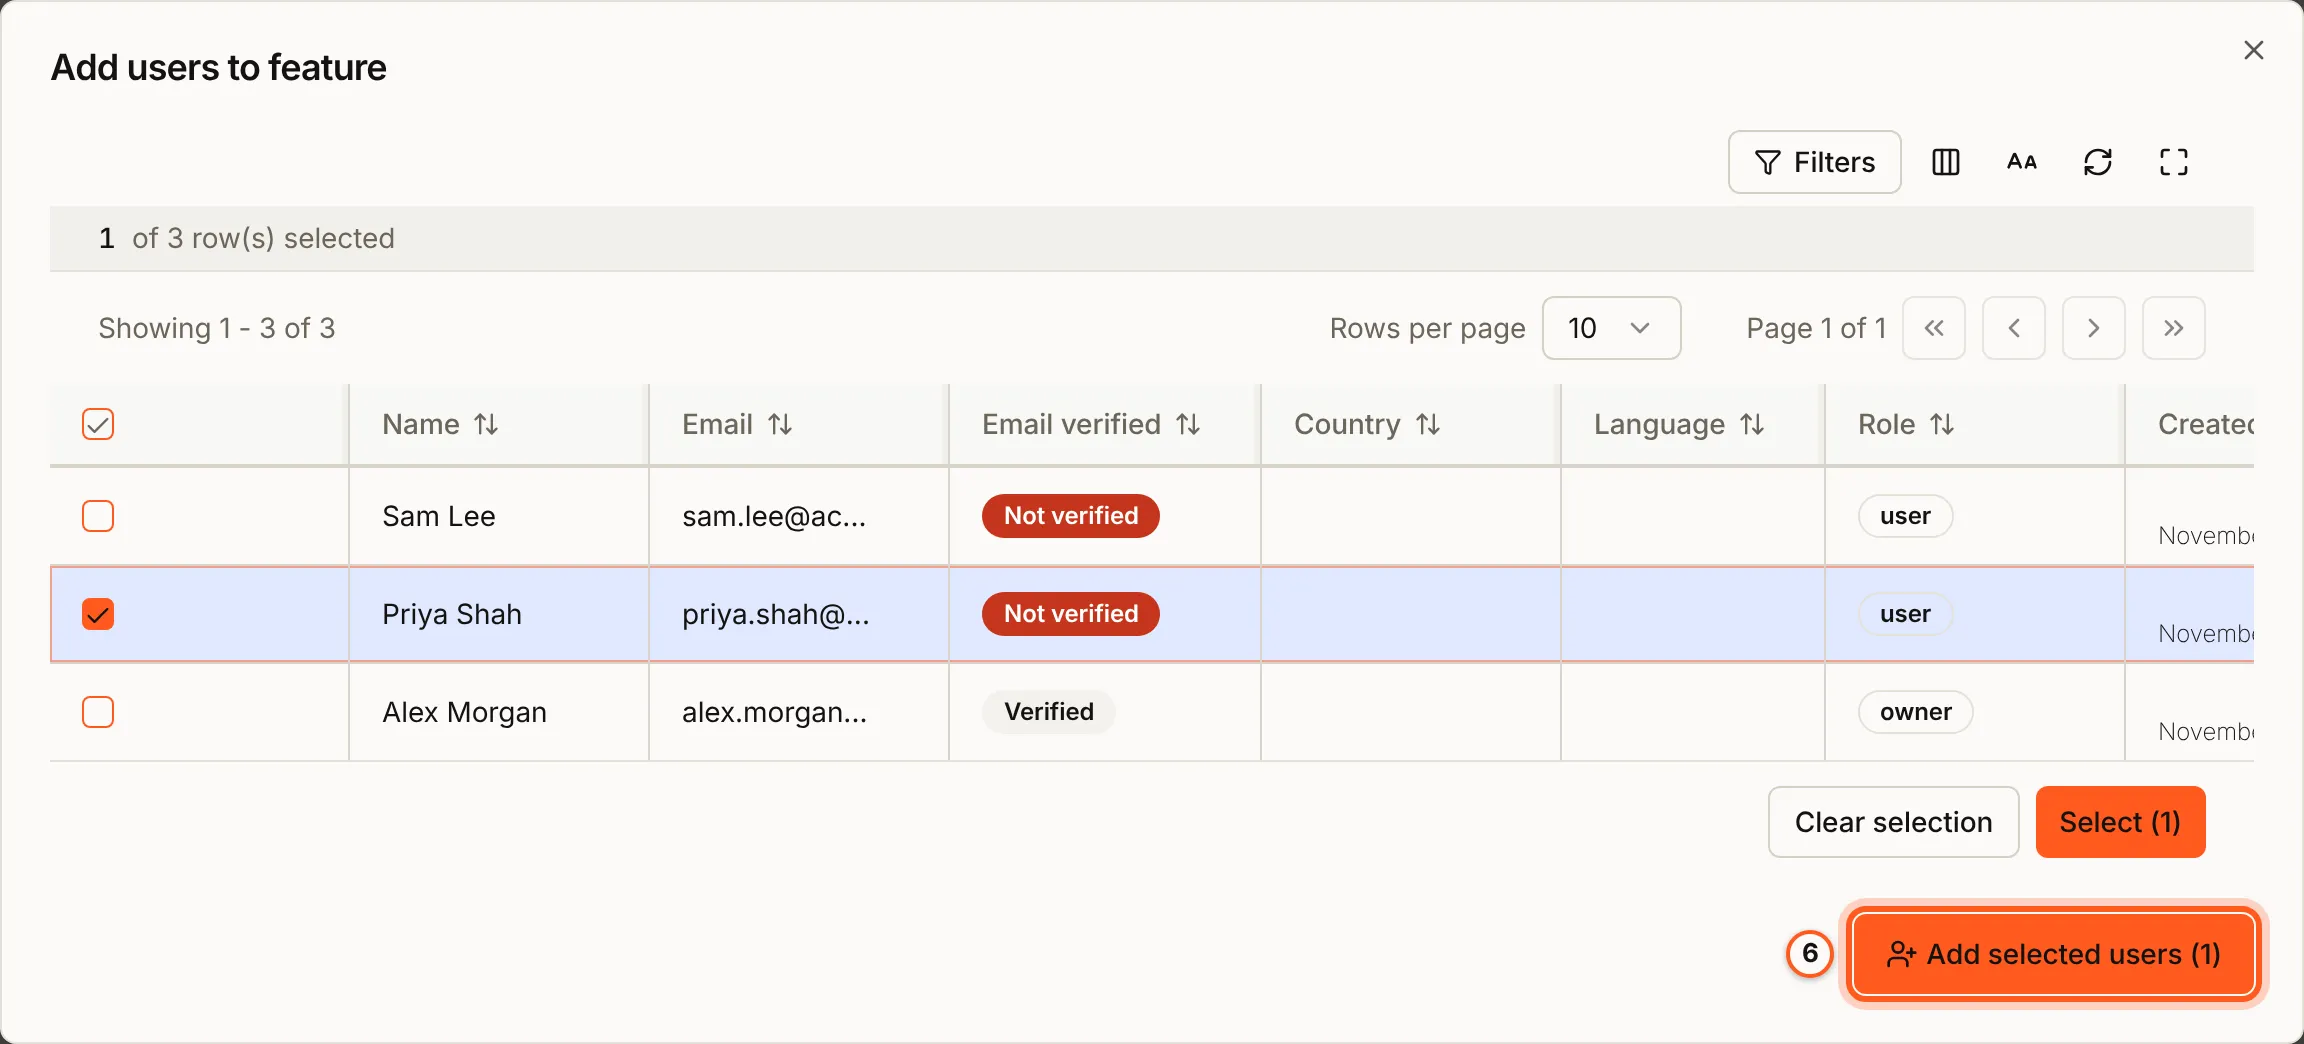
To pick people, press Add users, tick each one, press Select, then Add selected users.
5. Or give it to everyone
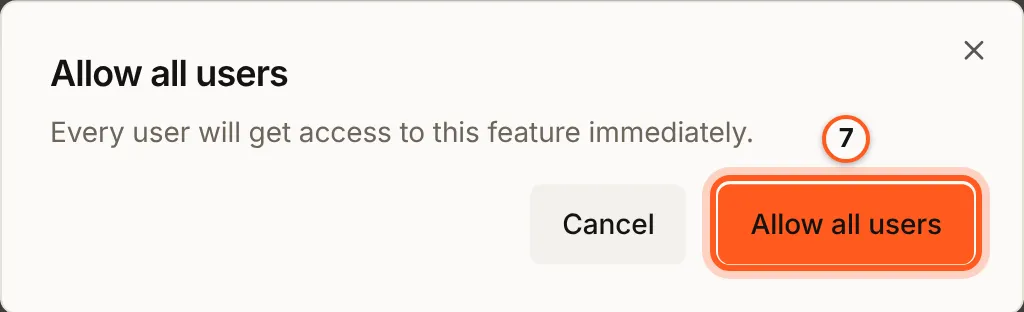
Allow all users, at the top, gives every user the flag at once. Revoke allow all takes it back to the people, tags and lists above.
6. Show the feature in your app
Wrap the part of your app in WhenUserFeatureEnabled with the Feature ID:
import { WhenUserFeatureEnabled } from '@buildbase/sdk/react';

export function Reports() {
  return (
    <WhenUserFeatureEnabled slug="beta-editor">
      <NewReportEditor />
    </WhenUserFeatureEnabled>
  );
}
Everyone else sees nothing in its place. The other gates, and how to change who gets a flag from your backend, are in the feature flags overview.
7. Check one person
Open the person under Users. Their Features card shows every flag on, in green, for them.

8. Roll it back
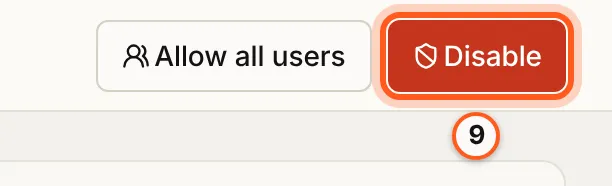
Disable, at the top of the flag, turns it off for everyone at once, and Enable brings back the same people. To take it from one person, remove them from Individual users.
Check it works
Sign in to your app as a person you gave the flag to: the new part shows. Sign in as someone else: it does not.
Things to watch out for
- A new flag is off. Until you press Enable it is off for everyone, whatever it targets, and so is an archived one.
- The Feature ID is fixed once the flag is on. The console says "Cannot change feature ID once feature is enabled."; choose it before you switch the flag on.
- Adding targets needs a plan with advanced targeting; removing them never does. A plan without it can always take a flag back.
- A change reaches a signed-in person on their next load. It is not pushed to an open page.
- Audience lists are targeted over the API only. The console adds users, user tags and user lists; see the overview.
Next Steps
- Workspace flags - a feature per plan, per workspace, or chosen by workspace admins.
- Feature flags overview - every gate, and targeting from your backend.
- Lists - the groups a flag can target.