
Add a tag in the console and attach it to your app
Add an analytics or advertising tag to your organization's library under Tracking & tags, attach it to your app's client, and turn tracking on in the SDK.
A tag is defined once in your organization's library and loads in every app it is attached to. This guide adds Google Analytics 4 to Acme Analytics.
Before you start
The ID from your provider (for GA4, the measurement ID under Admin > Data streams in Analytics), an app set up under Authentication, and a console role that can change tracking scripts and auth settings.
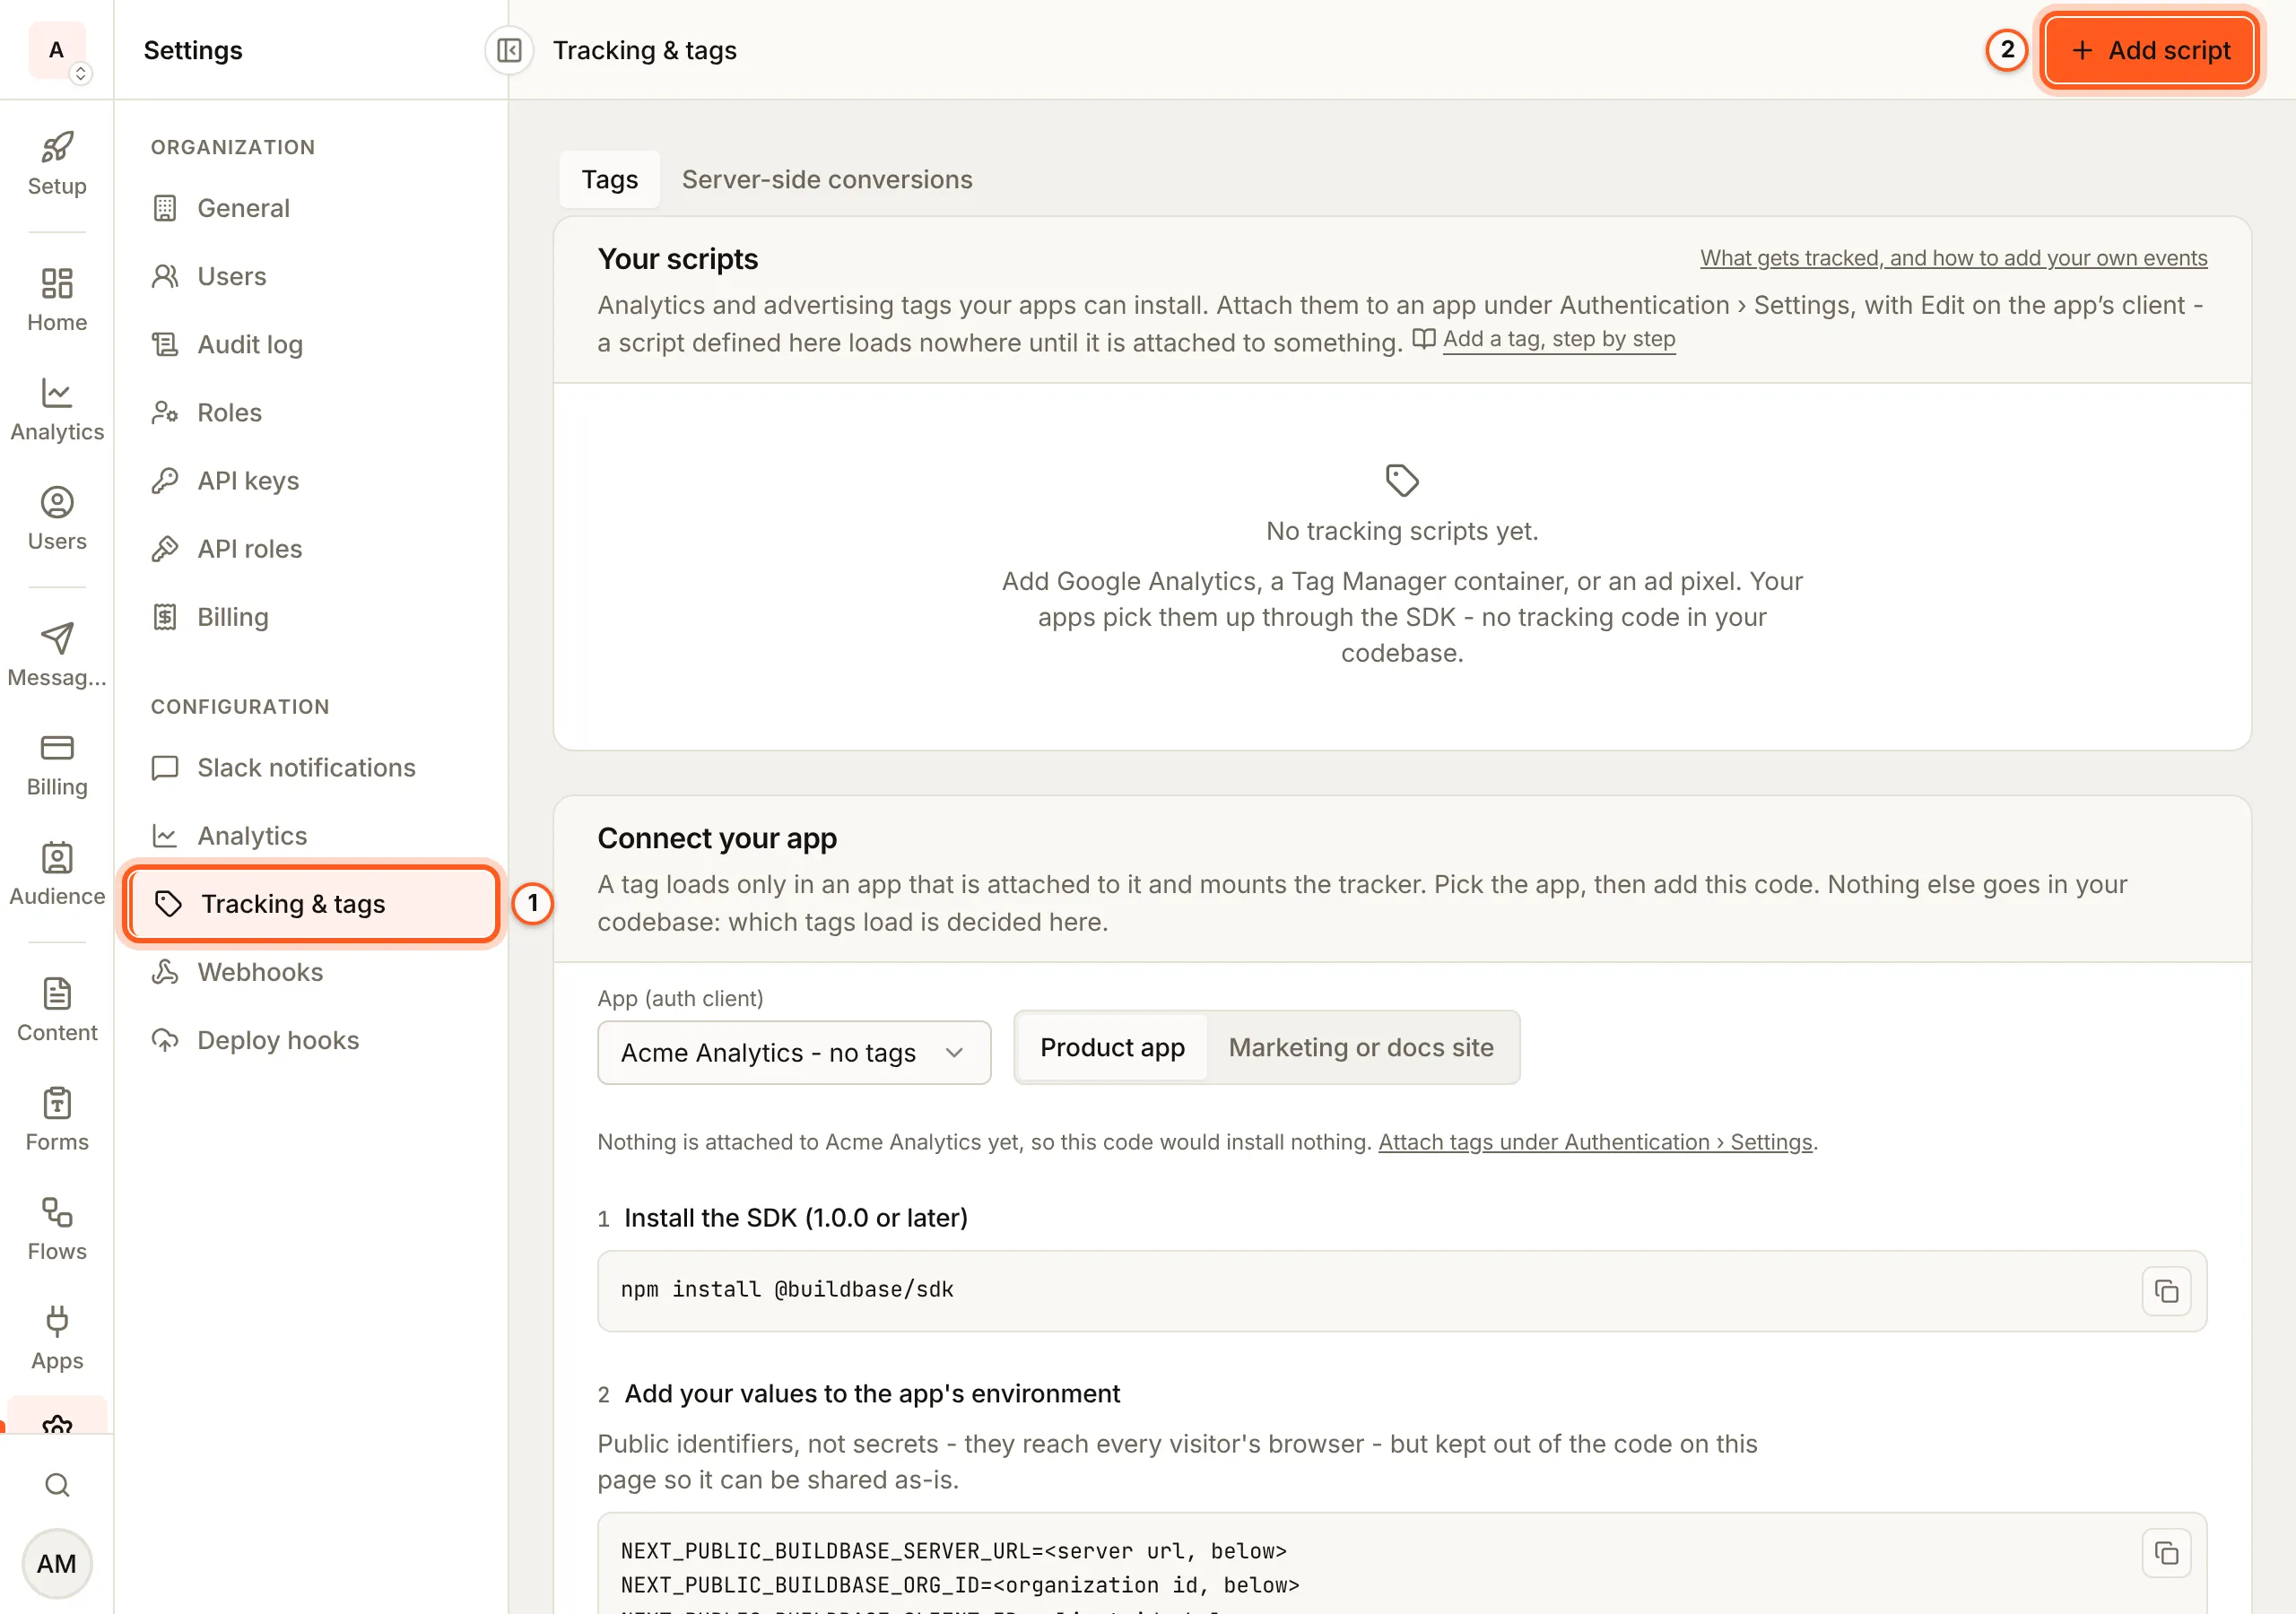
1. Open Tracking & tags
Open Tracking & tags in the console
(opens the console in a new tab)In the left rail choose Settings, then Tracking & tags. Your scripts is the library. Press Add script.
2. Name it and paste its ID
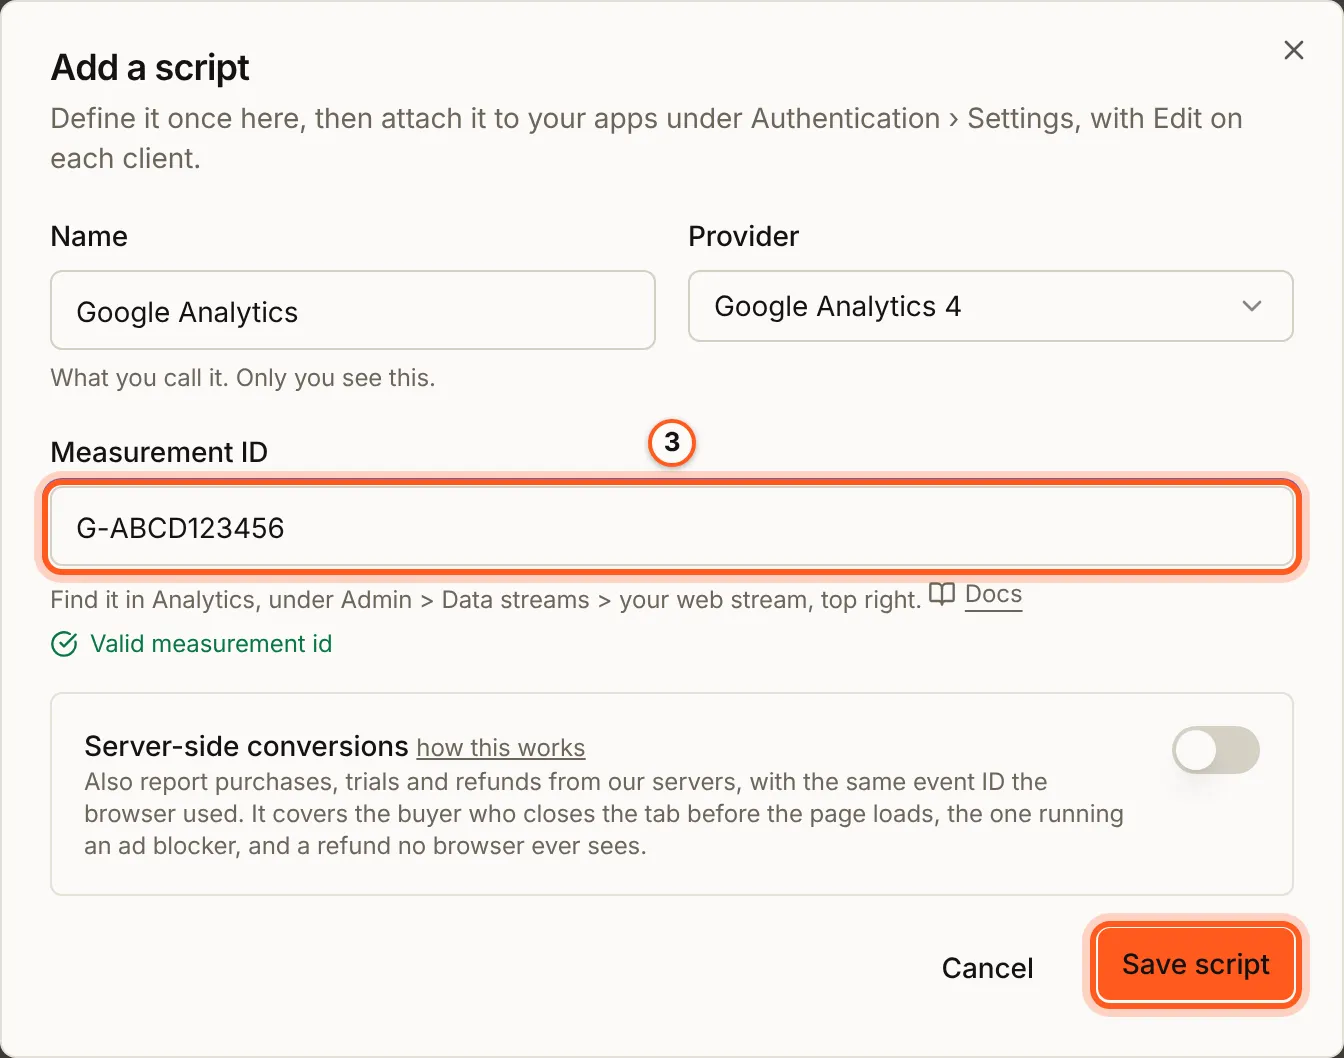
In Add a script, fill Name, pick the Provider (here Google Analytics 4), and paste its ID. The field is named for the provider (Measurement ID for GA4), says where to find it, and checks its format as you type: Valid measurement id means it is right. Press Save script.
3. Ad platforms: a label per action
Google Ads, X and LinkedIn count an action only against a conversion label you
create in the ad platform. Add the tag the same way (here Google Ads, with
its Conversion ID), then fill Conversion labels: one field per event
BuildBase fires for you, sign_up, trial_started, purchase and
subscription_created. A field left blank is named under the fields, Not
reported to Google Ads, because an event with no label looks exactly like
nobody converting (providers).
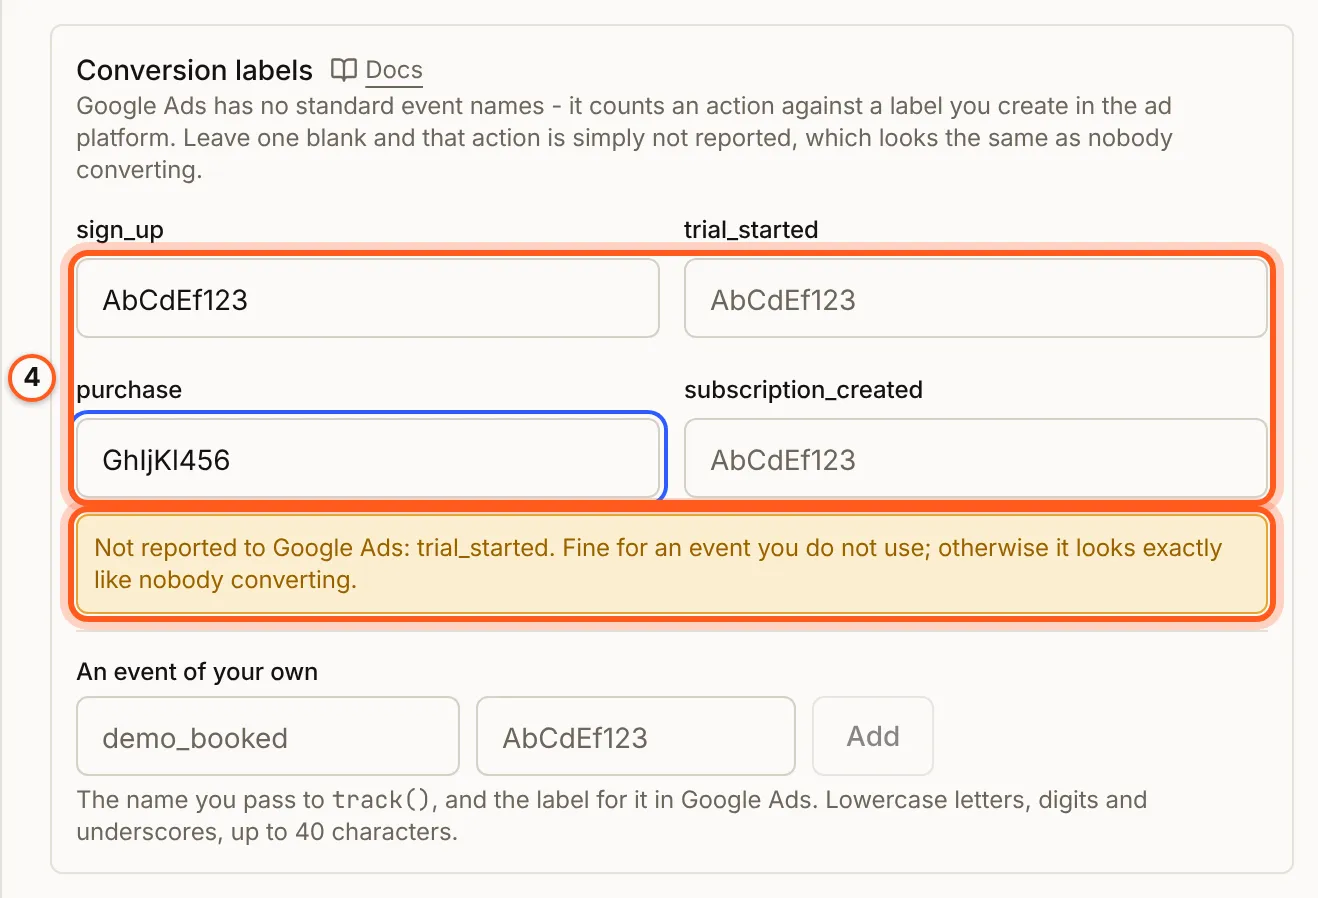
For an event your app fires itself, type its name and label under An event of your own and press Add (your own events).

4. Find it in the library
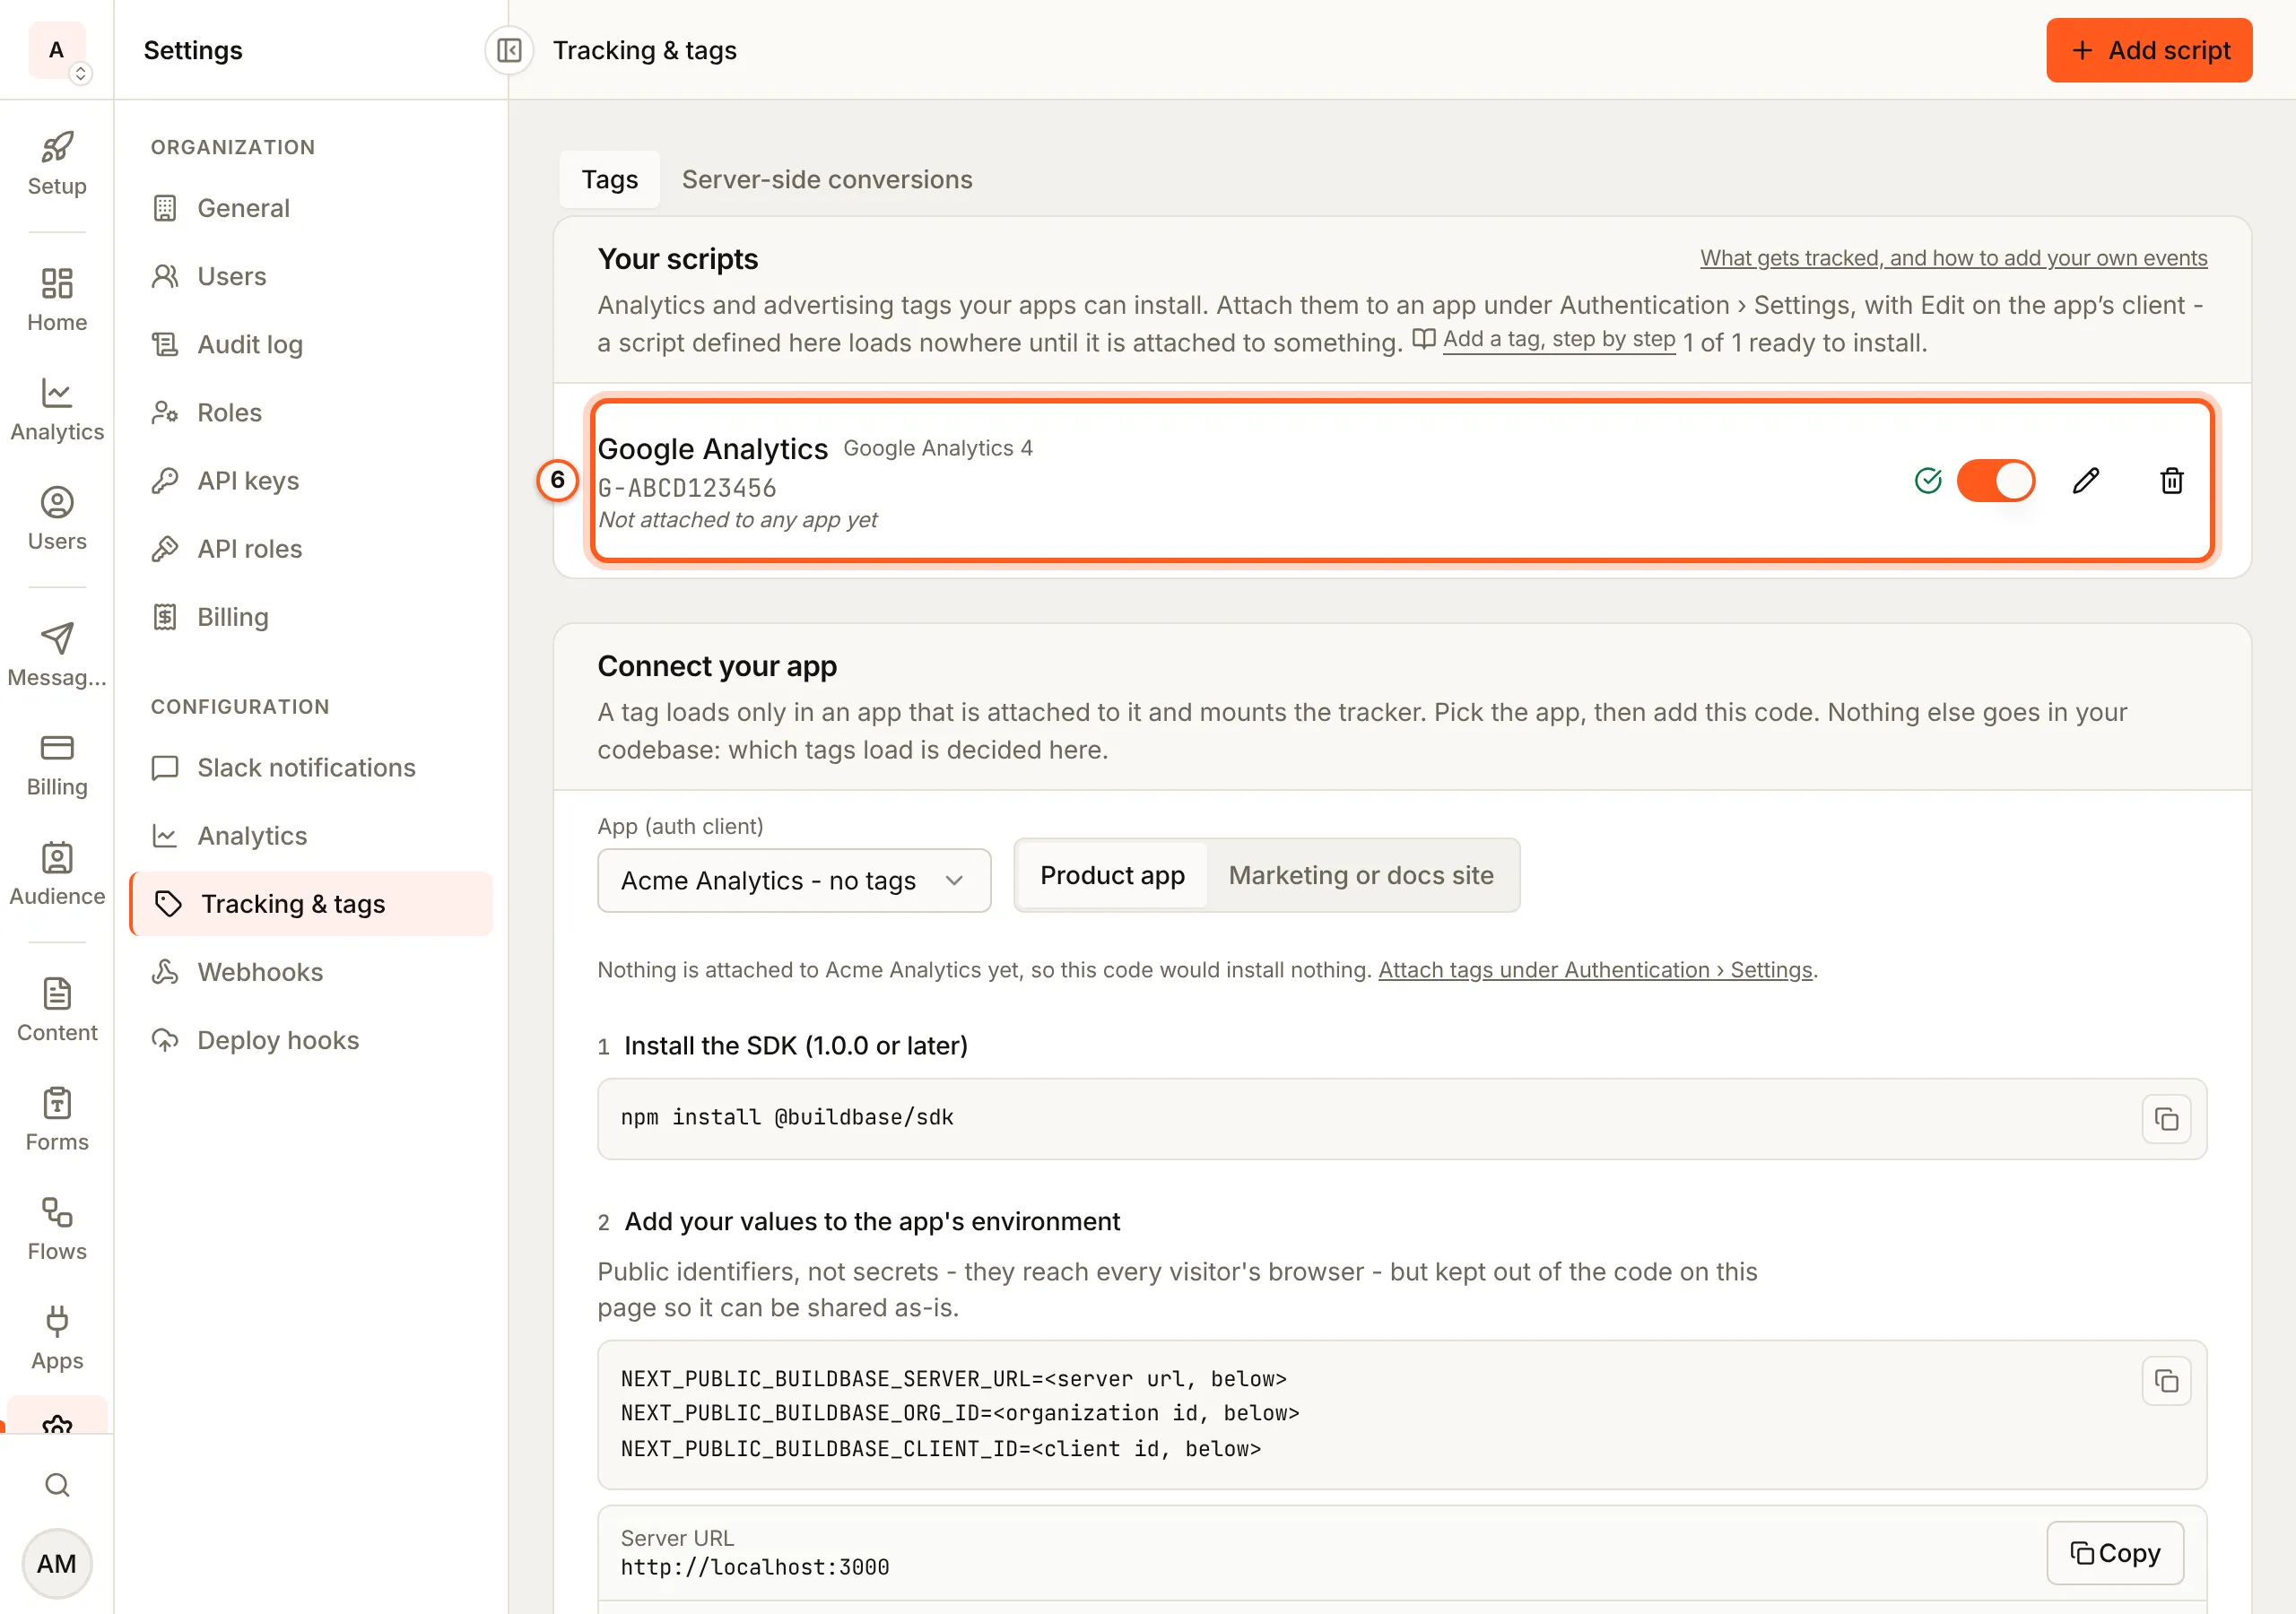
The script is in Your scripts, attached to no app yet. A script attached to nothing loads nowhere.
5. Attach it to your app
Open Authentication settings in the console
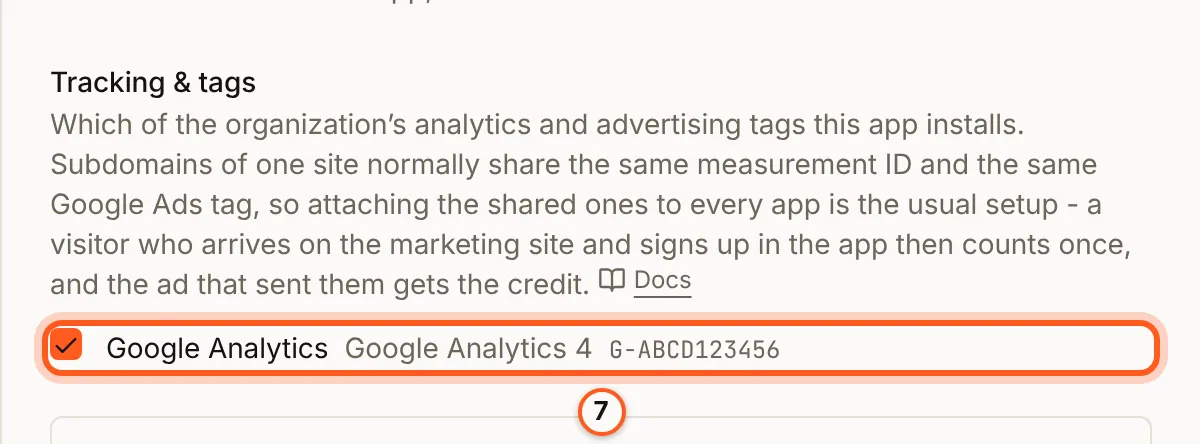
(opens the console in a new tab)Choose Authentication, then Settings, and press Edit on your app's client. Under Tracking & tags, tick the script, then press Update. It loads on the app's next page view.
6. Choose the consent default
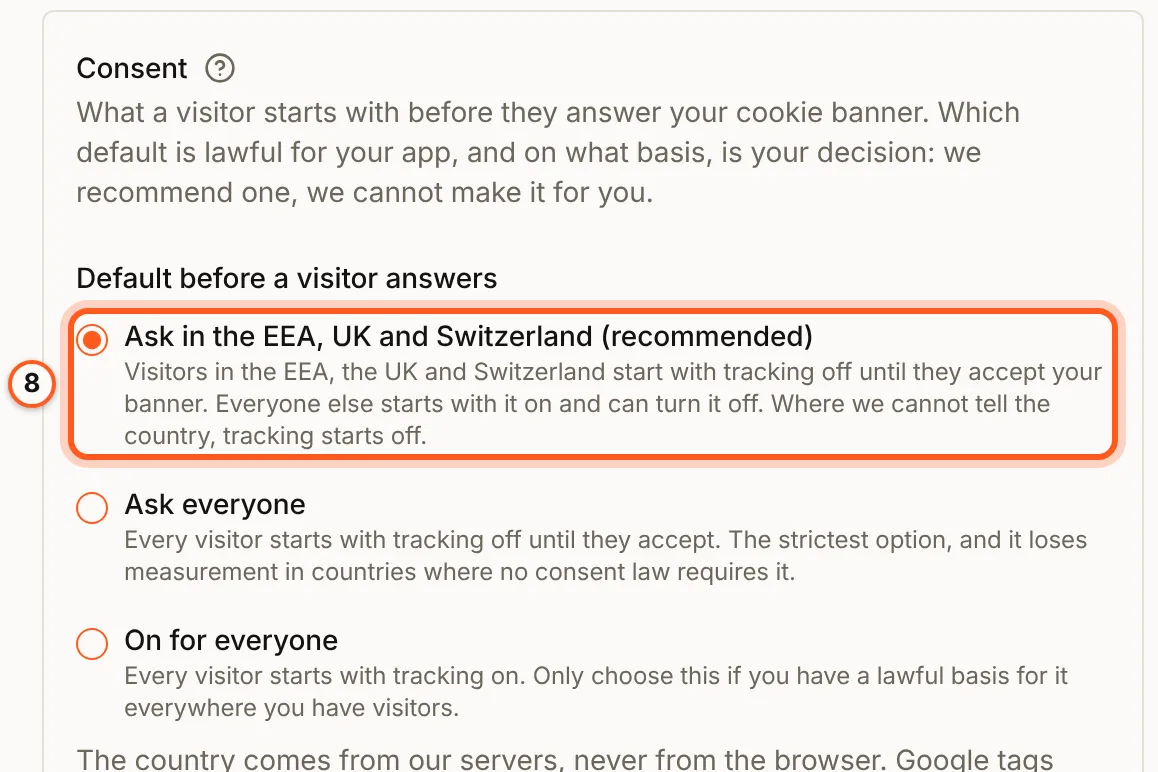
In the same Edit auth setting, Consent sets what a visitor starts with before they answer your banner. Keep Ask in the EEA, UK and Switzerland (recommended) unless you have a reason not to, then press Update. Which default is lawful for your app is your decision (consent).
7. Turn tracking on in your app
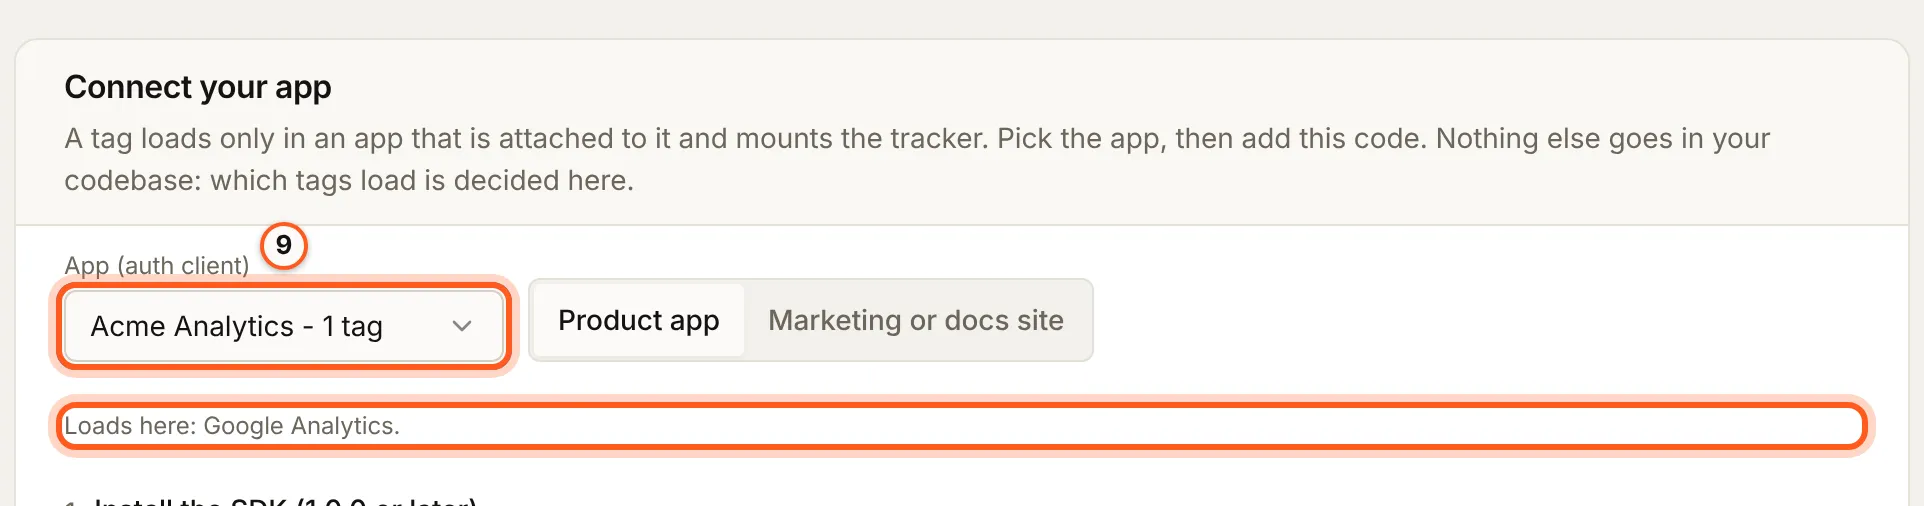
The SDK loads only what is attached, and only once your app turns tracking on. Connect your app, below Your scripts, gives the code for the app you pick under App (auth client), and Loads here names the tags it will load. The code uses environment variables; the app's own values are shown beside it to copy.
In short, the provider takes tracking:
<SaaSOSProvider
  serverUrl={serverUrl}
  version={ApiVersion.V1}
  orgId={orgId}
  auth={{ clientId, redirectUrl }}
  tracking={{}}
>
  {children}
</SaaSOSProvider>
Then pass your visitors' consent: until you do, only consent-aware Google tags load, in denied mode.
8. Update your privacy policy
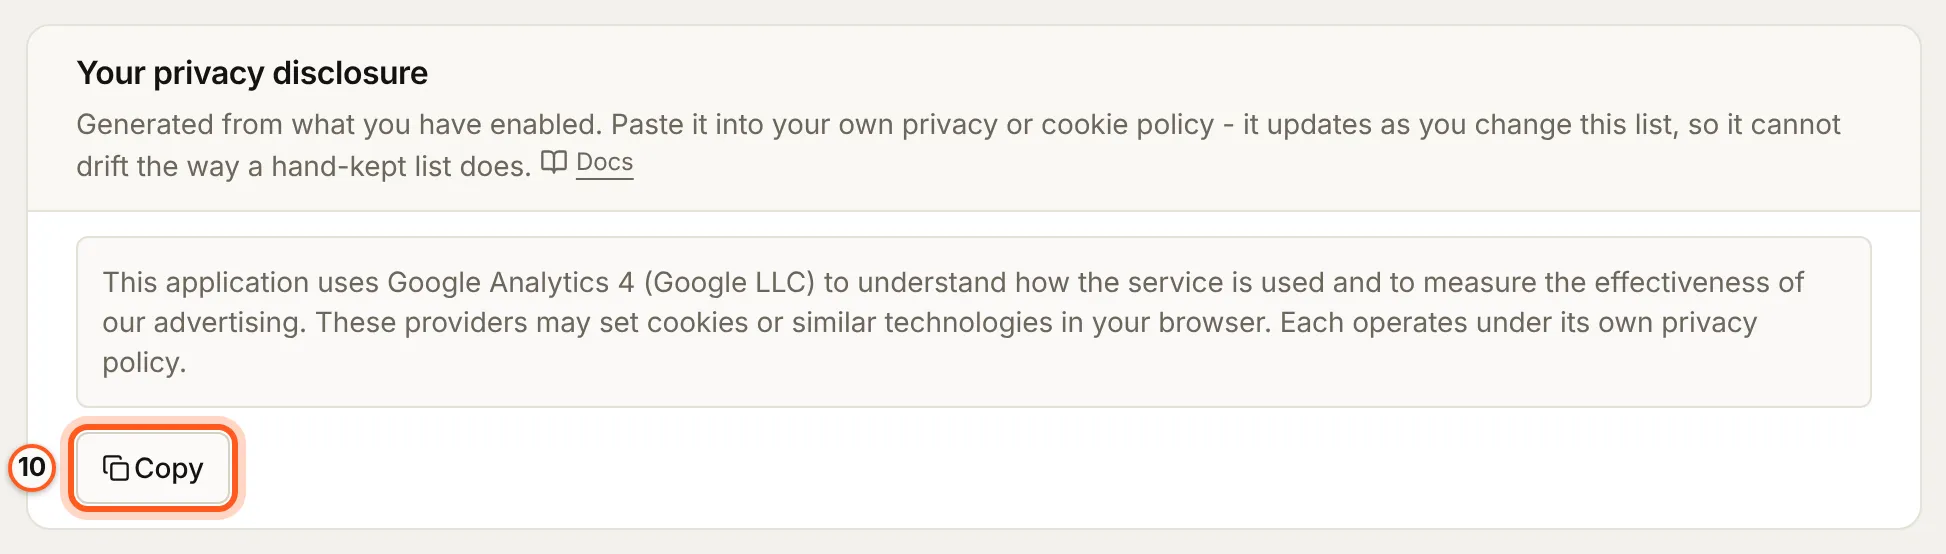
Your privacy disclosure is a paragraph generated from the tags you have attached. Press Copy under it and paste it into your privacy or cookie policy; it changes when your tags do (your privacy policy).
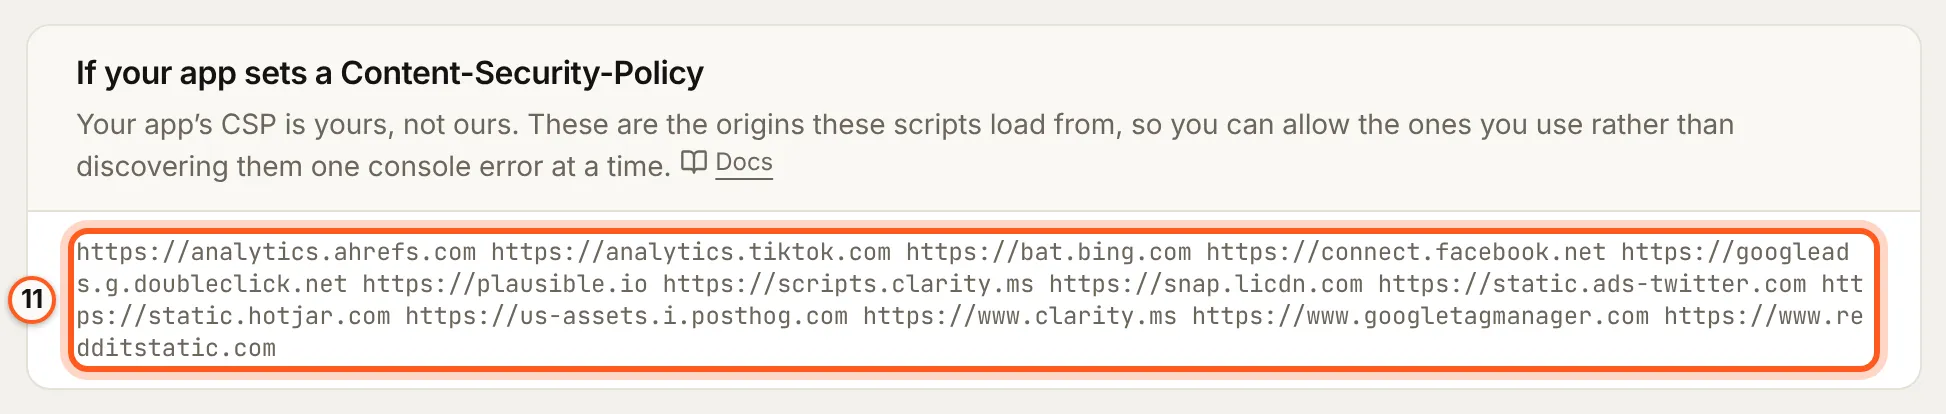
9. Allow the tags in your Content-Security-Policy
If your app sets a Content-Security-Policy, If your app sets a Content-Security-Policy lists the origins the scripts load from. Allow the ones for the tags you use (the full policy).
Check it works
Open your app and run window.__buildbase.tracking in the browser console. It
lists every script the SDK mounted, and for which app (verify).
Things to watch out for
- One library, many apps. A change to a script reaches every app it is attached to on their next page load.
- Nothing loads without consent for a tag that needs it; Google tags load in denied mode until consent is given.
- Your content security policy must allow the provider (the origins to allow).
- A script saved with no ID is a placeholder. It loads nowhere and is never named in a consent banner (No ID yet - not installed).
- Session recorders wait for a yes. Clarity, Hotjar, PostHog and a custom script marked Records sessions load only after the visitor's own consent.
- Your plan counts scripts. Add script needs a plan with Tracking & tags and room in its script limit.