
Create a collection and store records
Make a collection in the console, give a version its fields, promote it live and add records, which your app reads and a form can fill.
A collection is a table of your own: release notes, testimonials, the contact requests a form sends in. Its fields live in a version, which you promote live once it is ready, and each record follows the live version. This guide makes Contact requests for Acme Analytics, which the forms guide then fills from a public form.
Before you start
A console role that can create collections, their versions and records, and room in your plan for one more collection.
1. Open Collections
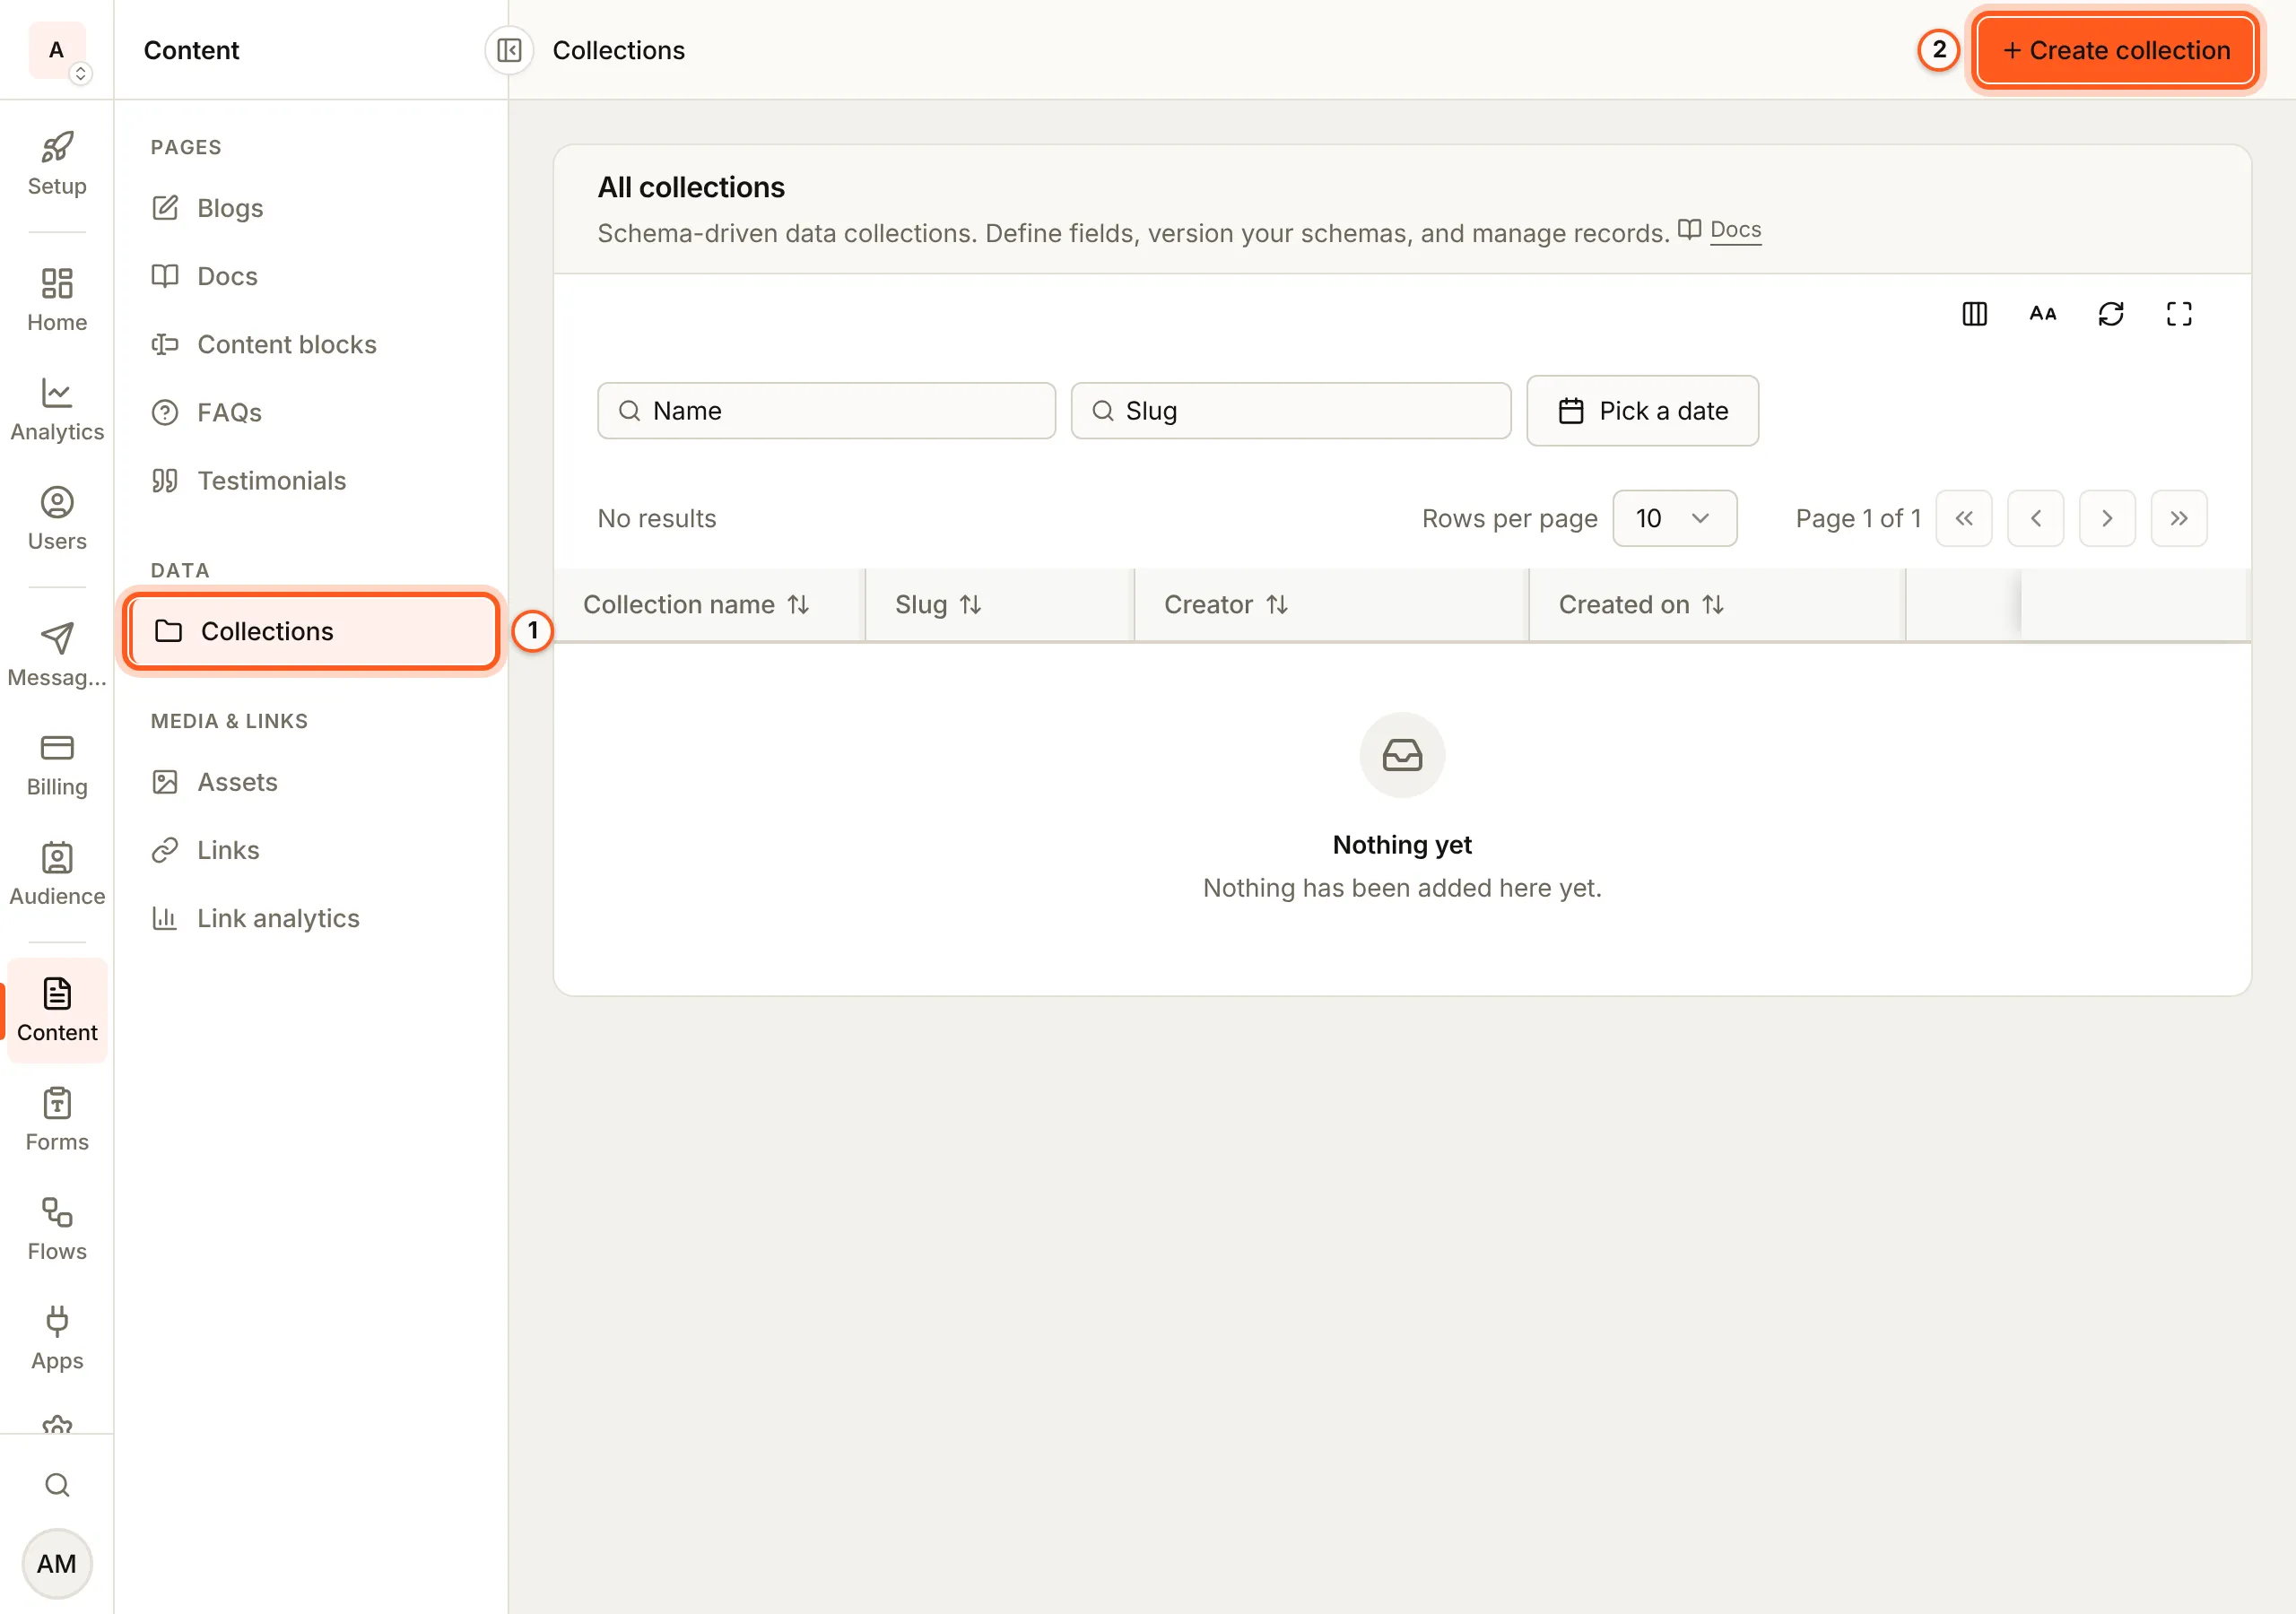
Open Collections in the console (opens the console in a new tab)In the left rail choose Content, then Collections under Data. All collections lists each one with its slug and who made it. Press Create collection.
2. Name it
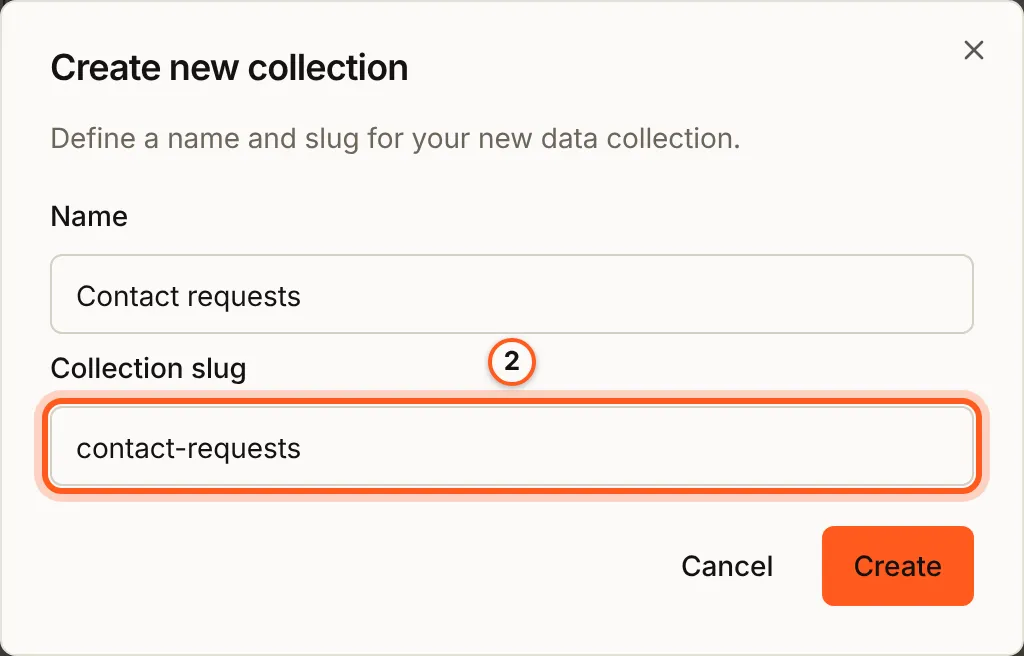
In Create new collection, fill Name and Collection slug, the name
your code reads it by, such as contact-requests. Press Create.
3. Make a version
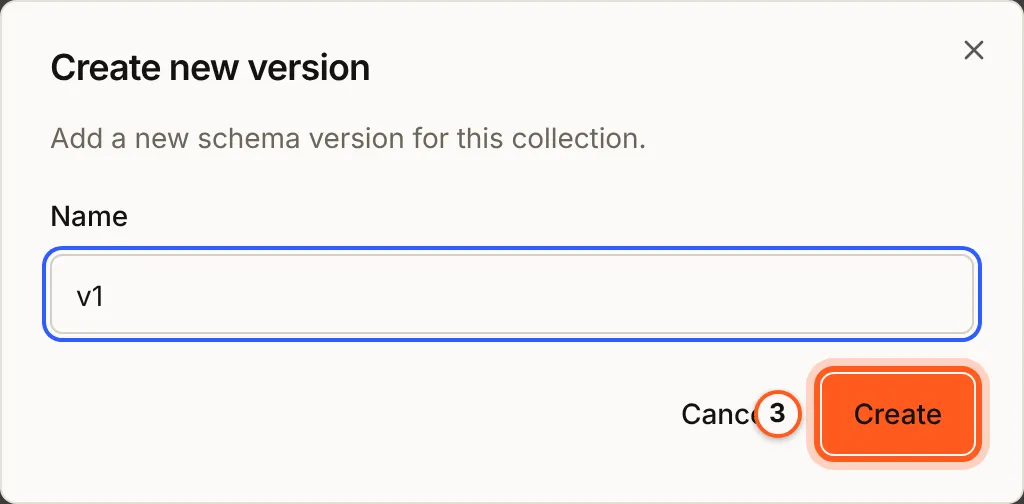
Press View on its row. Schema versions holds the versions of its
fields. Press Create new version, give it a Name such as v1, and
press Create.
4. Add its fields
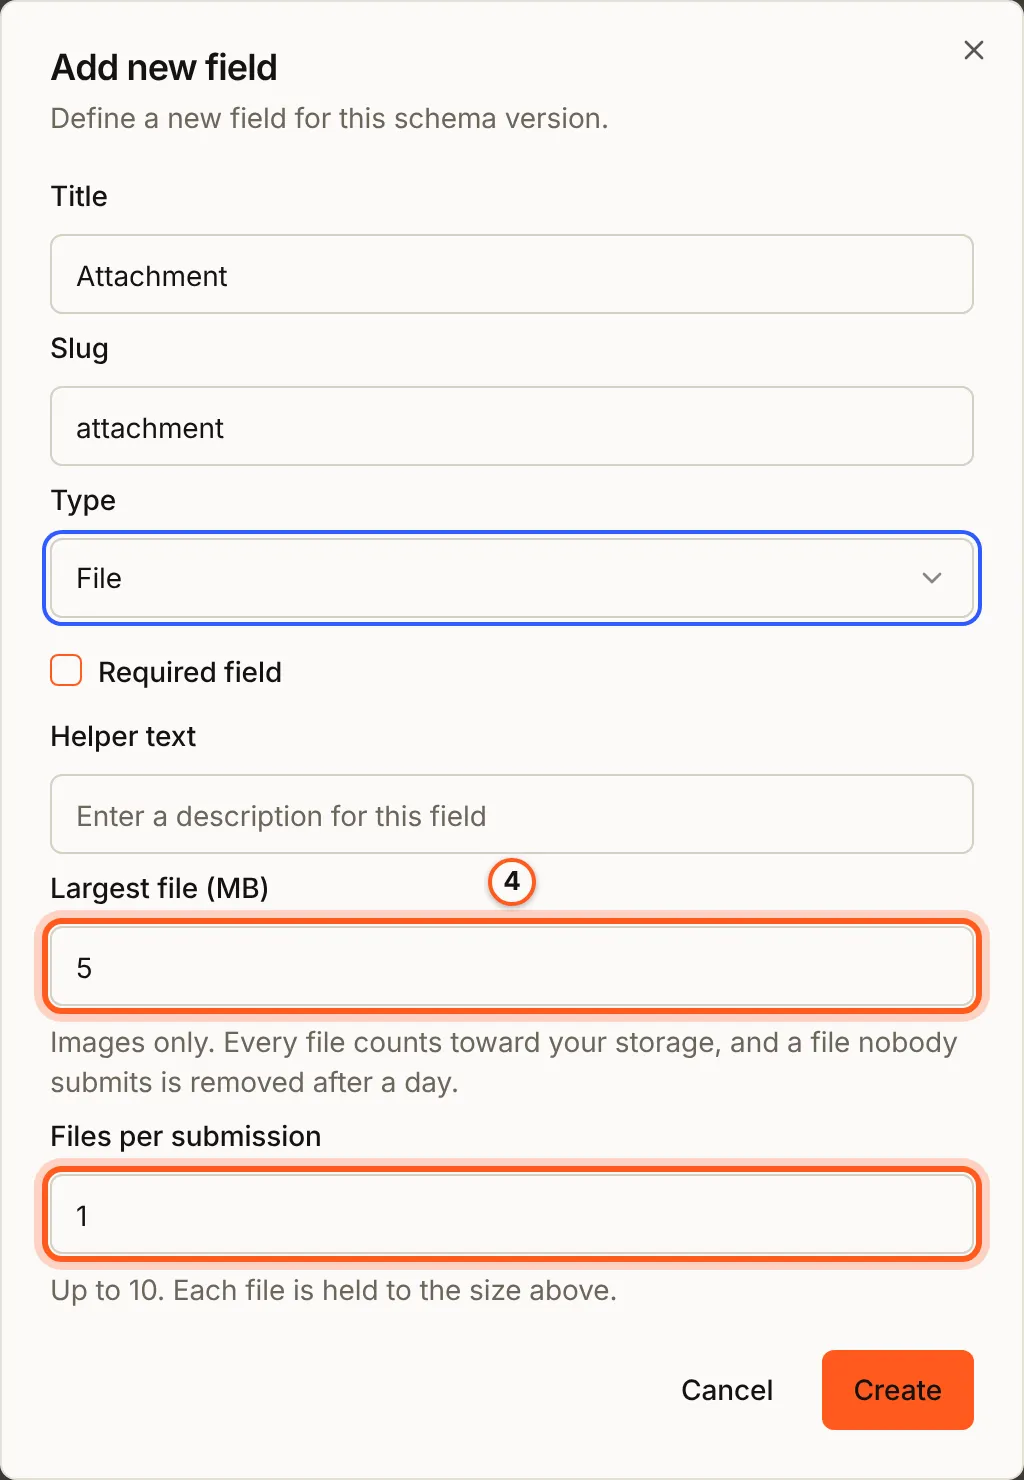
Press View on the version. Under No fields yet, press Add field for each field: a Title and a Slug, its Type (text, rich text, number, bool, date, colour, link, email or file), whether it is a Required field, and optional Helper text and Default value. A file field also takes Largest file (MB) and Files per submission (file fields).
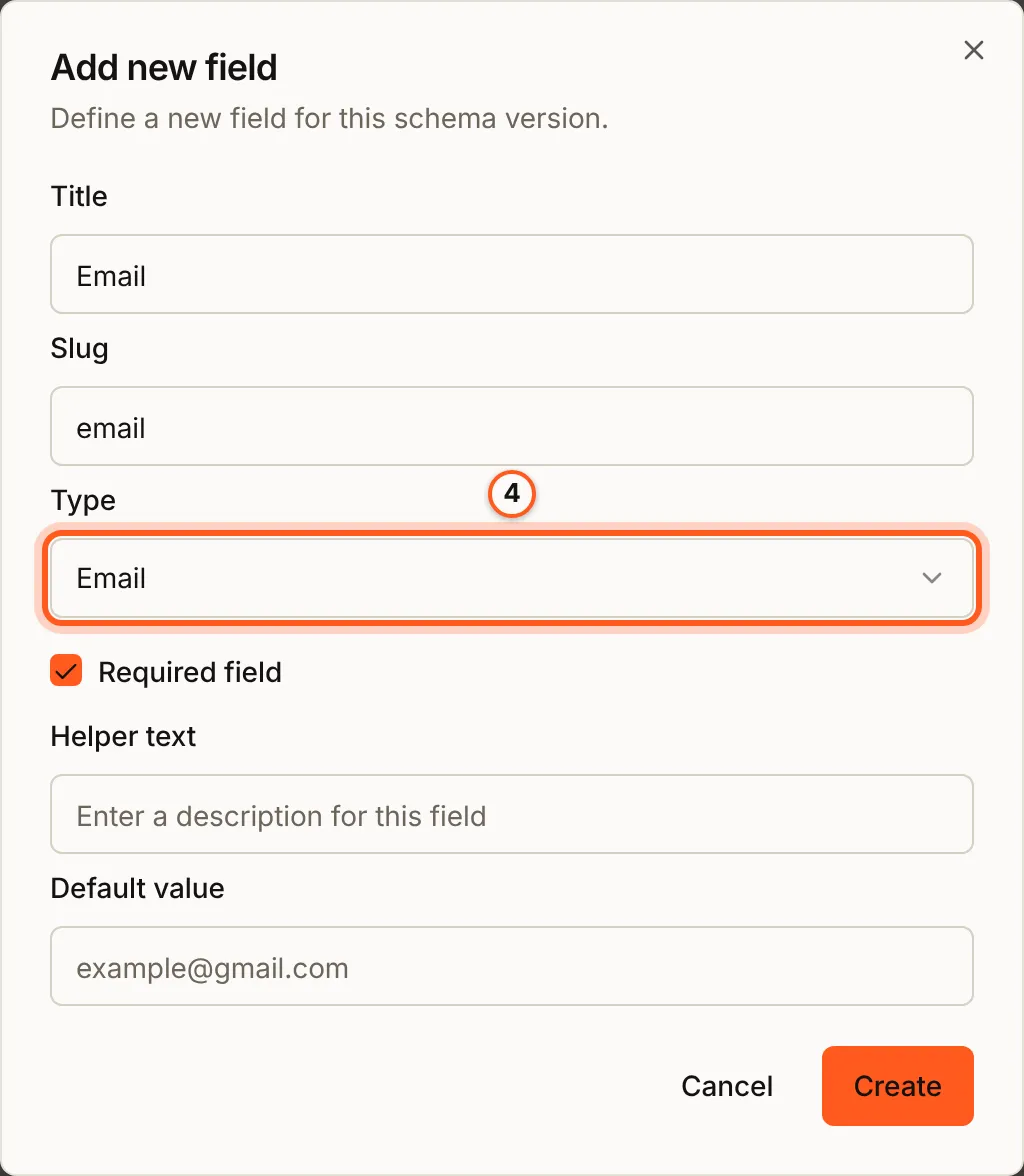
A field of type file takes images and stores each as an asset; set how large one may be and how many one record holds.
5. Check the fields
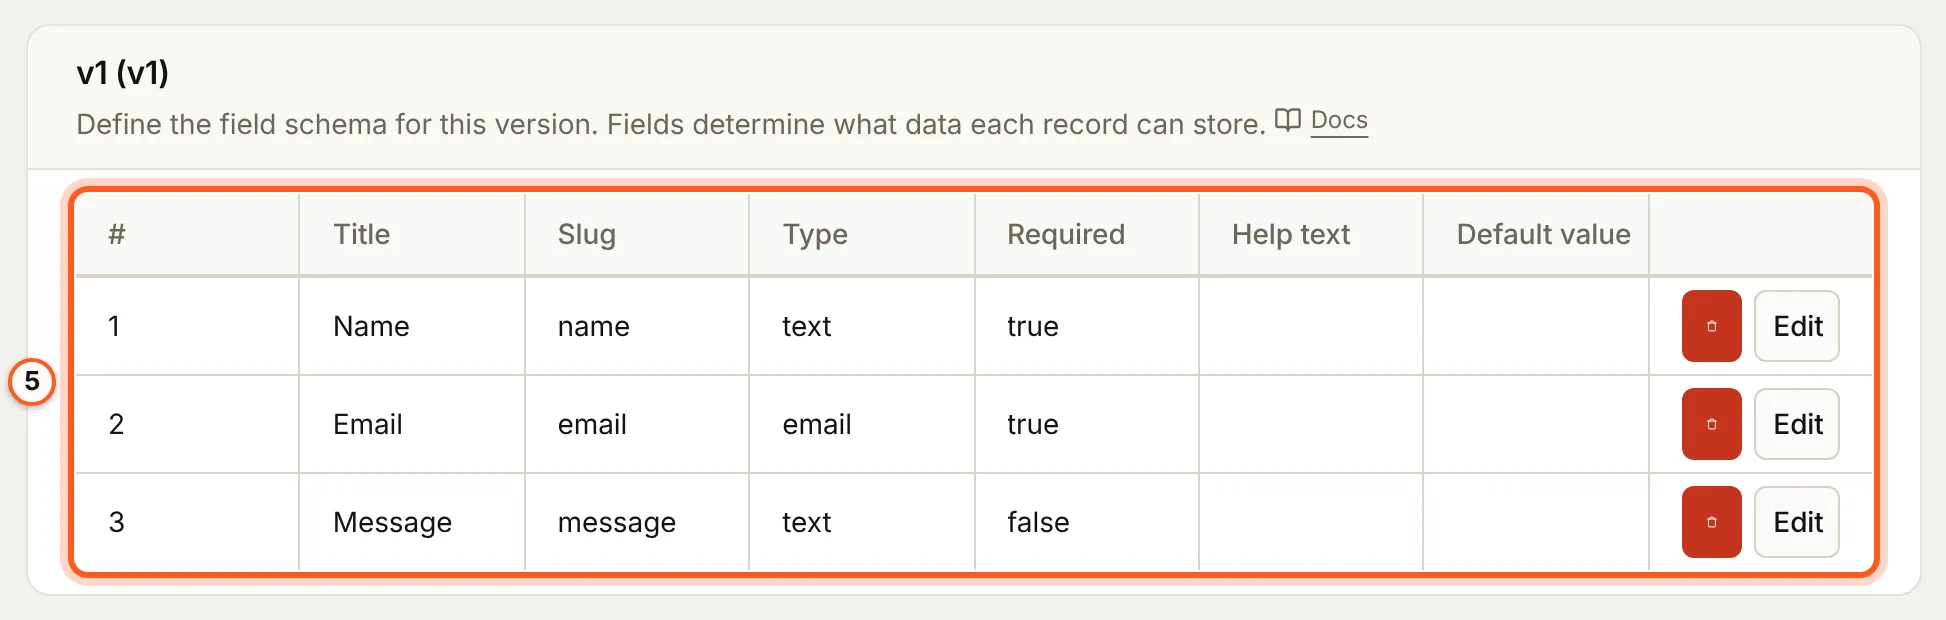
The version lists its fields with their slug, type, whether each is required, and their help text and default value. Edit or delete a field here until the version goes live.
6. Promote it live
Back on Schema versions, press Promote on the version and confirm with Promote. The live version is the one records follow; a live version cannot be edited, and promoting cannot be undone.
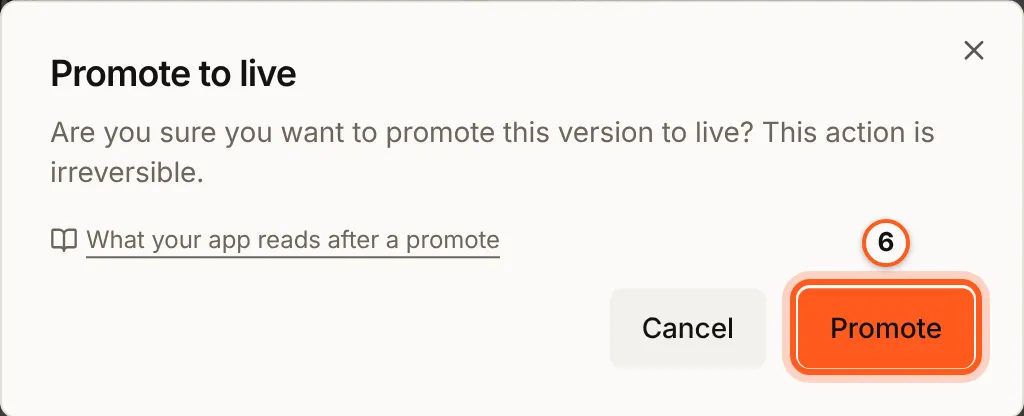
Its Status now reads Live. A version promoted after it makes this one Deprecated.

7. Add a record
Press View records, then Add record. Fill the fields and press Create record.
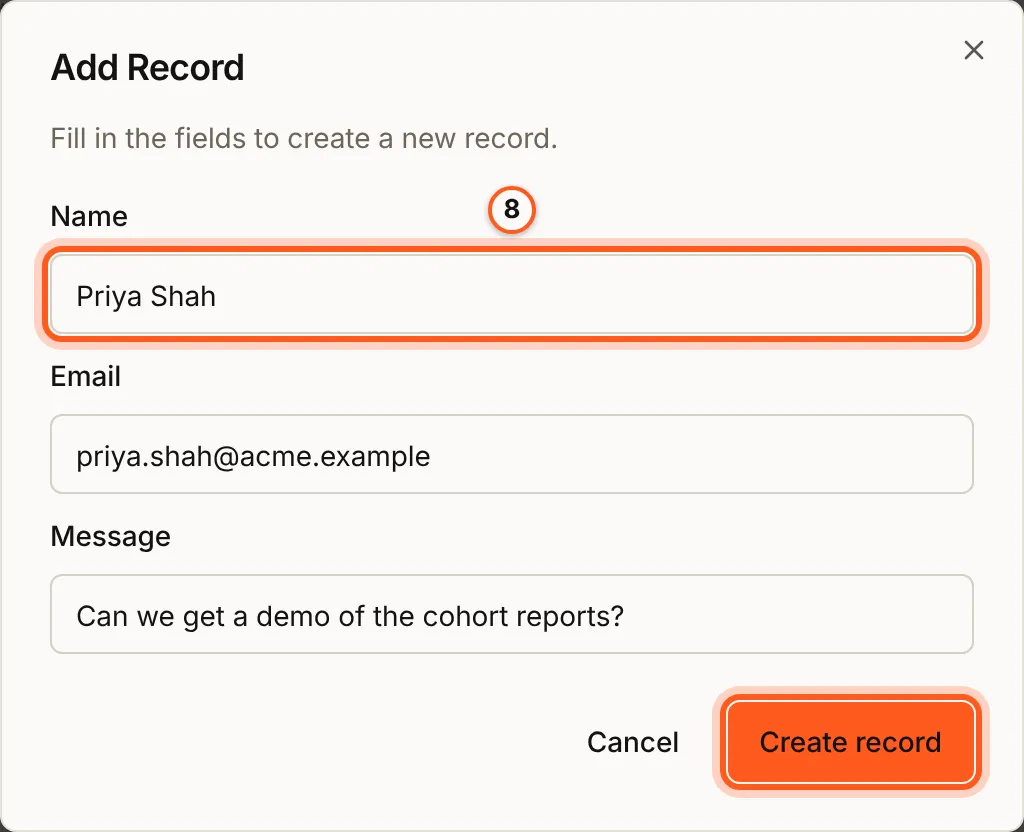
Edit on a record changes it (Save record), and Remove deletes it. Records a form sends in land here too, with the form in the Form column.

8. Read the records in your app
curl -G https://api.console.buildbase.app/api/collections/data/contact-requests \
  -H "Authorization: $BUILDBASE_TOKEN" \
  --data-urlencode 'latest=true'
Which version a read returns, and the server SDK's helper, are in the records API.
Change the fields later
Press Create new version: it starts with the live version's fields. It is a Draft until you promote it, so change its fields while your app keeps reading the live one.

Promote it when it is ready. The new version is Live, the old one
Deprecated, and latest=true reads only the records stored against the new
version (choosing a version).
Check it works
GET /api/collections/data/contact-requests?latest=true returns the record you
added.
Things to watch out for
- A live version cannot be edited, and a promote cannot be undone. Change the fields in a new version.
- After a promote,
latest=truereturns only the records stored against the new version. Read older ones withversion=<n>(choosing a version). - A version with no fields cannot be promoted.
- Only the person who made a collection can delete it.
- Deleting a record leaves its files in Assets.
Next Steps
- Create a form - let visitors add records to this collection.
- Collections overview - versions, field types and file fields.
- Records API - read and write records from your code.