
Upload and share images in the console
Upload an image in the console, make it public and copy its link, see what uses it before you make it private or delete it, and find files later.
Assets are the images your content uses: blog thumbnails, email headers, your organization's logo, the files a form takes in. This guide uploads a webinar banner for Acme Analytics, shares it, and removes it again.
Before you start
A console role that can create, update and delete assets, and storage room on your plan. Your plan also sets how many files you may keep and how large one may be (limits).
1. Open Assets
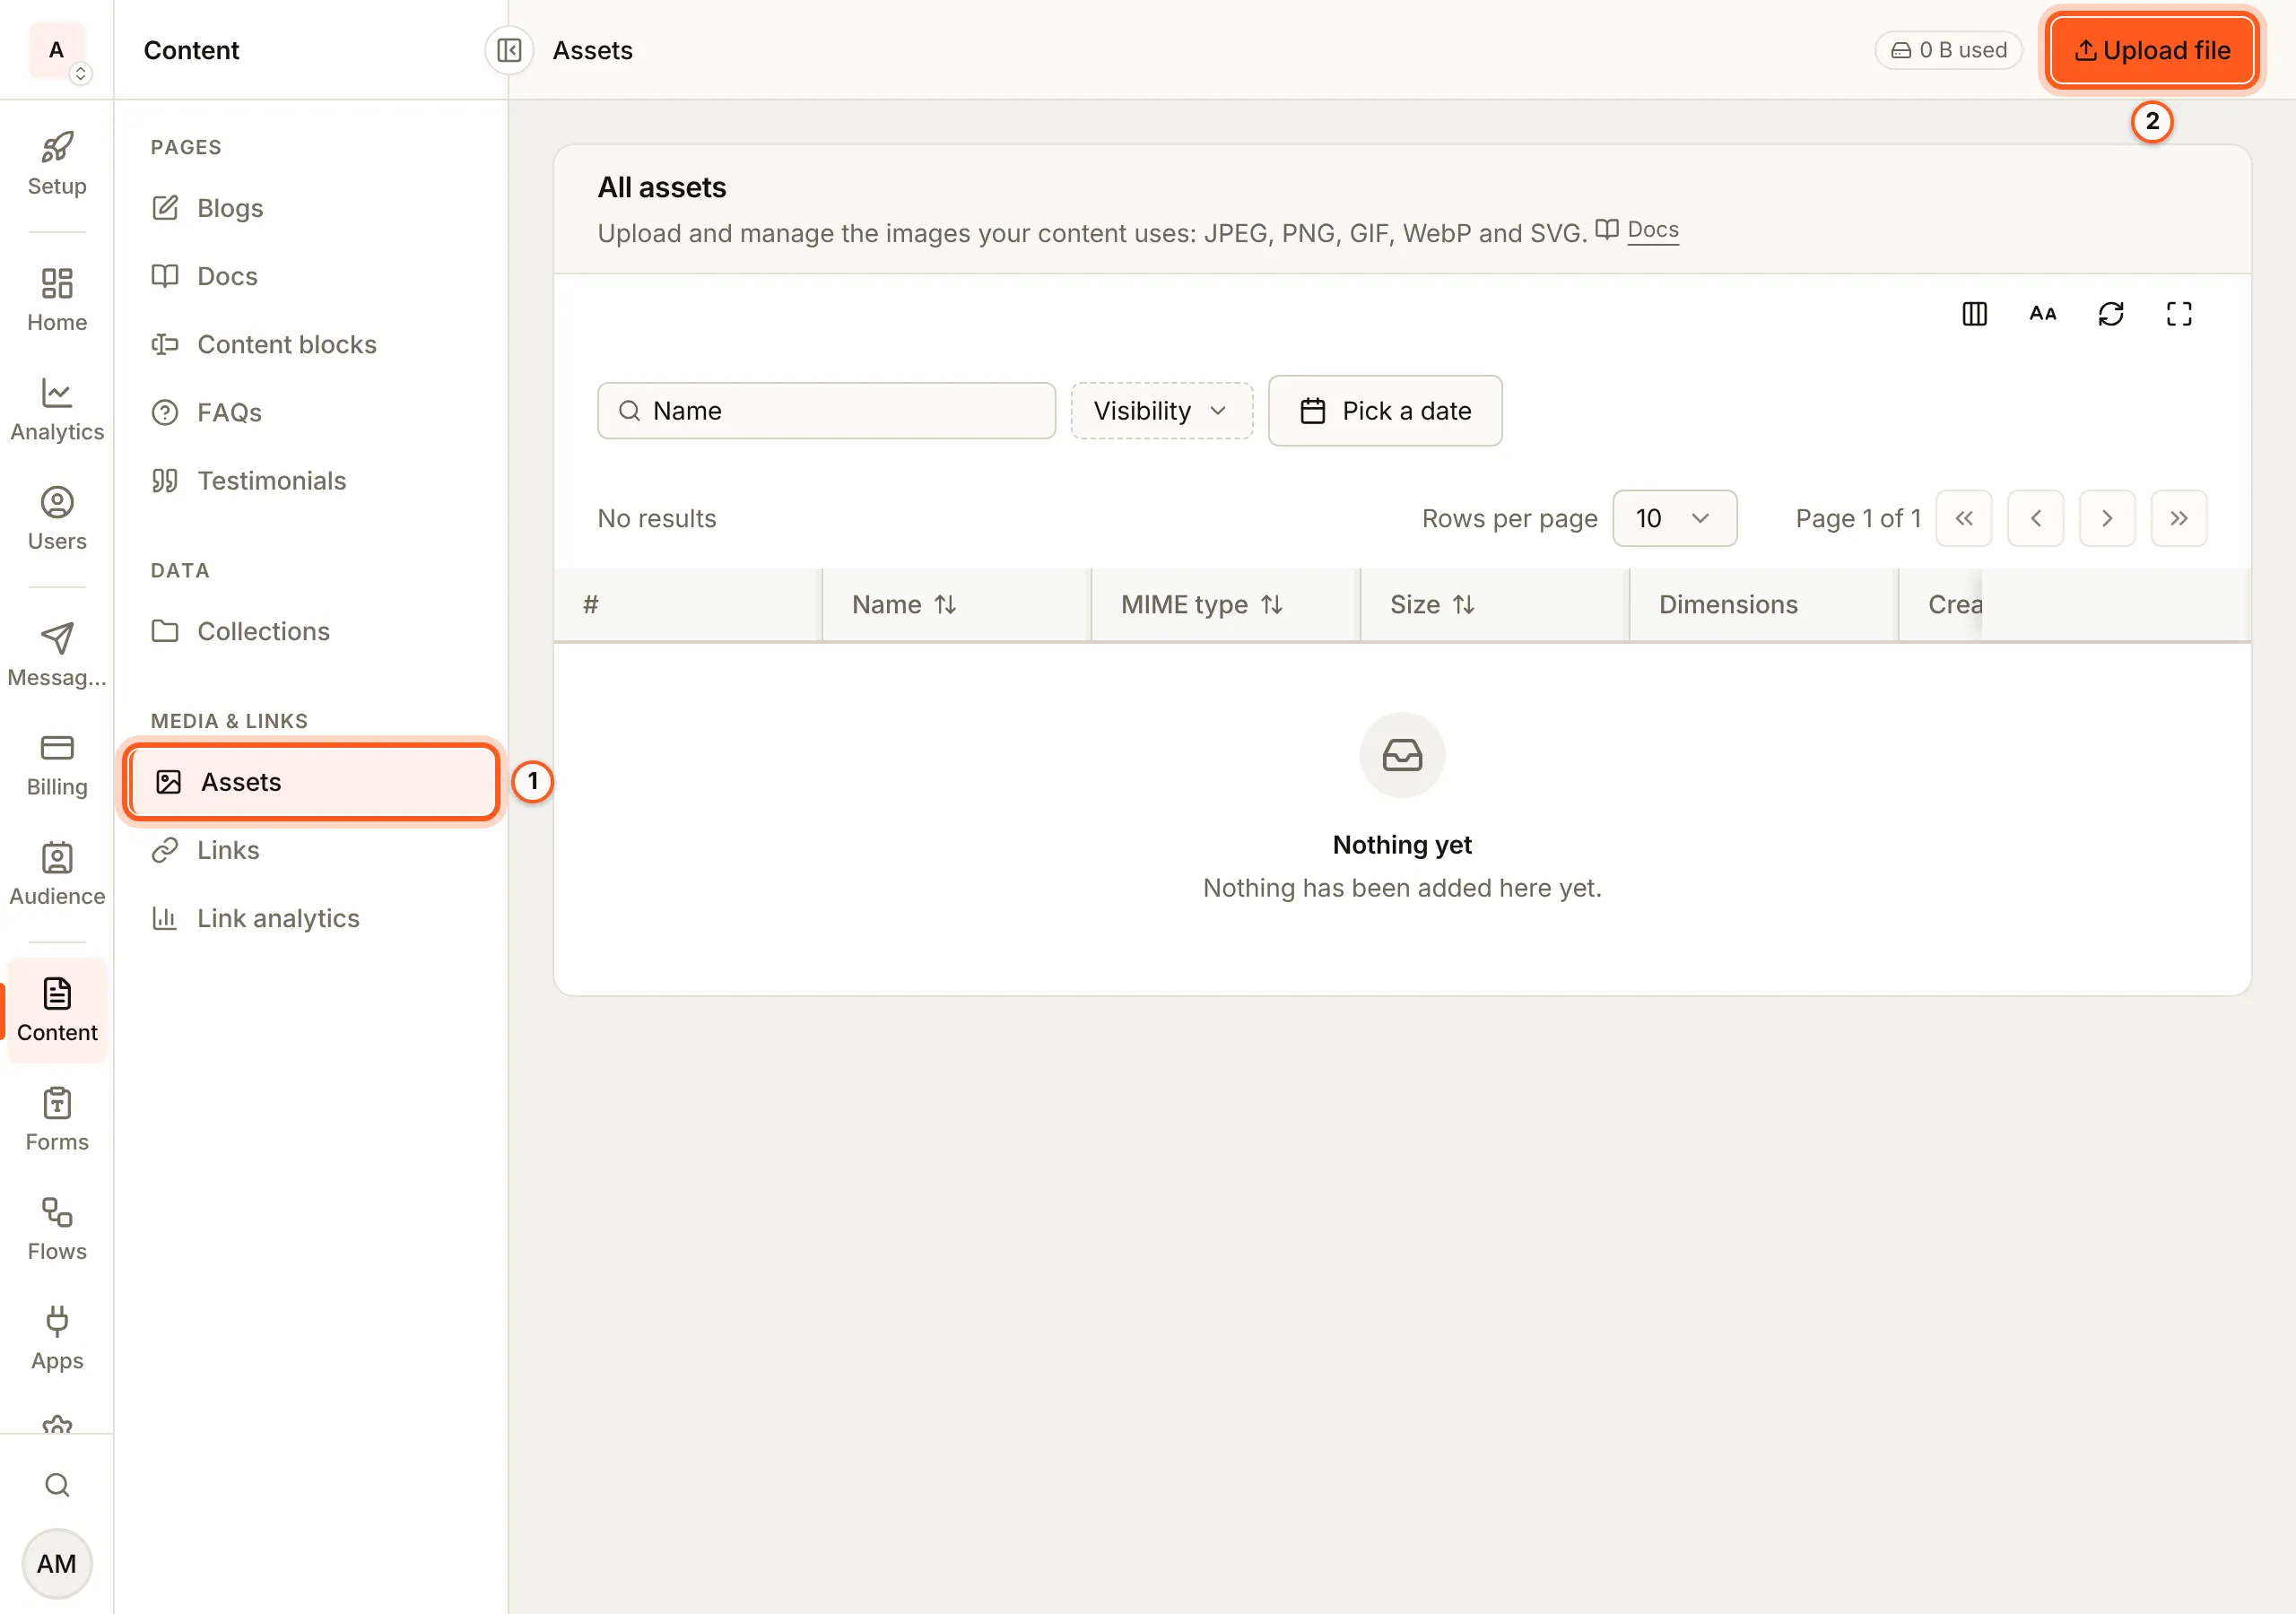
Open Assets in the console (opens the console in a new tab)In the left rail choose Content, then Assets under Media & links. All assets lists each file, with its size and whether it is public. Press Upload file.
2. Upload an image
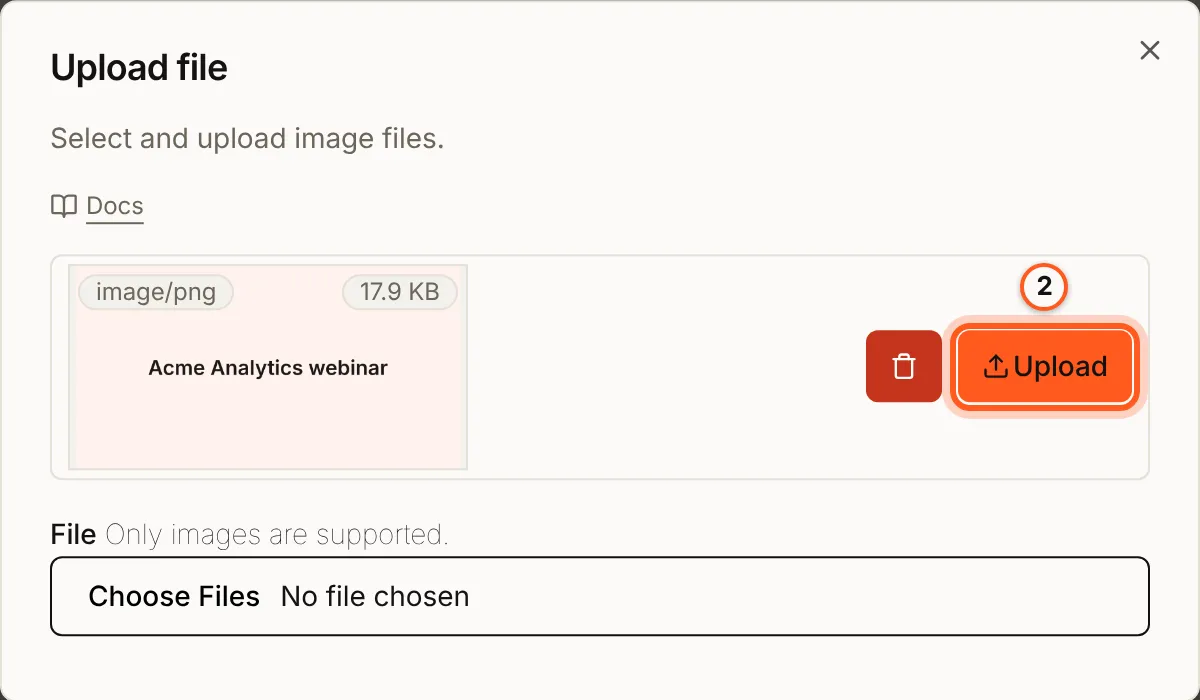
In Upload file, choose a JPEG, PNG, GIF, WebP or SVG. Press Upload beside it and wait for Uploaded. Files are stored as you upload them, with no resizing, and an SVG is cleaned of scripts first.
3. Find it under All assets
A file you upload here is private: only signed-in people can open it. Press Preview on its row.

4. Make it public
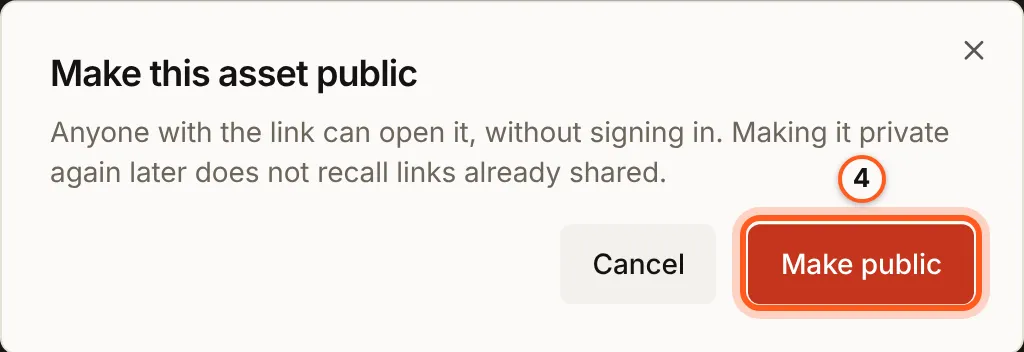
In the File sheet, press Make public and confirm with Make public. Anyone with its link can then open it (public and private).
5. Copy its link
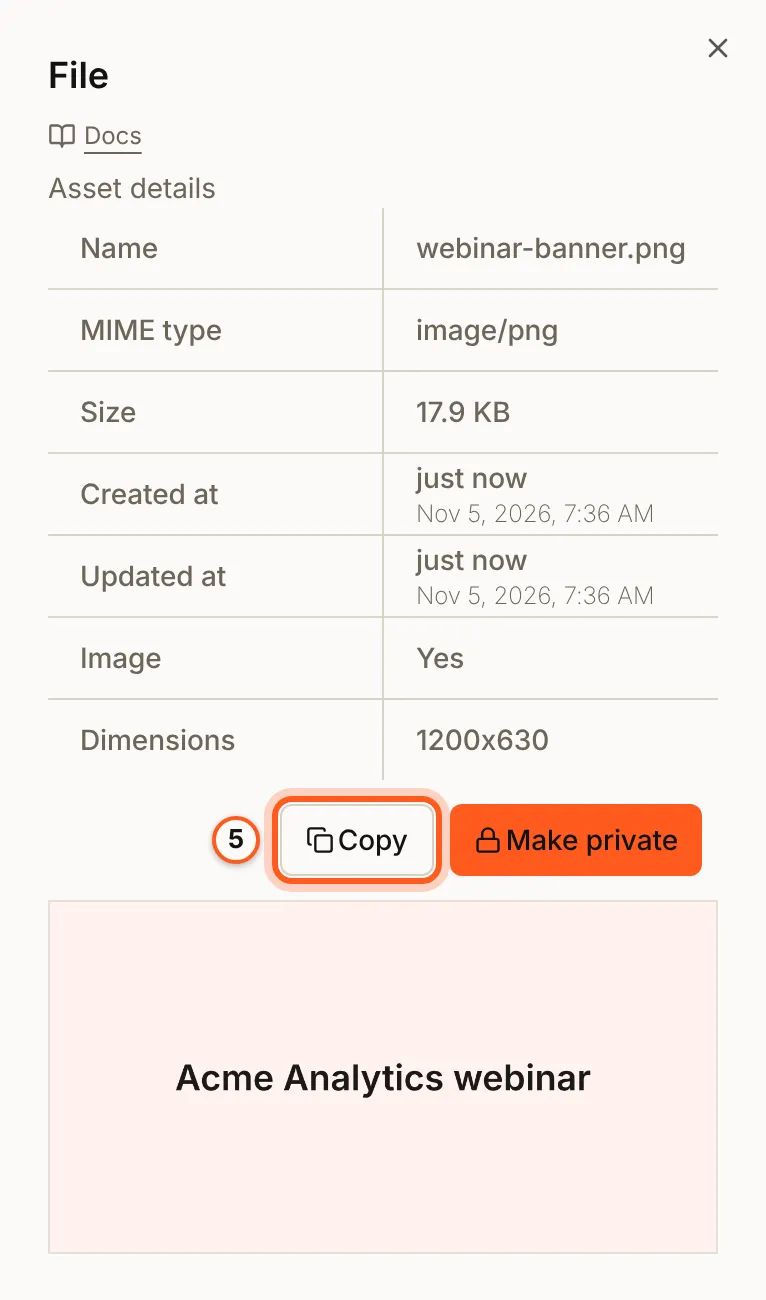
The sheet now has Copy for its public link, beside Make private, above its details and a preview.
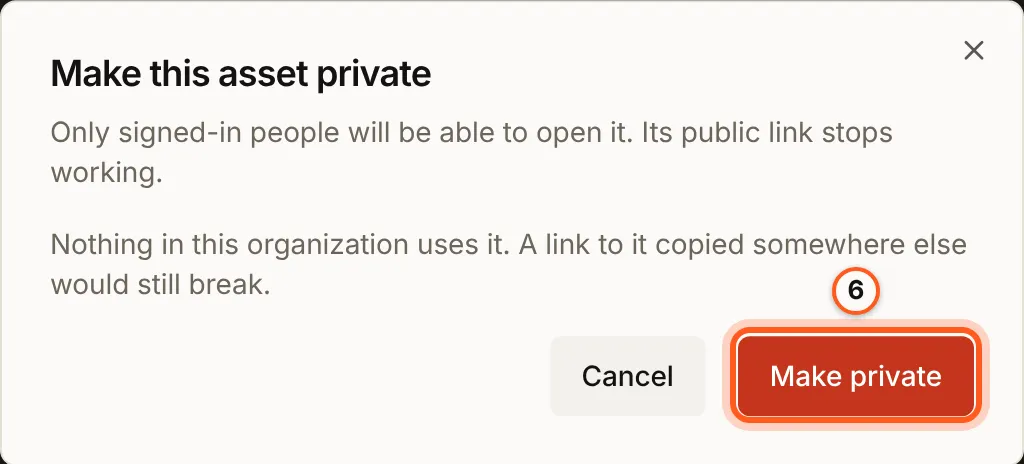
6. Make it private again
Make private asks first, and says what in your organization uses the file: its public link stops working, and anything showing it breaks.
7. Find a file later
Filter All assets by name, by Visibility (public or private) or by date.

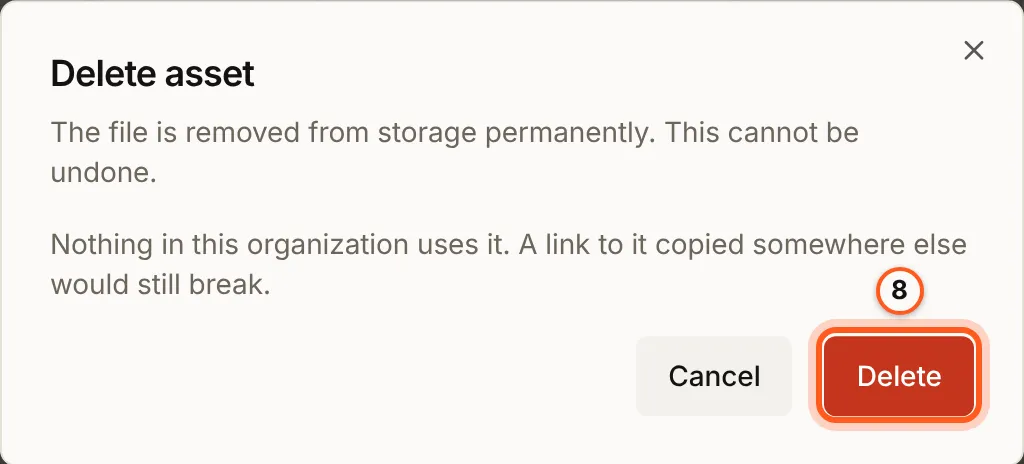
8. Delete it
Press the bin on its row and confirm with Delete. The file is removed from storage for good (deleting).
Use it elsewhere
Screens that take an image, such as Change thumbnail on a blog post or Change logo under Settings, then General, open a picker with an Assets tab of what you uploaded and an Upload tab. A blog thumbnail lists only images exactly 1200x630.
Check it works
Open the copied link in a private window: it shows the image while the asset is public, and stops answering once you make it private.
Things to watch out for
- Uploads from this screen are private. Anything that shows a private file's link to a visitor breaks; make it public first.
- Files are stored as uploaded. Resize an image before you upload it.
- Delete cannot be undone. It removes the file from storage; check what uses it first.
- The thumbnail picker lists only 1200x630 images.
Next Steps
- Assets overview - limits, storage, and where a file is used.
- Let your app's users upload images - turn on uploads through the SDK and set their limits.