
Set up your organization from one file
What a blueprint is, who it is for, and your first one in the console, from download to apply, step by step.
A blueprint is one file that describes how your BuildBase organization is set up: app settings, workspaces, sign-in, email, billing, roles, webhooks, integrations, data and workflows. Your organization is your account in the BuildBase console, with everything you set up in it. The file is called buildbase.blueprint.json. It is written in JSON (JavaScript Object Notation), a plain text format of names and values.
BuildBase reads the file, compares it with your organization, and shows you every change before it makes any of them.
{
  "$schema": "https://docs.buildbase.app/schemas/blueprint.v1.json",
  "version": 1,
  "app": { "name": "Acme", "currencies": ["usd"] },
  "auth": {
    "methods": {
      "password": { "type": "password", "title": "Email and password" }
    }
  },
  "webhooks": {
    "crm": {
      "name": "CRM sync",
      "url": "https://hooks.acme.example/buildbase",
      "events": ["user.registered"]
    }
  }
}
This file names the app Acme and sells in US dollars, turns on sign-in with an email address and a password, and sends a message to a customer relationship system each time a person signs up. Anything the file does not mention stays as it is.
What a blueprint does
You can do four things with a blueprint. Only one of them changes your organization.
| Action | What it does | Changes anything? |
|---|---|---|
| Validate | Checks the file on its own: its format, its fields and its secrets. | No |
| Plan | Compares the file with your organization and lists every change apply would make. | No |
| Apply | Makes the changes in the plan, then compares again to confirm the organization matches the file. | Yes |
| Export | Writes how your organization is set up now as a blueprint. | No |
Three rules keep you safe:
- Secrets never go in the file. A password or a key is written as
${env:NAME}, and you type the value when you plan or apply. See secrets. - Some values are shown only once. Webhook signing secrets, new API keys and client secrets appear once, right after the apply that creates them, so you can store them. They are never printed in a plan.
- Nothing is deleted unless you allow it in two places. The file must list the kind of thing in
policy.prune, and you must also turn deletion on when you plan and apply. See prune.
Who it is for and when to use one
A blueprint is for anyone who sets up an organization: an owner, an admin or a developer, working on their own or with an AI agent. Use one when you want to:
- Set up a new organization quickly. Sign-in, email templates, plans and prices, roles and webhooks go in one file instead of many screens.
- Copy a setup from one organization to another, such as from a test organization to the live one. Values that differ, such as your app's address, come from
${env:NAME}, so one file works for both. - Keep a copy of your setup. Download the current setup and keep the file, so you can see later what changed.
- Let an AI agent write the setup for you. The agent writes the file and you read the plan before anything changes. See AI agents.
Before you start
You need:
- An organization in BuildBase. Create one in the console at https://console.buildbase.app. A blueprint sets up an organization that already exists. It cannot create one.
- The owner or admin role in that organization. Only an owner or an admin can plan, apply or export a blueprint. To see your role, open Settings at the bottom of the menu, then Users: the Role column shows it.
- An API key, only if you use the command line, the API or an AI agent. The console does not need one. An API key is a long password that lets a program act for your organization.
To make an API key:
- In the console, open Settings, then API keys under Organization.
- Press Create API key. Type a Name, such as
Blueprint. - Leave Role (optional) on Your own role, so the key has your owner or admin role, or choose
admin. A blueprint needs a key with one of those two roles. - Set Key type to Admin key. An app-server key, the default, is for your app's backend and can never change your plans or settings, so a blueprint run with one is refused.
- Press Create, then Copy key. The key is your organization ID, a colon and a secret. It is shown only this once, so store it in your password manager.
- Press I have copied it, close.
If a key is lost or shared by mistake, deactivate it on the same page and make a new one.
Your first blueprint in the console
These steps download your current setup, change it, and apply it.
-
In the console, press Setup, the rocket at the top of the left rail. Its page is Get started. Under the progress card, the card Or set everything up from one file has a Set up from one file button: press it. When setup is finished, the same card is called Keep this setup as one file.
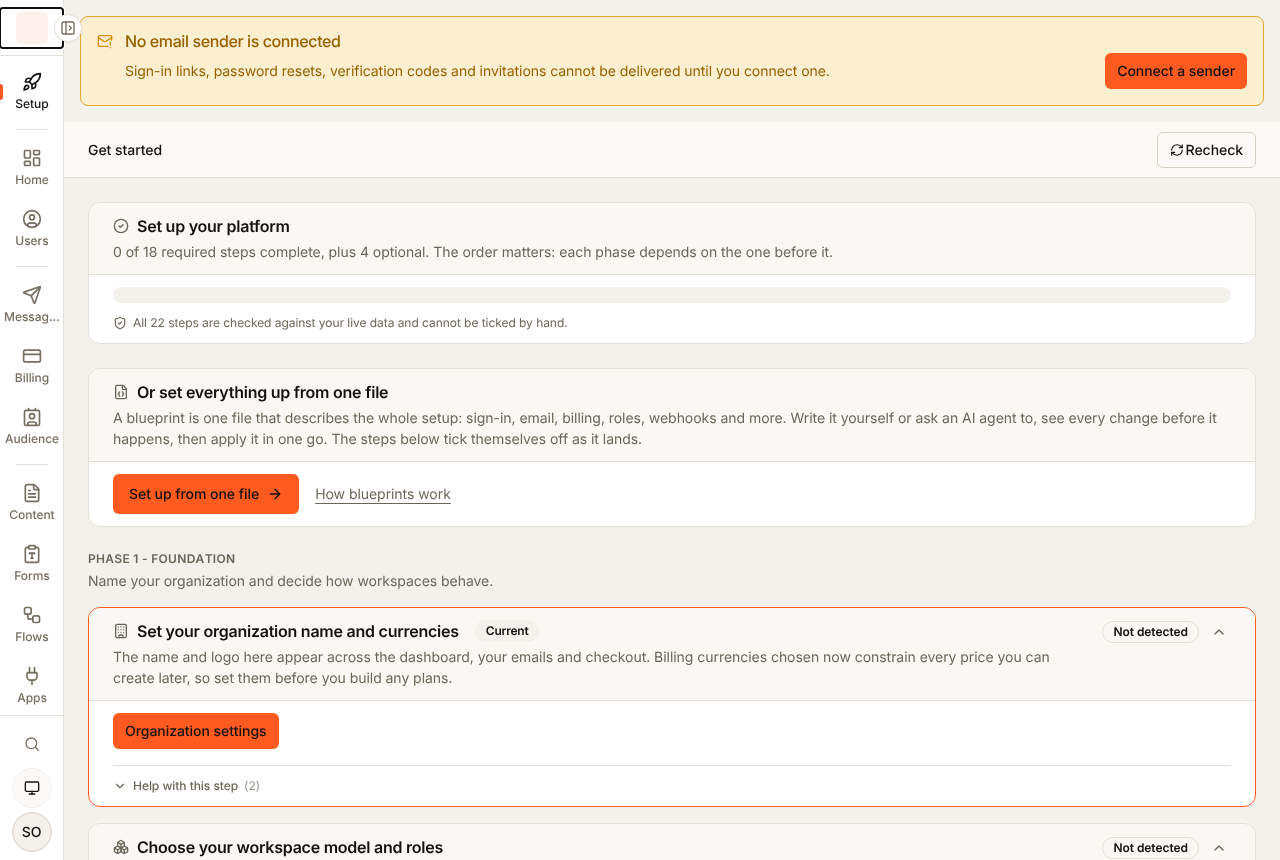
Two other buttons open the same screen: Set up from one file in the Finish setting up window that a new organization sees first, and Set up from one file at the bottom of the floating Setup guide, at the bottom right of the console, once you open the guide.
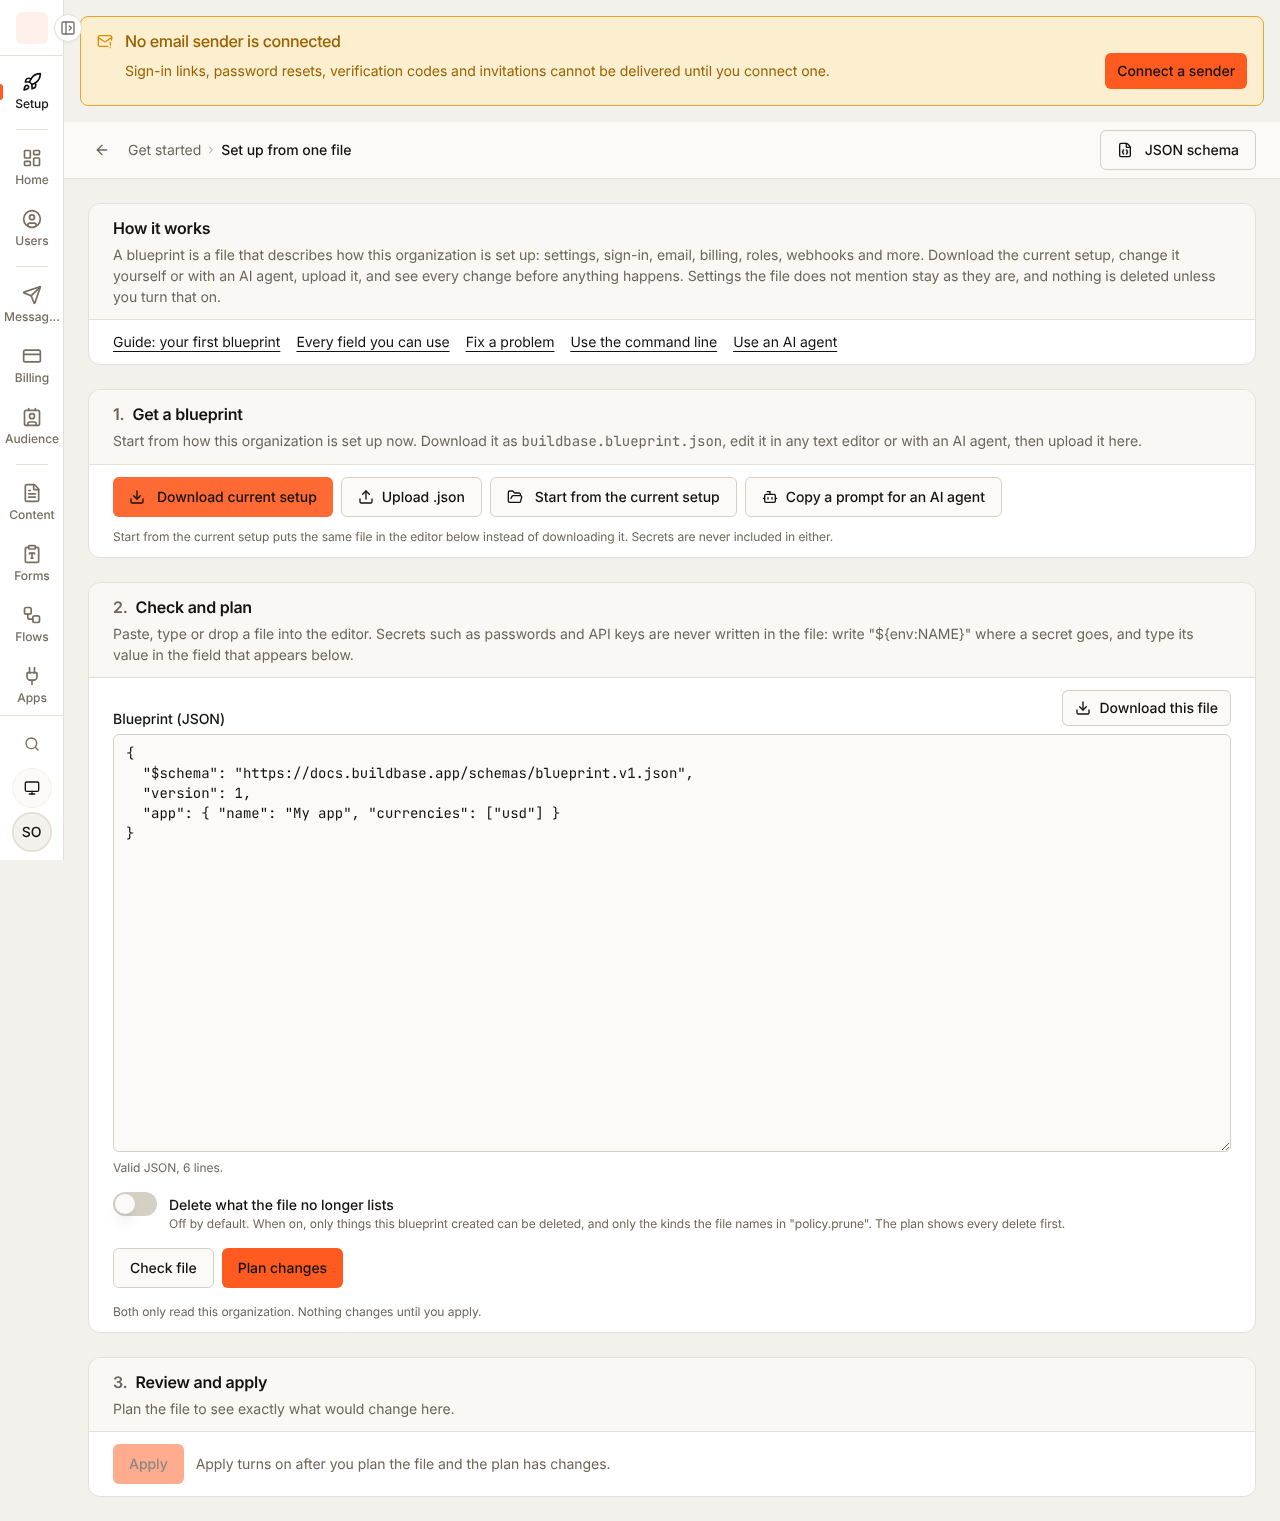
The screen is called Set up from one file, and its link at the top goes back to Get started.
-
Under 1. Get a blueprint, press Download current setup. Your browser saves the file
buildbase.blueprint.json. Secrets are never included in a download, so when your setup has any, the message that appears names the ones to set before you apply.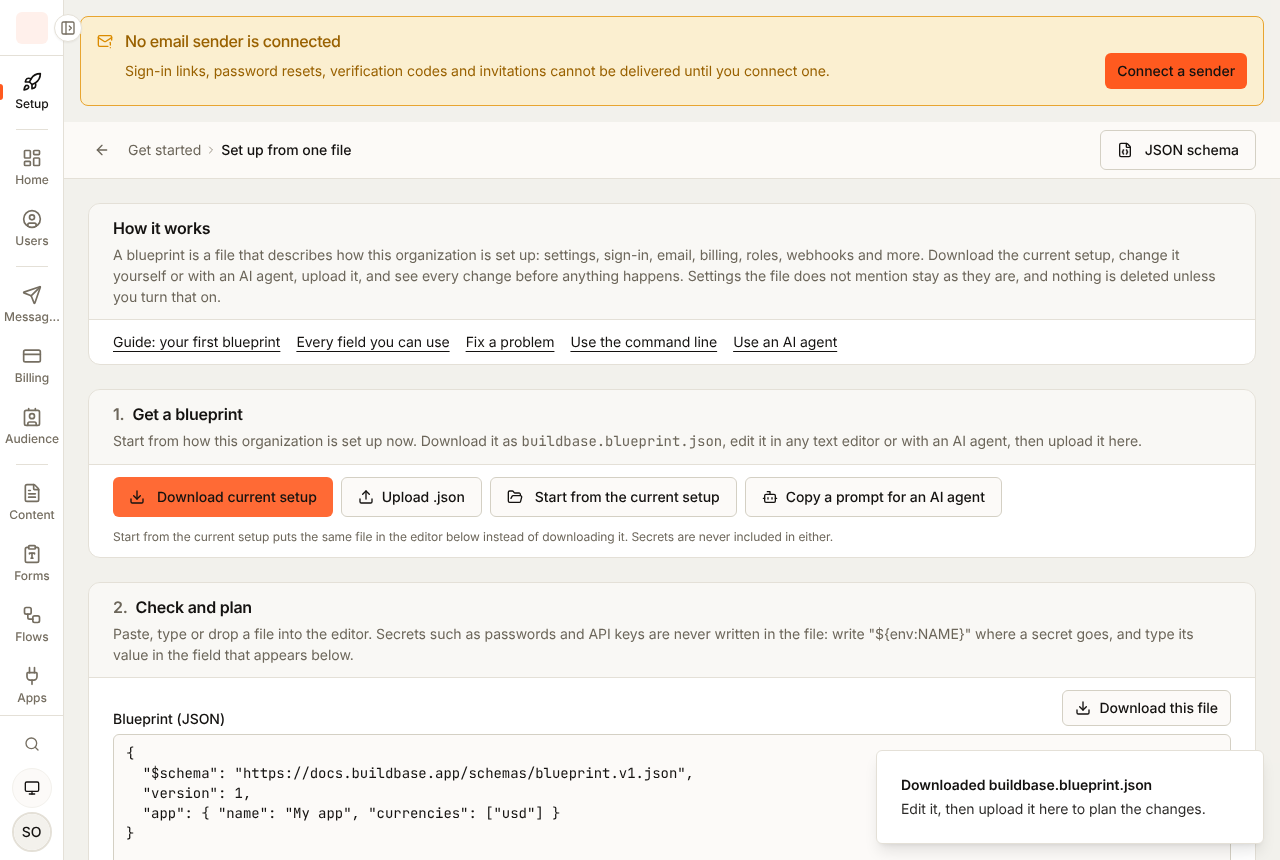
-
Change the file. You can do it yourself or with an AI agent:
- Yourself: open the file in a plain text editor, such as Notepad on Windows or TextEdit on a Mac. A word processor adds formatting that breaks the file. Change what you want, such as the value after
"name", and save the file. - With an AI agent: press Copy a prompt for an AI agent. Paste the prompt into your AI assistant, attach the file, and write what you want after
What I want:. The prompt tells the agent to keep secrets out of the file and not to apply anything until you say yes.
Leave out anything you do not want to change. A setting the file does not mention stays as it is.
- Yourself: open the file in a plain text editor, such as Notepad on Windows or TextEdit on a Mac. A word processor adds formatting that breaks the file. Change what you want, such as the value after
-
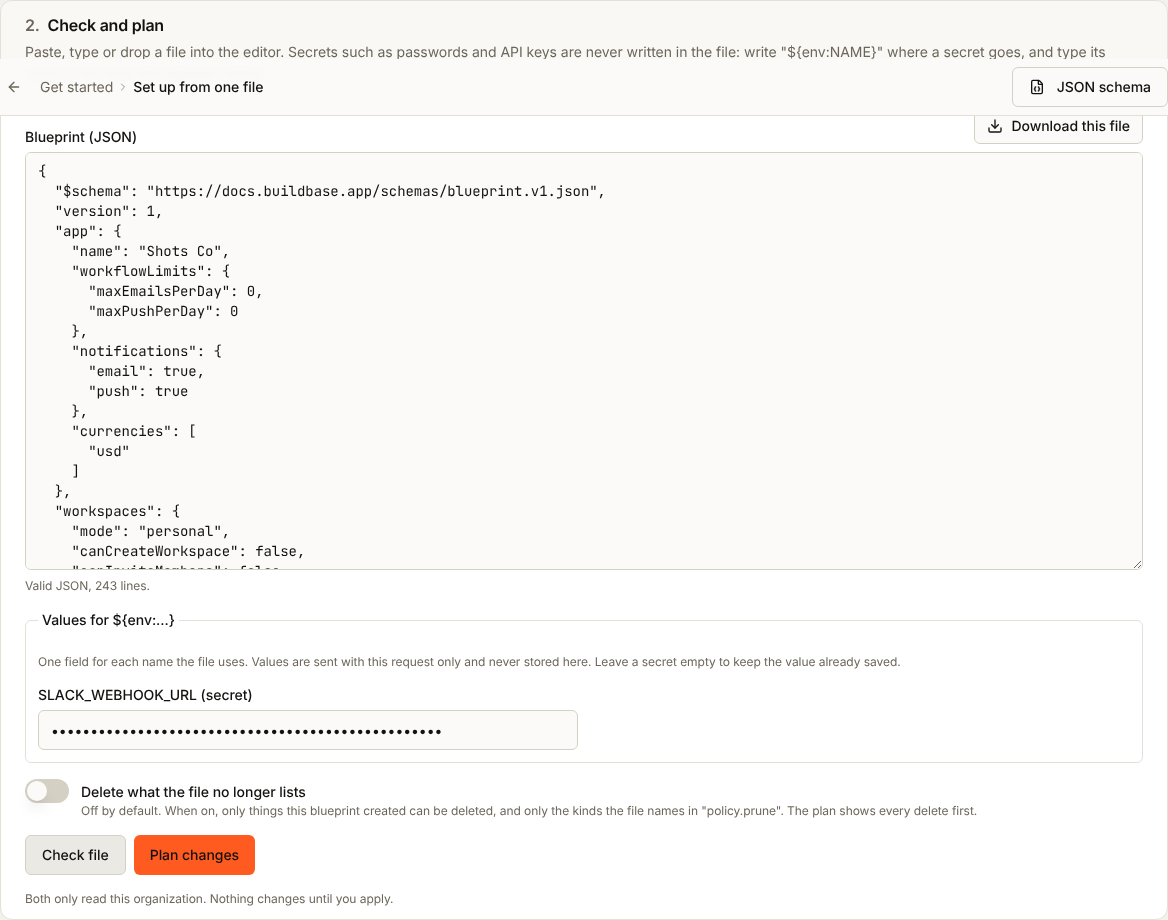
Back on the Set up from one file screen, press Upload .json and choose your file. You can also drag the file onto the Blueprint (JSON) editor, or paste the text into it. The line under the editor says
Valid JSONand the number of lines. If it saysNot valid JSON yet, the rest of the line says what is wrong: see the file is not valid JSON. -
If the file contains
${env:NAME}, the box Values for${env:...}shows one field for each name. Type each value. Leave a secret empty to keep the value already saved. The values are sent with that one request and never stored on the screen. -
Press Check file. It checks the file and changes nothing. If something is wrong, the card Problems in the file lists each problem with the place in the file and what to change.
-
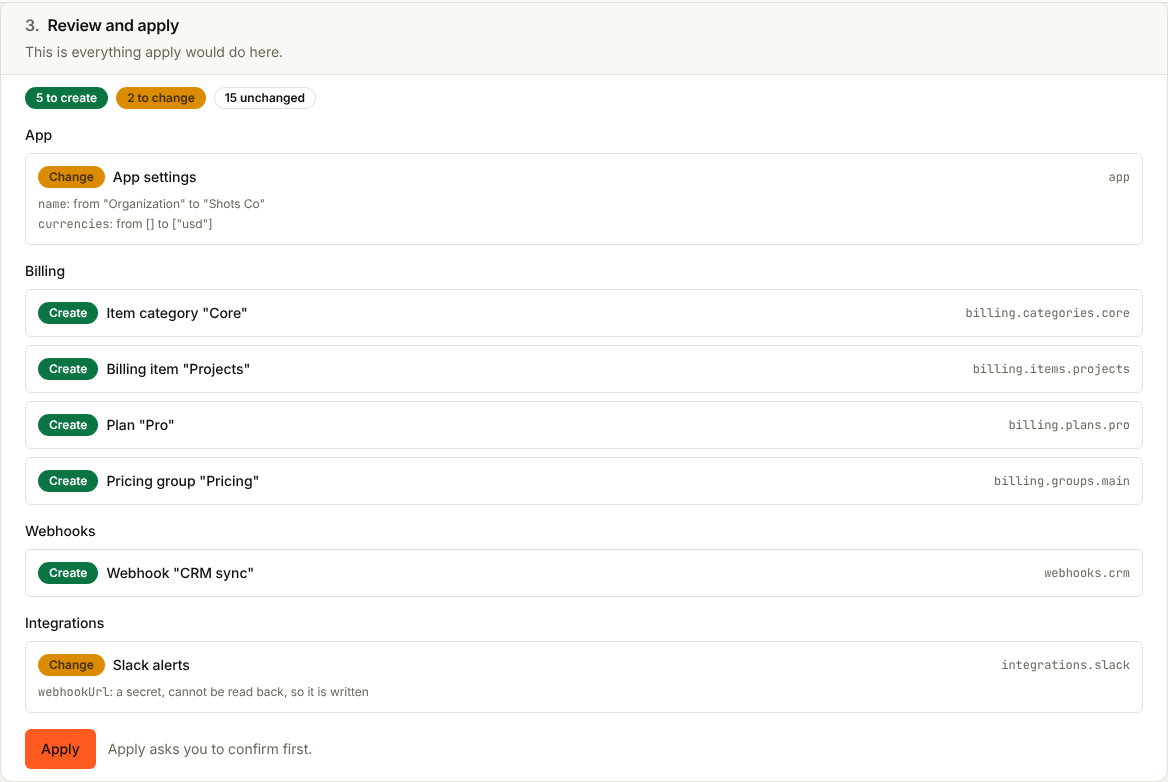
Press Plan changes. It reads your organization and changes nothing. The card 3. Review and apply shows how many things it would create and change, then lists each change, grouped by area, such as App, Sign-in or Billing. Each change has a badge: Create, Change, New version, Delete, You do this step, Blocked, Conflict or Cannot check. Changed fields read "from" the old value "to" the new one. How to read a plan explains each badge.
-
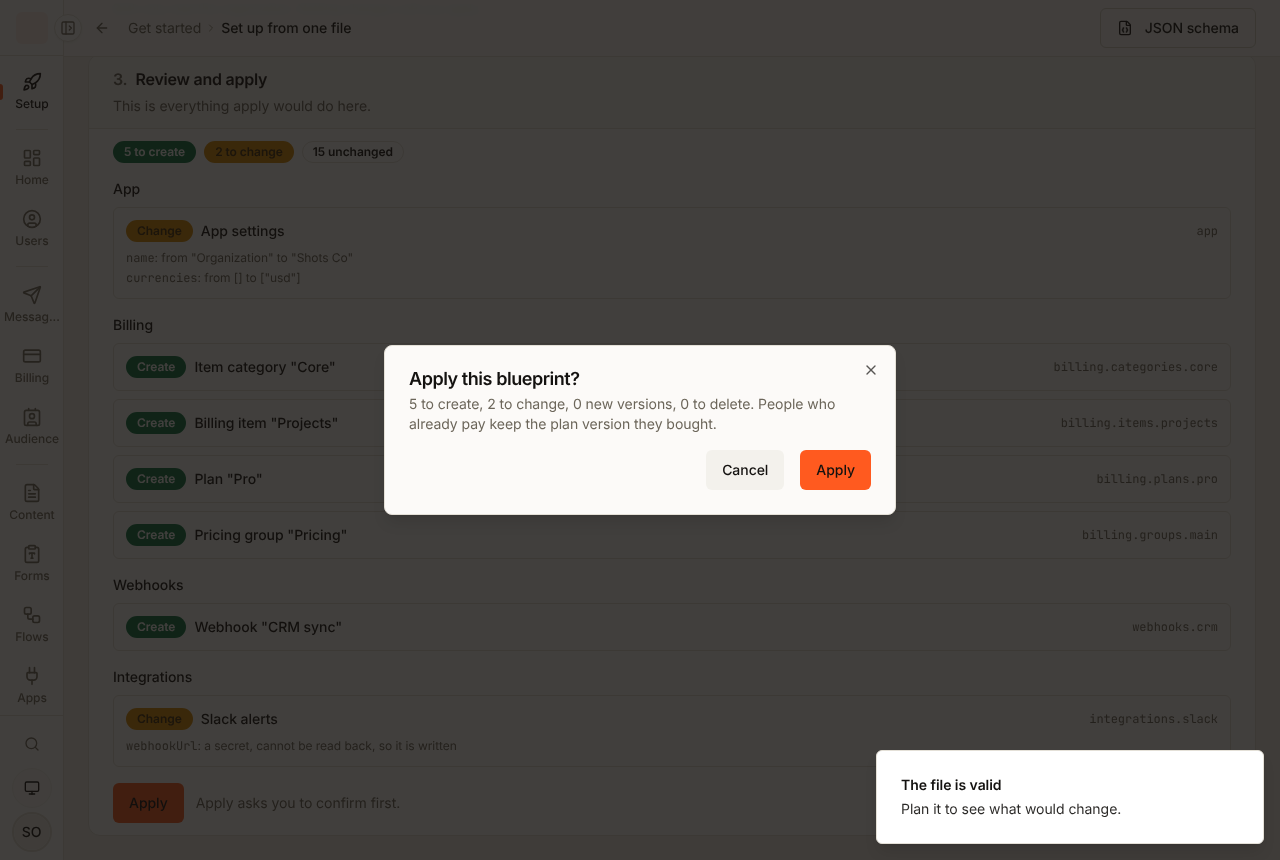
Press Apply. It is turned on only after a plan that has changes, and the line beside it says why when it is off. The Apply this blueprint? dialog repeats how many things it will create, change and delete. Press Apply in the dialog to go ahead, or Cancel to go back without changing anything.
-
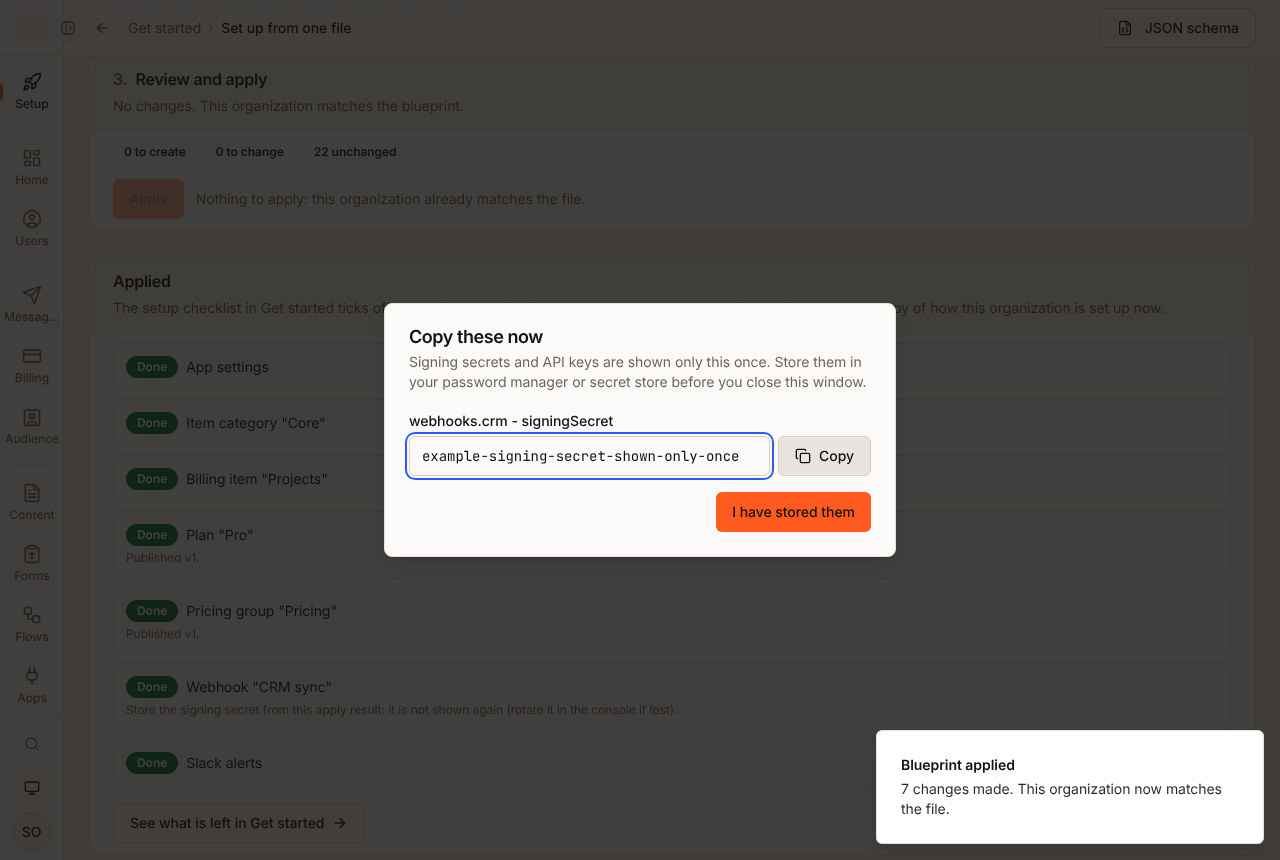
If the apply created something with a value shown only once, such as a webhook, an API key or an auth client, the Copy these now dialog opens. Press Copy beside each value and store it in your password manager or secret store. Then press I have stored them. The dialog closes only with that button, because the values are never shown again.
-
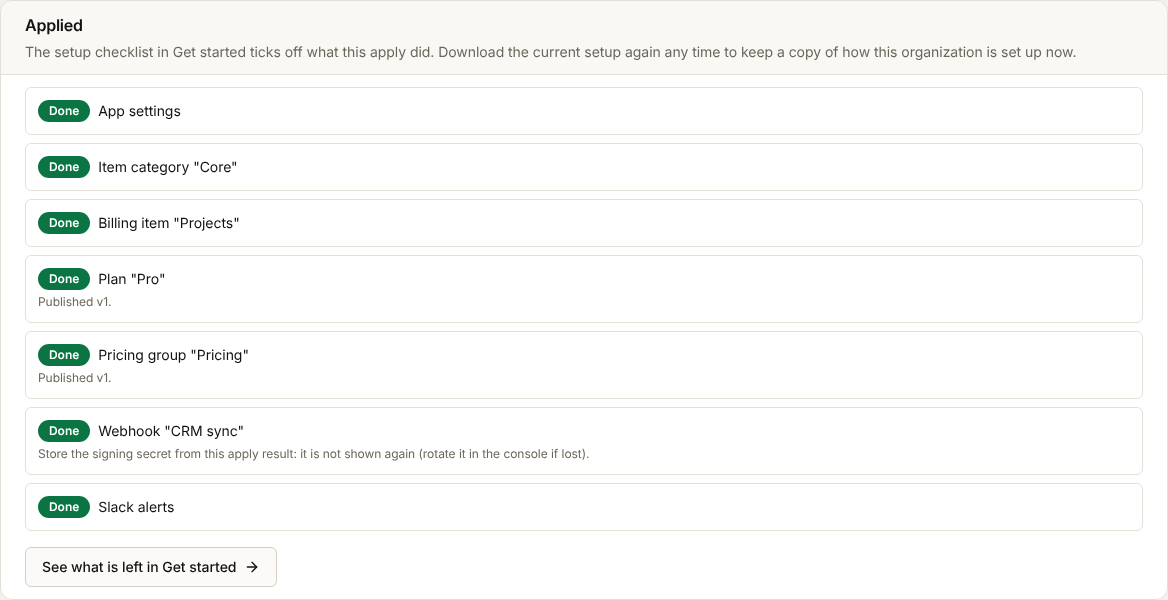
Read the result. The card Applied lists each step as Done, Failed or Not run, with a note for anything you still do yourself, such as adding records to your domain settings. The plan card then shows the organization compared again with the file. If the card says Apply stopped, see problems when you apply.
-
The setup checklist in Get started ticks off what the apply did. Press See what is left in Get started to see the steps that remain.
Every apply that changes something, or fails, is recorded in the audit log: open Settings, then Audit log, then the Workspace tab, and look for Blueprint applied.
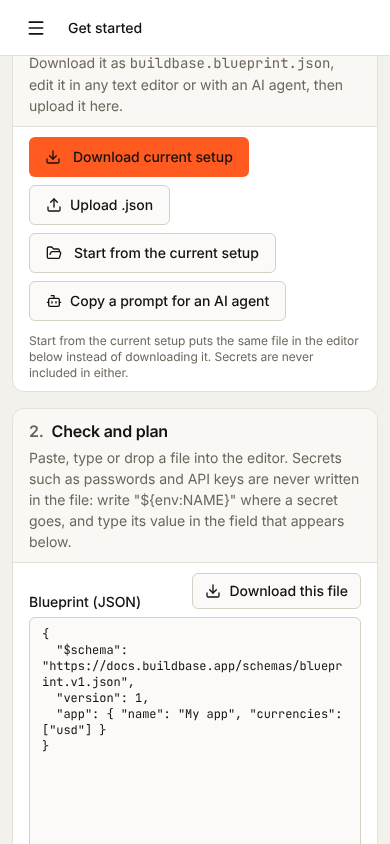
The screen also works on a phone. The buttons and cards stack in one column:
Keep a copy of your setup
Press Download current setup again at any time. When setup is finished, the card Keep this setup as one file in Get started leads to the same screen. The file you get is how your organization is set up at that moment. Keep it with a date in its name, or in a version control system such as Git, to see later what changed.
Other buttons on the screen
- Start from the current setup puts the same file as Download current setup into the editor instead of downloading it.
- Download this file saves what is in the editor now.
- JSON schema, at the top right, downloads the schema: the description of every field a blueprint can hold. Code editors and AI agents use it to suggest and check fields as you type.
- Delete what the file no longer lists turns on prune. It is off by default.
Other ways to run a blueprint
The console, the command line, the API and an AI agent all send the file to the same place in BuildBase, so the same file gives the same plan in each.
- Command line:
npx buildbase blueprint planandapplyon your computer or in an automated check. - REST API: send the file from your own program.
- AI agents: let an agent such as Claude Code write the file and plan it, with you approving the apply.
Next steps
- File format - each section of the file, secrets, and how to read a plan
- Troubleshooting - every message you may see, and the words used in these pages
- File reference - every field a blueprint can set